Handmade uv sensory bottles!

to start with I don’t have a step by step for this but felt tutorials would be the right place for these to go.They are very easy and simple to make and I will go tough some of the stuff we used inside our bottles.

To start off with plastic bottle will do used or brought in any shape or size. Our bottle are smaller Tavel sized bottle from Poundland. We found these to be a good size for tiny hand to grip.

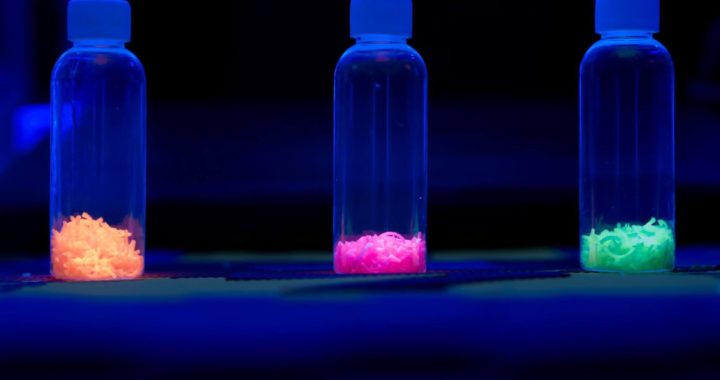
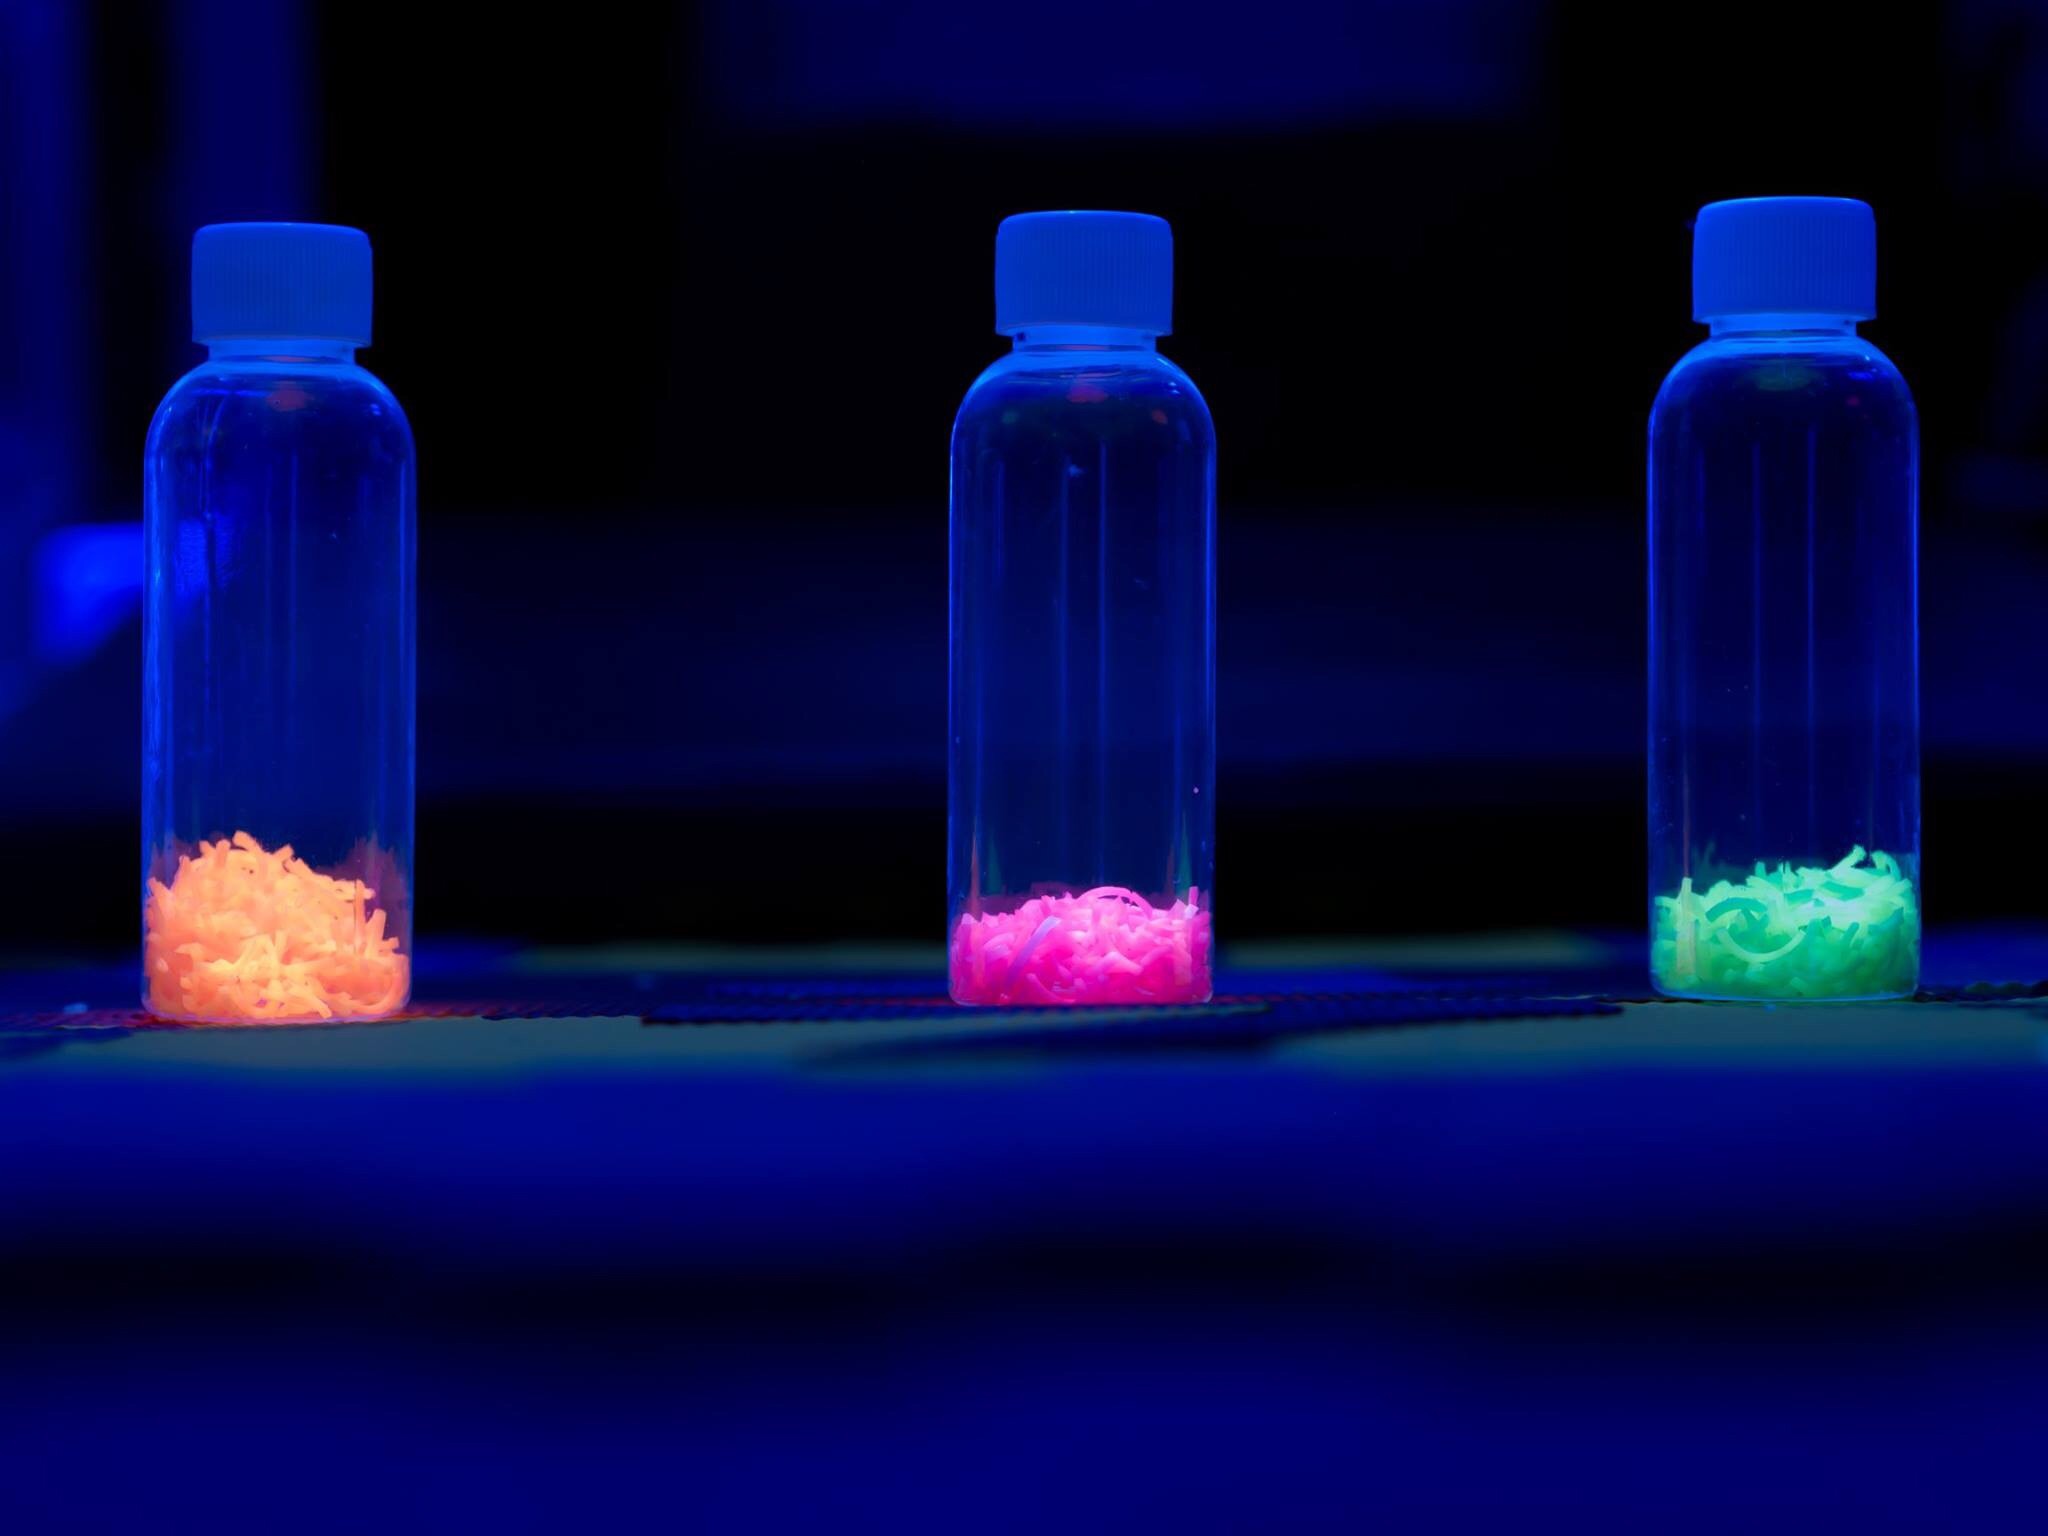
the photo above we used neon colour loom bands and cut them up befor adding them to the bottles. The cut up bands give a gentle rattling sound. This would be good for anyone with over sensitive hearing.

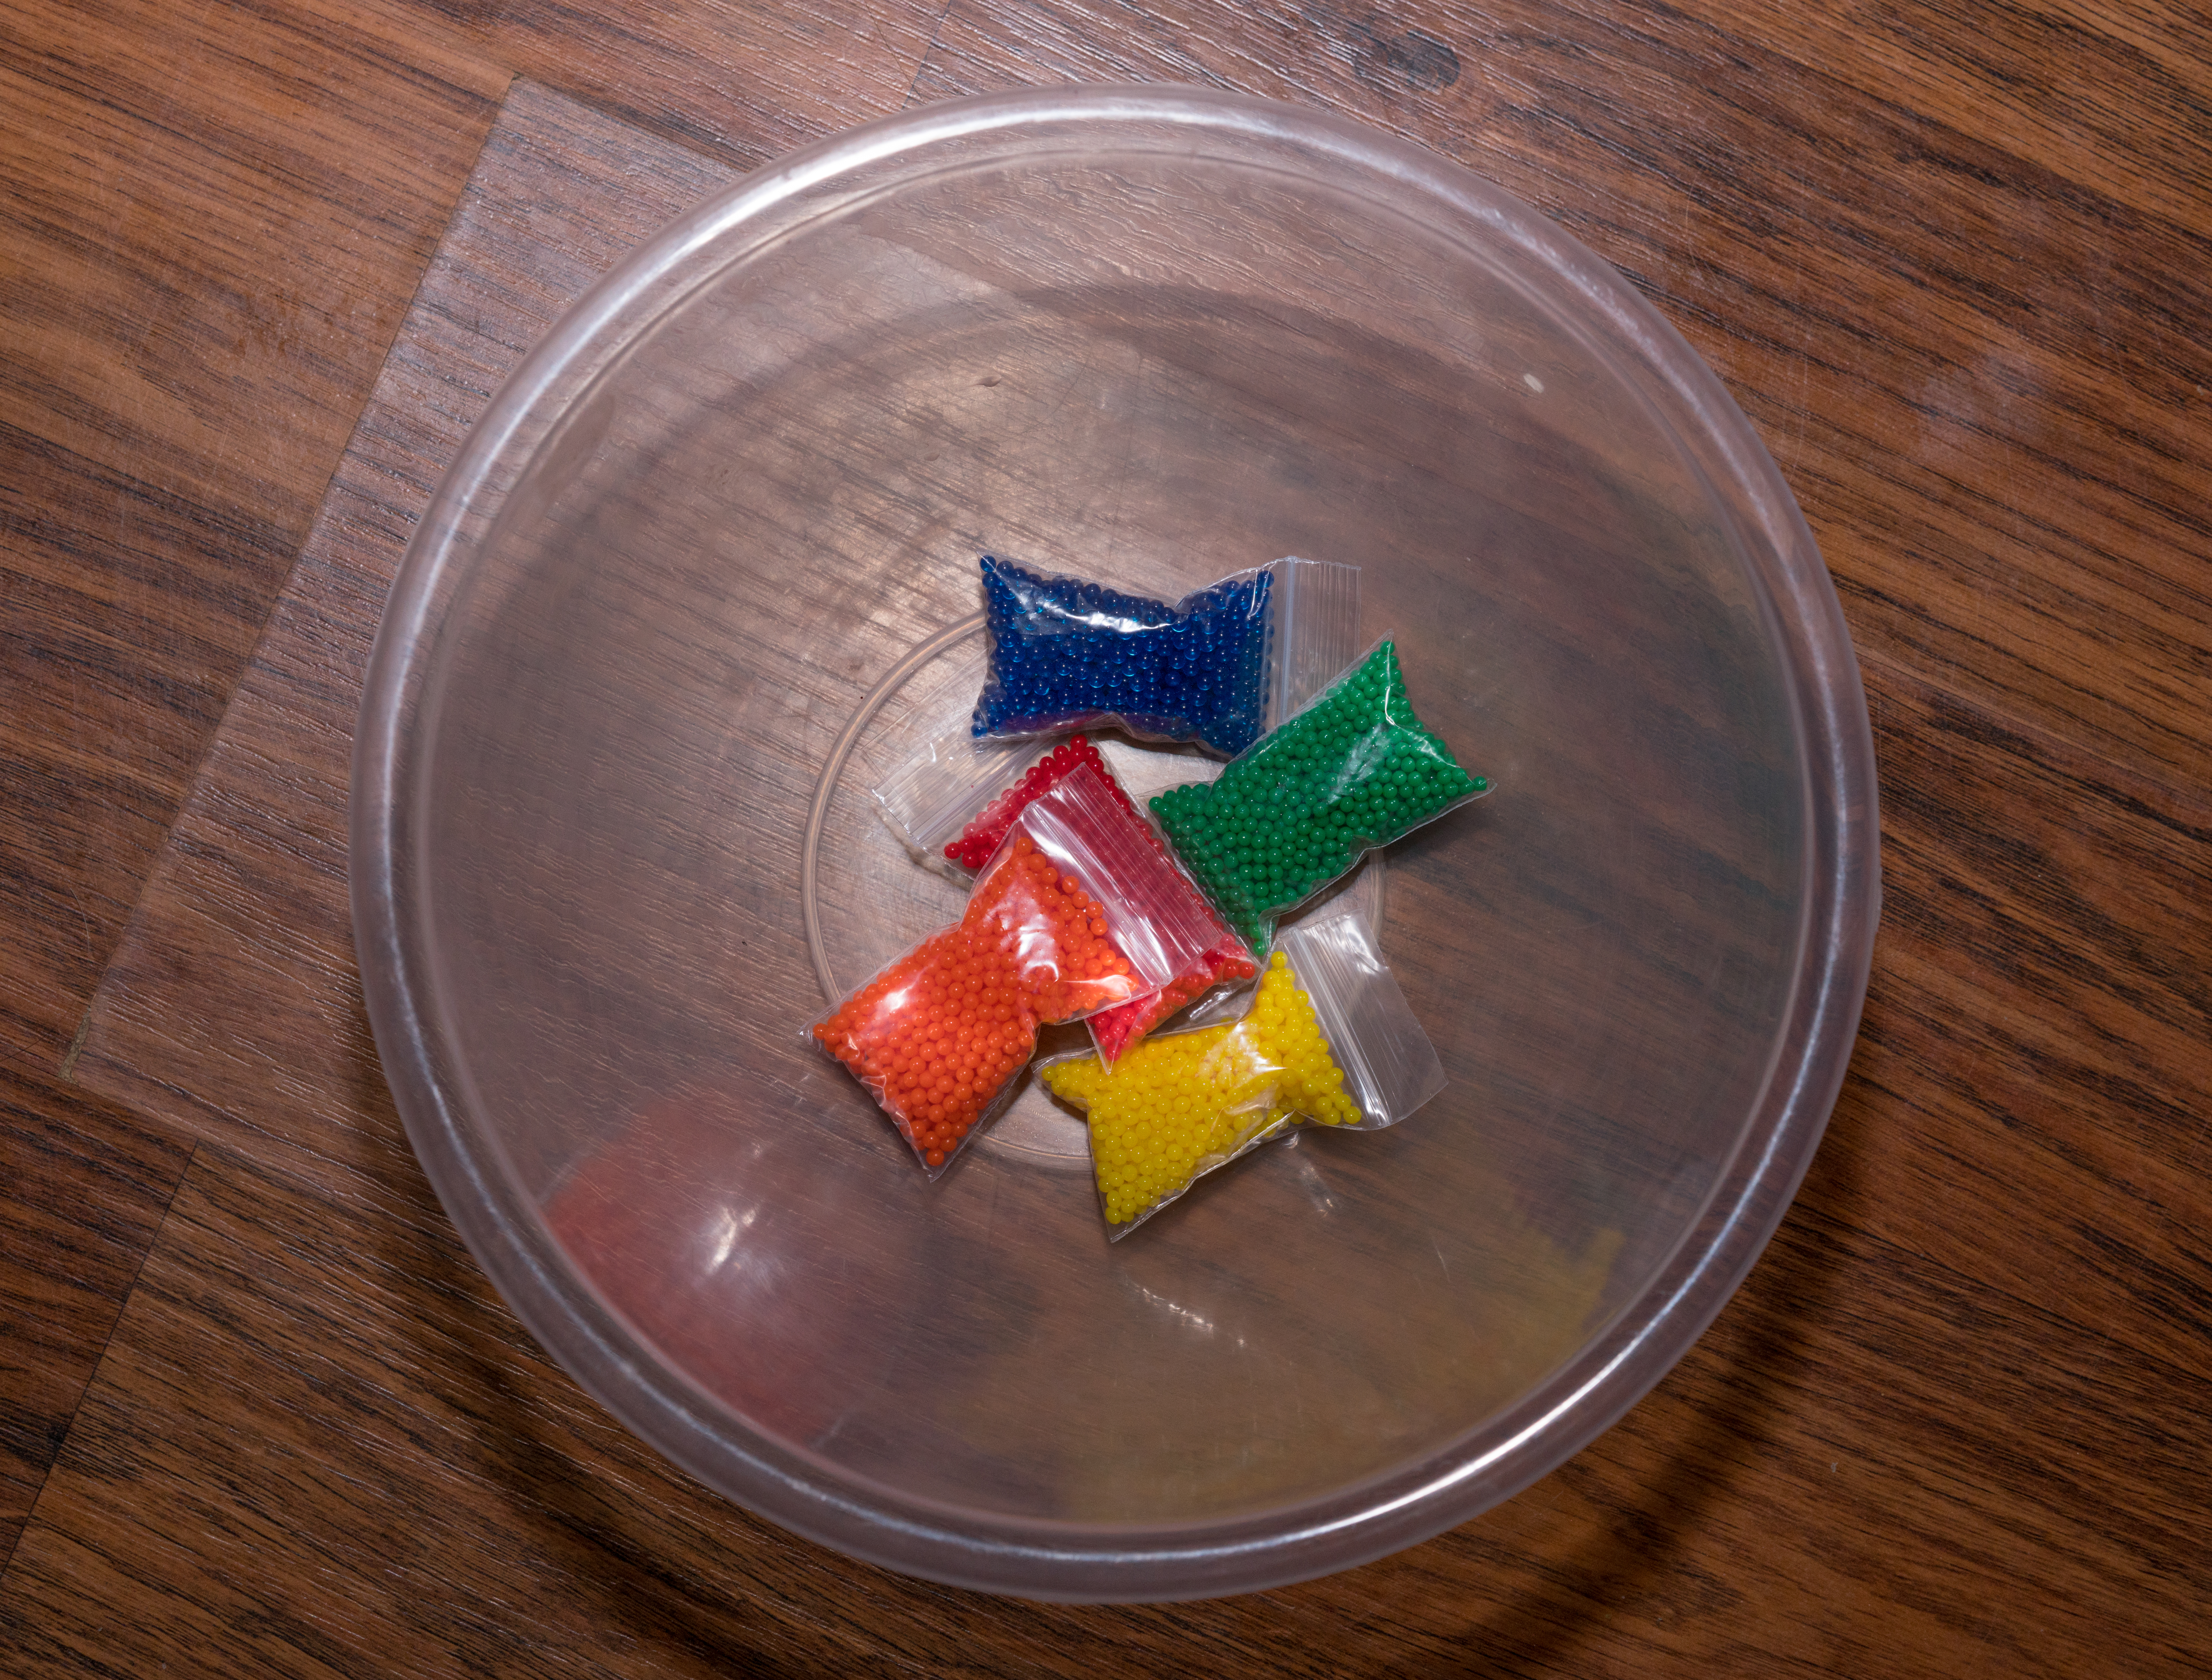
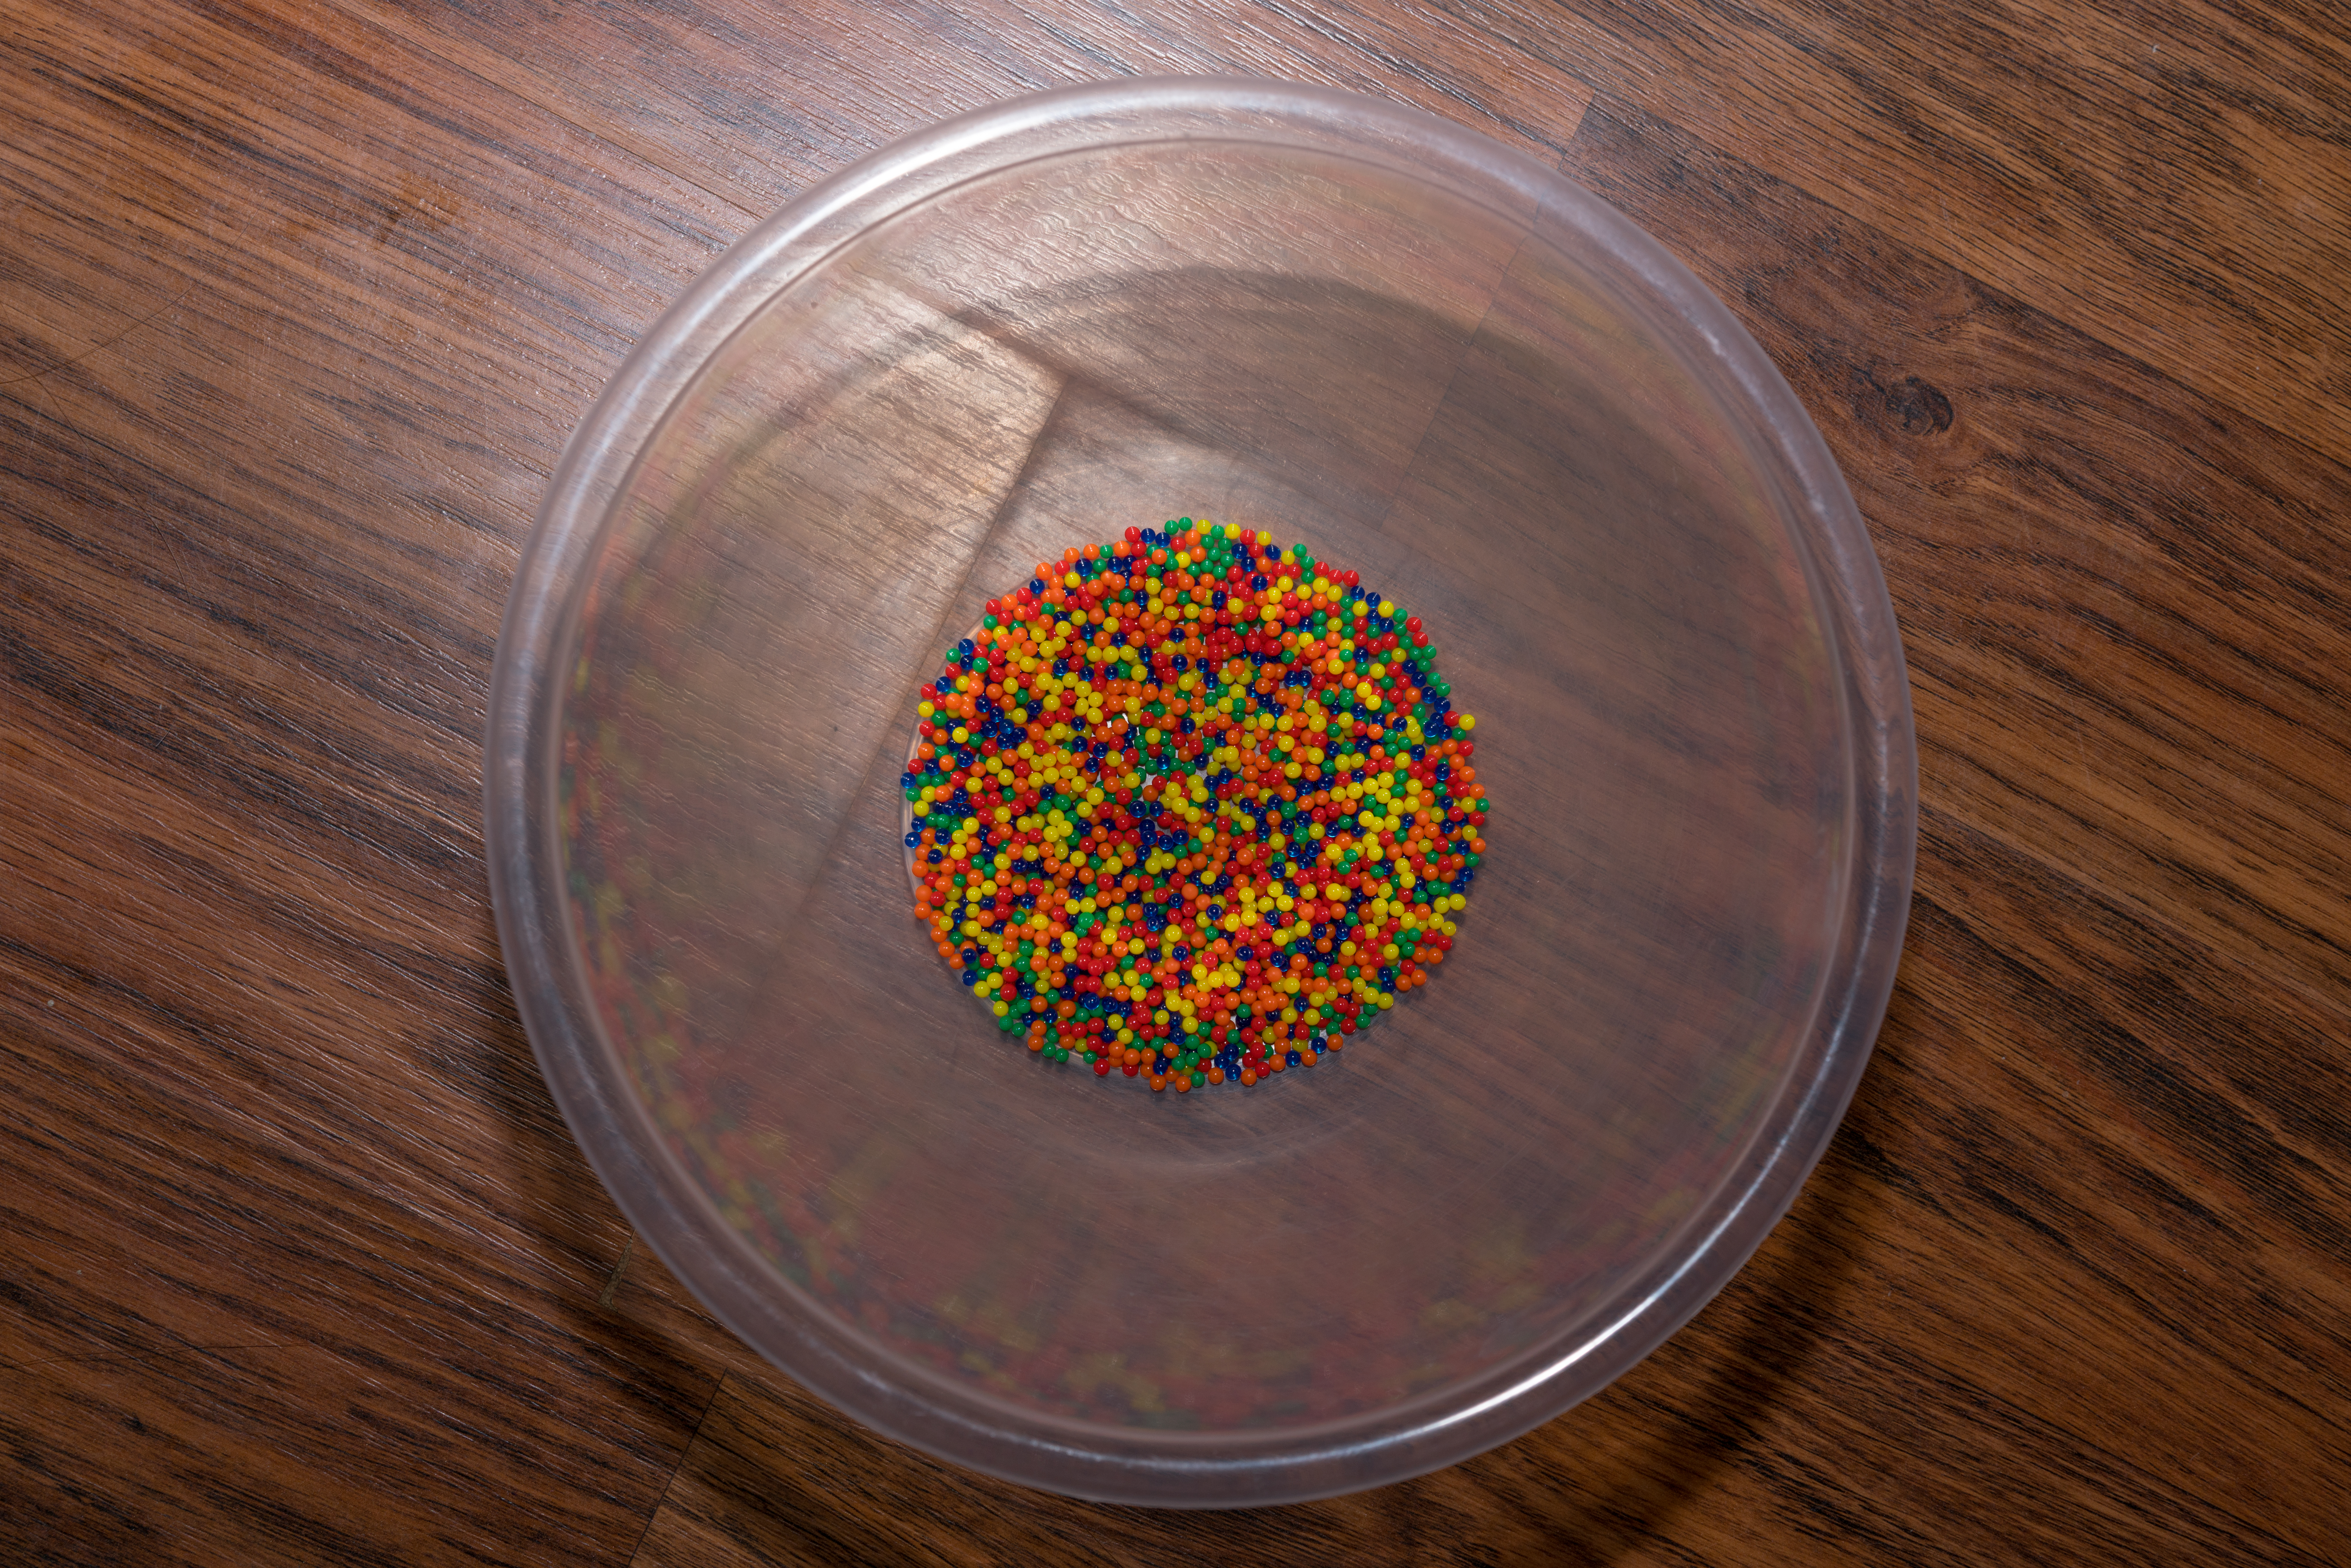
After I made the loom band bottle I decided to make some more different types. I went on to make another batch containing neon coloured Hama beads. Ironing beads but any neon coloured beads would work well. Some glow in the dark Hama ironing beads. Plus some cut up neon pipe cleaners.

These all worked really well under the uv light bulb in our sensory room.

After making the Hama bead bottles I kind of took it over board. I kept finding new things and new ways of making bottles.

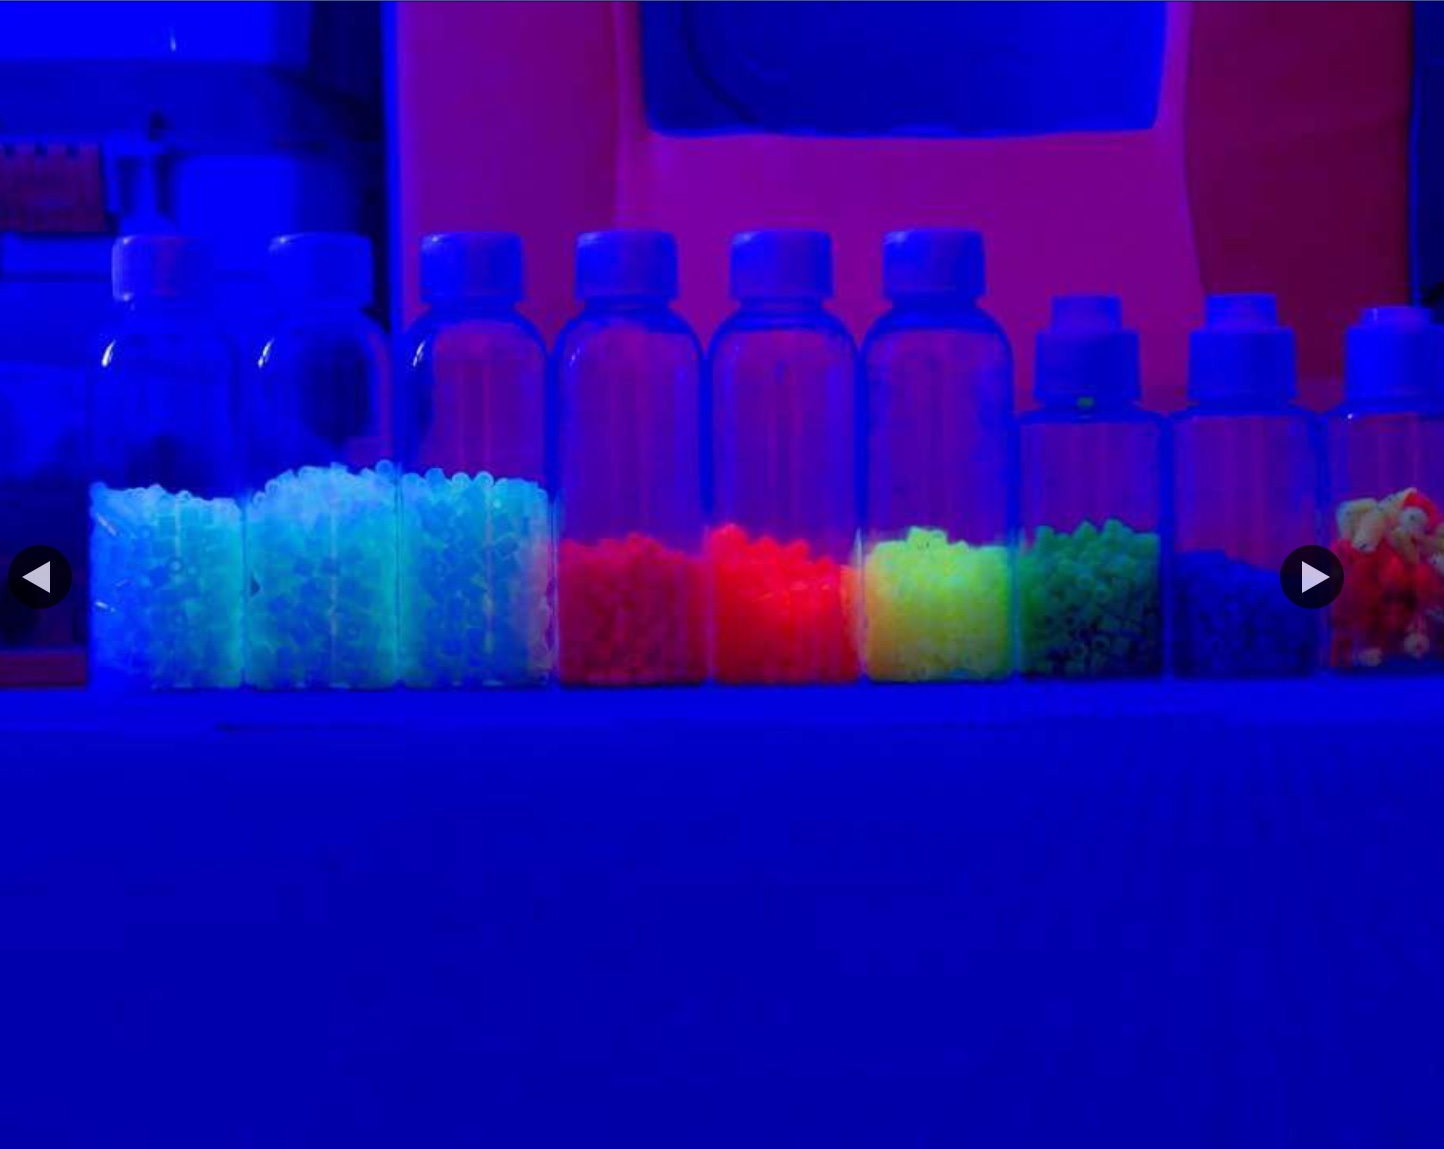
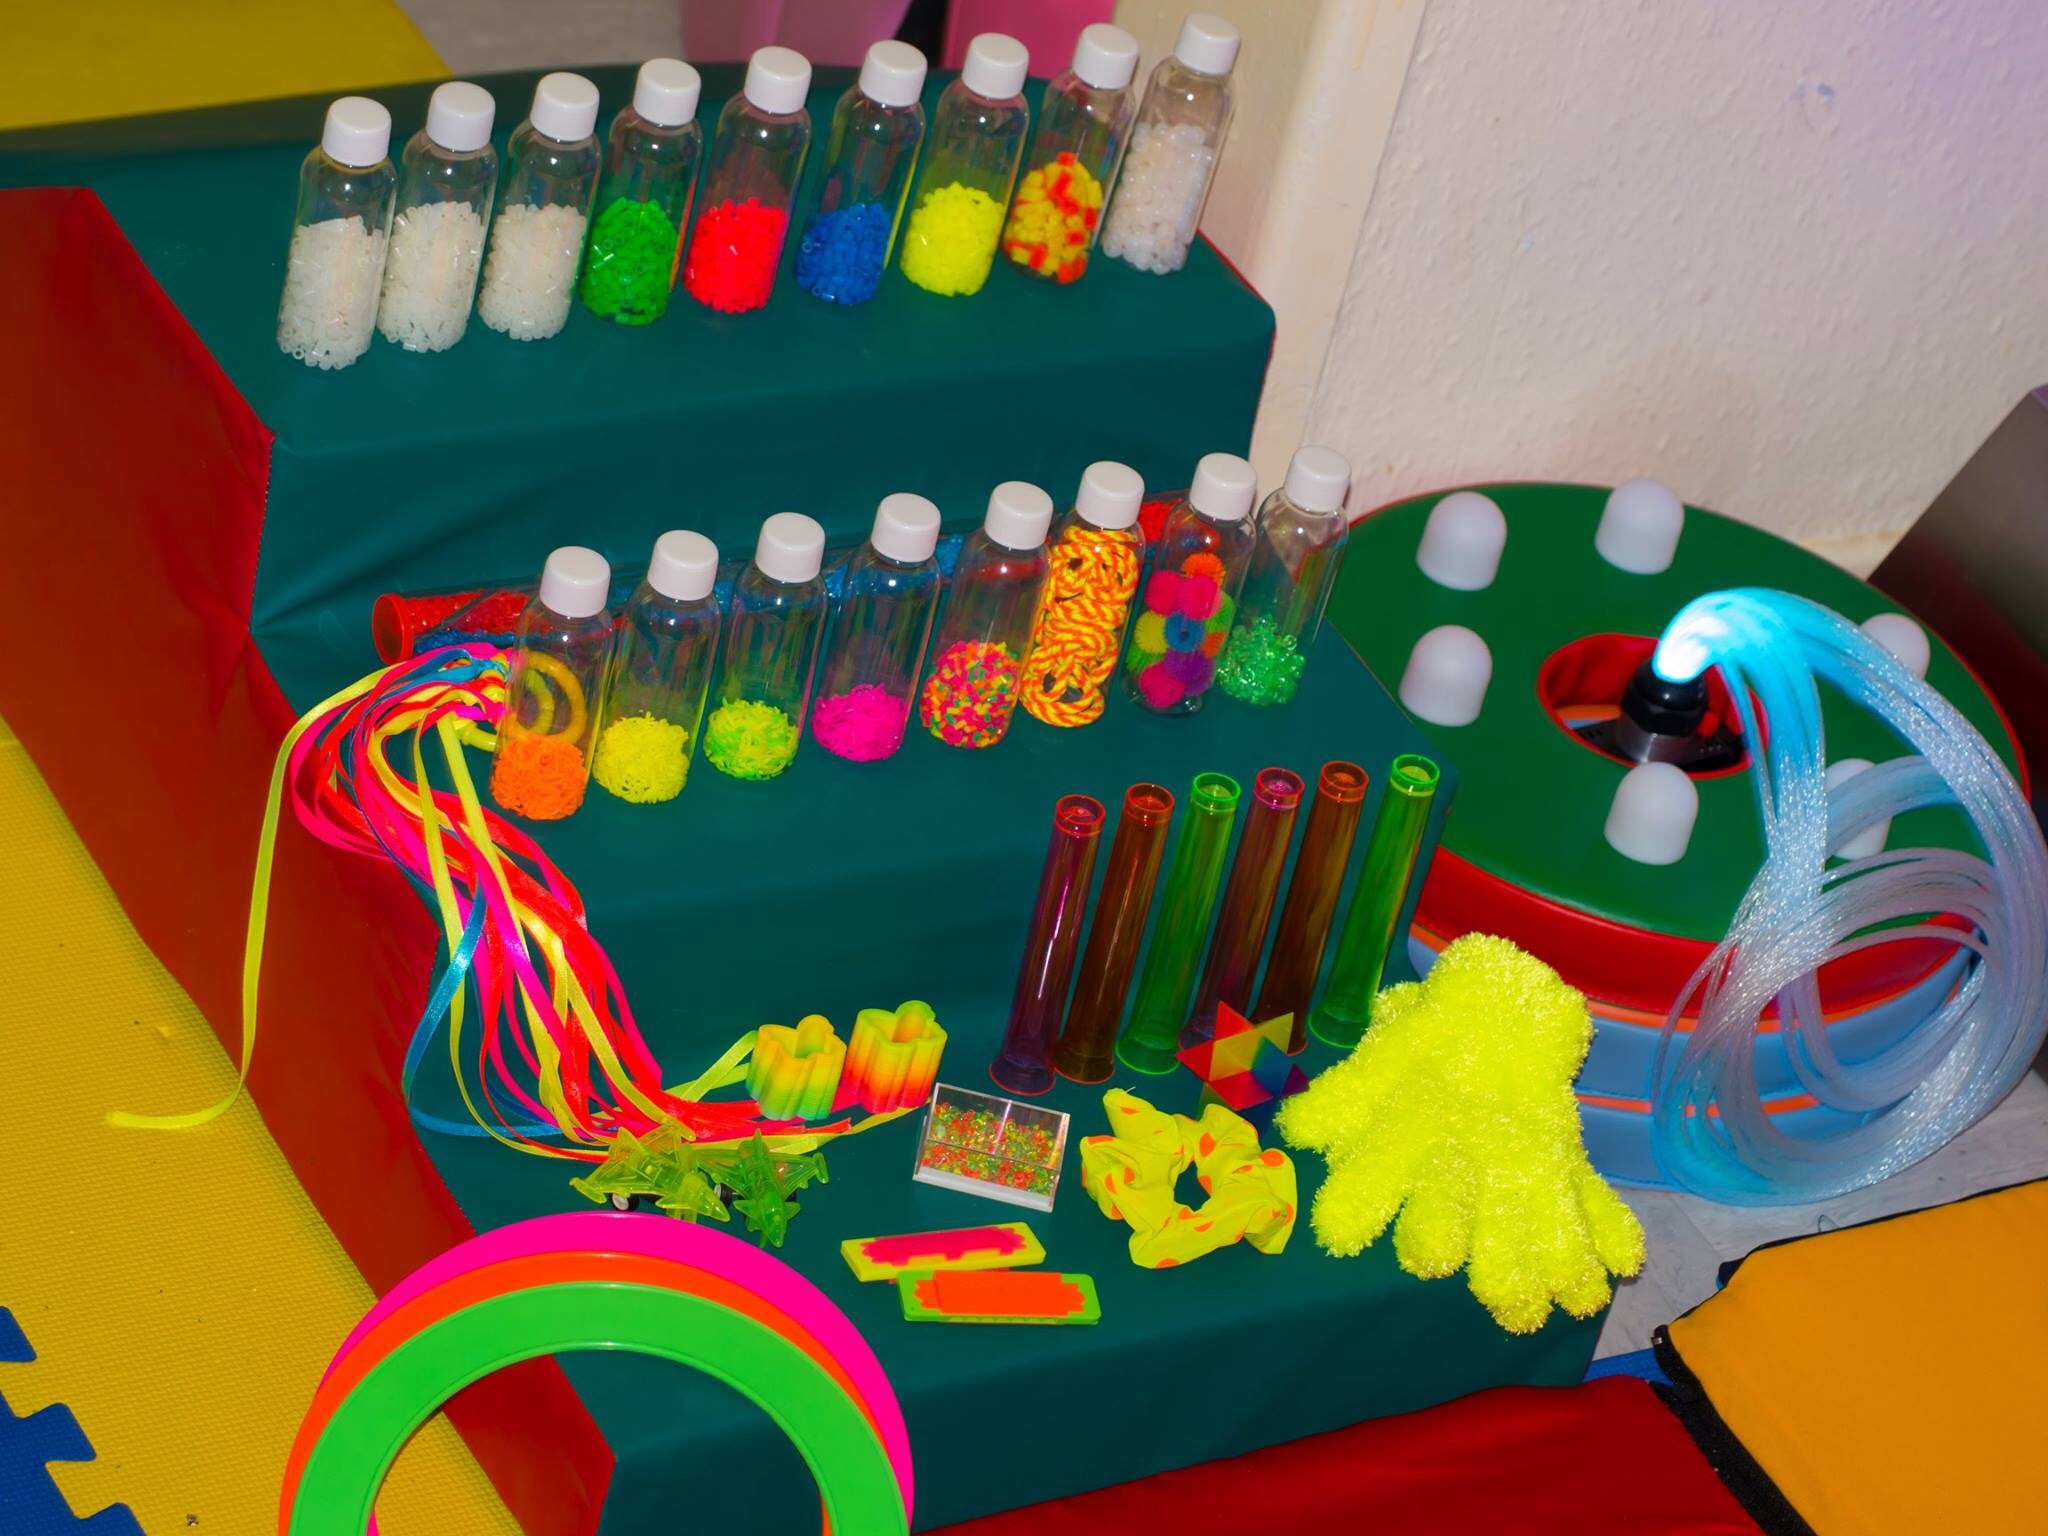
Top row first three bottles have glow in the dark Hama beads inside.

Top row next four bottles have neon coloured Hama beads inside.

top row next bottle has cut up pipe cleaners inside.

top row last bottle has sunny beads inside beads that change colour on sunlight but also change colour under uv light.

Lets start on the bottom row the first four have cut up loom bands in neon colours.

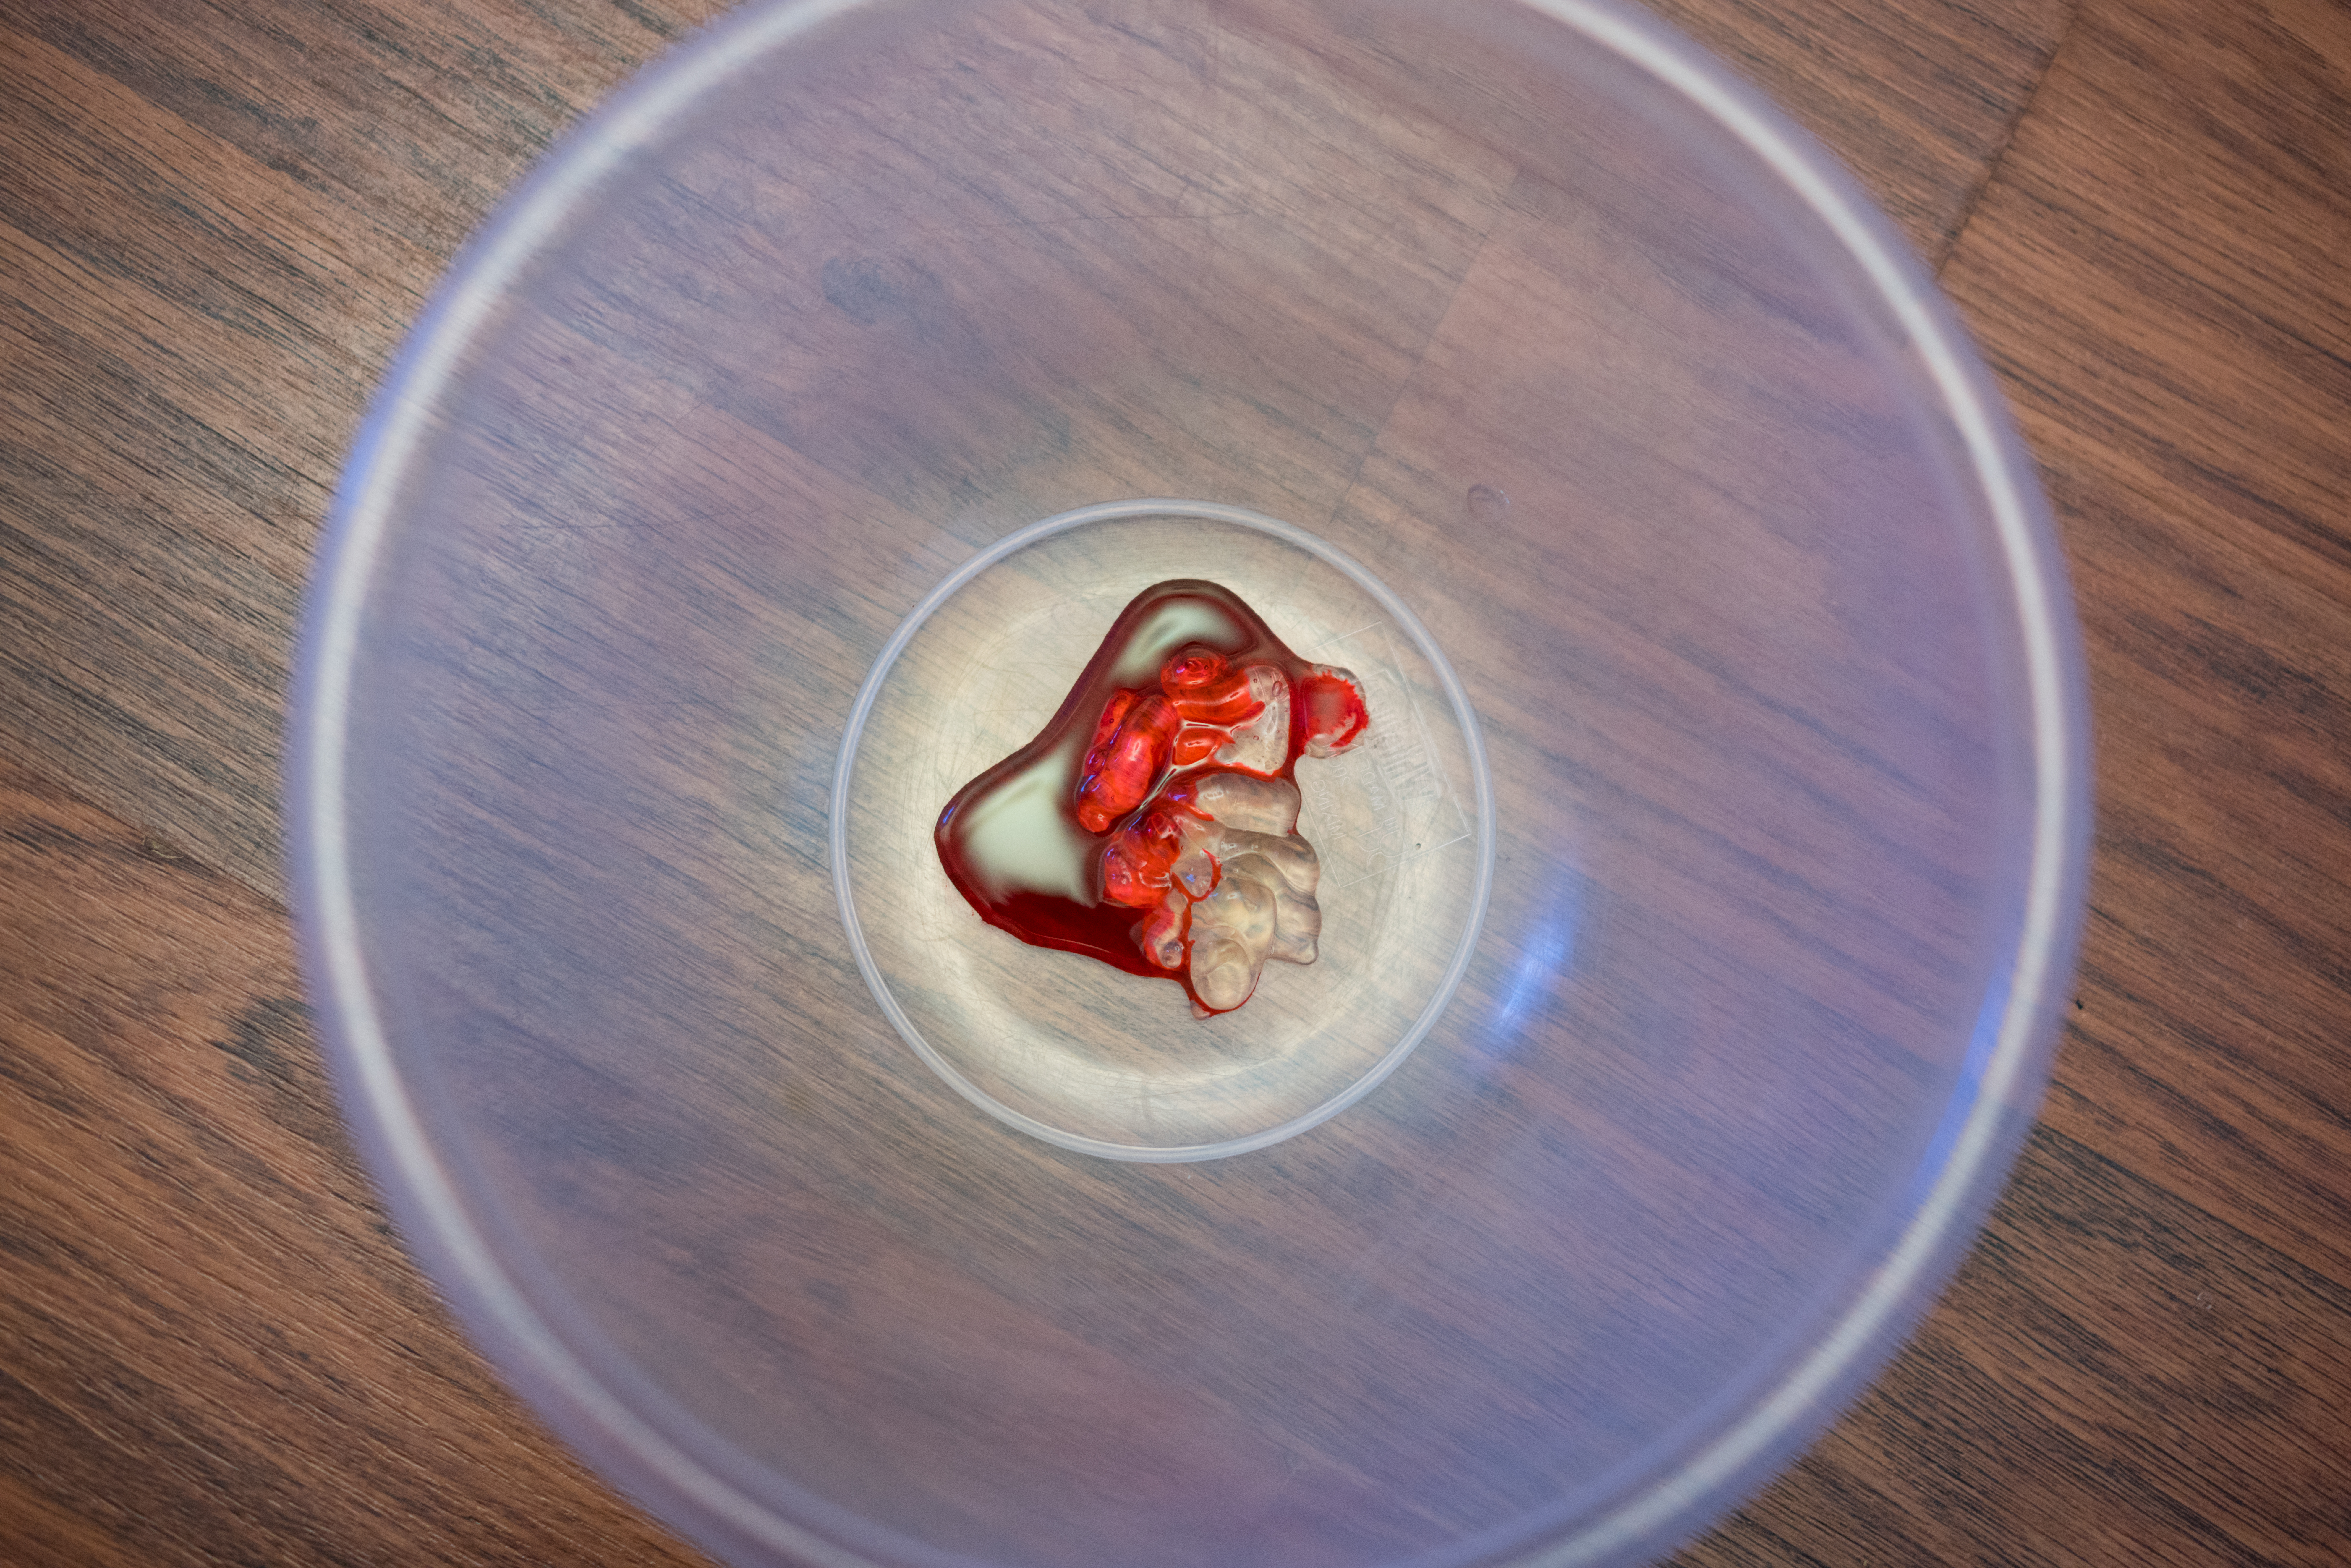
Bottom row next is cut up jelly bracelets in neon colours.

bottom row next is a fidget string toy from the enetertatner toy shop.

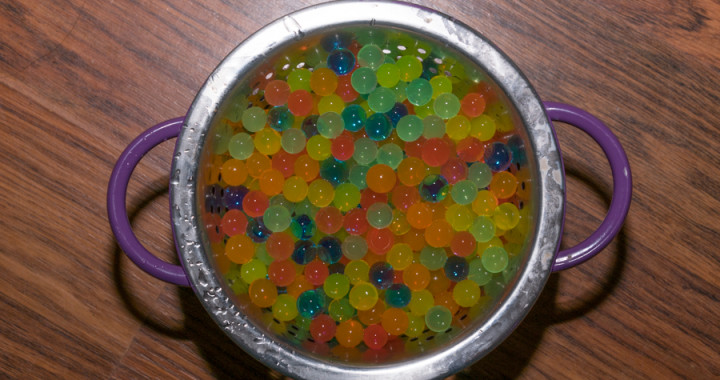
bottom row next is spiked jelly like balls from a cut up bracelet they kind of bounce around inside the bottle as well as having a bright glow under uv light.

the last bottle on the bottom row is neon green plastic beads we already had these from a cheap children jewellery making kit. When I found they had a nice glow I just put them in a bottle.

You can then go a head and glue the tops on. What I did was screw them down tight so Edwin could not get them open.

After the bottles I went on to make a little shaker out of a old earring box tape and some neon seed beads. Neon ribbon ring and some netted fabric in to scarves.

If I’ve missed anything out or anyone needs any more detail feel free to comment and I will do the best I can to help.

How to grow water beads

In this tutorial you will learn how to grow water beads. Water beads are great for sensory play, encouraging children to practice their fine motor skills and colour recognition, they are also very fun to squish and get things very messy!

Step 1: Buy some water beads from here:

Step 2: Find a bowl or a container, if you haven’t got one, geta pretty big one from here:

DSC01267

Step 3: Next open some packets and pour some water beads into the bowl:

DSC01269

Step 4: Next fill the bowl with water:

DSC01272

Step 5: Wait:

DSC01276

Step 6: Wait more!:

DSC01292

Step 7: Pour into a colander to drain the water, if you don’t have one, you can find one at your local pound shop:

DSC01296

Step 8: You’re done, now find a storage container and pour them all in and let your little one play away, our son loves water beads, he especially like squishing them, its made his grip pretty  strong!

BEWARE: Do NOT let your child ingest a water bead, they expand by absorbing water, your body is full of fluids and if your child ingests one it can expand and block their digestive system and cause a lot of pain or even death if they swallow too much, keep your eye on your child at all times when they play with water beads.

If you have any questions, feel free to ask them in the comment section.

If you liked this tutorial please share using the social media buttons to the right or below.

How to make your own crayons

In this tutorial you will find the best way to make your own crayons, its so easy and only takes no time at all. Your children will love all of the different shapes and character crayons you will be able to make for them. This is by far the best method, we have made thousands of crayons this way, you can even make a bit of money by selling them on eBay if you want to.

Step 1: First of all you need the right crayons. We’ve been through alot of crayons trying to find the right ones, I highly recommend Crayola after going through so many brands for the following reasons. Crayola are very easy to peel and don’t have that horrible white residue when you’ve melted them, you can find a small pack from here and a large pack here:

Step 2: Next you will need some bowls, we use these bowls from Amazon:

DSC01170

Step 3: Buy an oven safe silicon mould, make sure its both silicon and oven safe, this is very important, we have had some non oven safe ones that have melted in the past, we got this cool transport one from here:

DSC01176

Step 4: If you would like to see a very quick technique on how to peel the paper from a crayon, follow this tutorial:

DSC01173

Step 5: Once your crayons are peeled you can snap them into little pieces like this:

DSC01177

Step 6: Then place them in the mould, make sure you don’t mix colours (unless you want to):

DSC01178

Step 7: Place the mould on a baking tray and put it in the middle of the oven, you don’t have to pre-heat the oven. Set the oven to 110° and wait ~9-11 minutes, keep checking on it. Once the crayons have completely melted into a liquid and have a flat surface you can take them back out.

Step 8: This step is very important, as soon as you take the mould out of the oven the liquid crayons will have bubbles on and inside them. Quickly grab a sharp knife and gently stir a colour, then pop the tiny bubbles, the easiest way to do this is to push the bubbles to the sides and pop them from there. You must wipe the knife clean with a tea towel before you move onto the next colour or the colours will mix. Once you have popped all of the bubbles it should look something like this:

DSC01180

Step 9: Leave the liquid crayons to cool for about 30 minutes:

DSC01181

Step 10: Once the crayons have cooled you need to pop them out of the mould, this can sometimes be quite tricky, the best way to do this is the pull the mould from around the crayons edges and then popping it out, rather than just pushing it through from behind. Sometimes if you didn’t stir the liquid crayon properly the crayons can end up with bubbles inside, one of ours had this problem, if this happens just put it back in the mould and put it back in the oven and try again. If you did this correctly you should end up with some perfect crayons for your little one, enjoy!

DSC01182

If you have any questions, feel free to ask them in the comment section.

If you liked this tutorial please share using the social media buttons to the right or below.

How to peel paper from crayons

This super easy tutorial will teach you a very quick way to peel the paper from a crayon. We used to do the cold/warm water technique but it sometimes took hours of waiting for the paper to start peeling off then peel the rest off by hand. This method literally takes just seconds and is by far the easiest method. If you want to learn how to make these crayons onto different shapes follow THIS tutorial:

Step 1: First of all you need the right crayons. We’ve been through alot of crayons trying to find the right ones, I highly recommend Crayola after going through so many brands for the following reasons. Crayola are very easy to peel and don’t have that horrible white residue when you’ve melted them, you can find a small pack from here and a large pack here:

Step 2: Next you will need some bowls, we use these bowls from Amazon:

DSC01170

Step 3: Sort the crayons into the same colour, this is important, you have to read the colour on the crayon as some crayons look very similar colours to others. Separate each different colour into different bowls, if you don’t do this, the colours can mix and the end result will look patchy.

DSC01171

Step 4: Fill the bowl halfway up with hot water from the tap, not too hot, but not warm or cold, the correct temperature should be just when your hands start to feel uncomfortable when you have them under the tap. Do not use boiling water as your crayon will melt very quickly.

DSC01172

Step 5: Within seconds you will see the crayon peel itself! This is very fun to see:

DSC01173

Step 6: As soon as you see the paper come loose from the crayon, quickly take the paper out of the bowl and drain the water out or the crayon will slowly melt. Some colours of crayons need a little extra help even with hot water, you can easily peel the paper off though by just pulling on it, if there are still some scraps of paper left on the crayon just slide your fingers up and down the crayon and the paper will easily come off:

DSC01175

Step 7: Next you need to dry the crayons, dry them one by one with a tea towel and your done! We store ours in zip lock bags, make sure you use a different zip lock bag for each colour and store them in a cool dry place.

If you have any questions, feel free to ask them in the comment section.

If you liked this tutorial please share using the social media buttons to the right or below.

How to make a plant pot.

An easy tutorial on how to make a plant pot for use in messy play or any kind of play activity! You and your child will have fun making this! We used it for the bee hive messy play sensory tray here.

Step 1: Find an old, empty play doh carton (yoghurt pots work too!):

DSC01121

Step 2: Try and find some felt laying around if you have any, if you don’t have any, you can get cheap felt from here:

DSC01123

Step 3: Wrap the felt around the pot:

DSC01124

Step 4: Stick some of the felt to the bottom of the carton with double sided sticky tape, then find a bobble and put it around carton and felt near the top like this:

DSC01128

Step 5: Put some cotton wool pads inside the carton:

DSC01130

Step 6: Shred some green paper up and stuff that inside too:

DSC01148

Step 7: Buy some sunflower heads from Amazon:

DSC01149

Step 8: Buy some drain cleaners and take a green one and wrap it around the sunflower head’s stalk like this:

DSC01150

Step 9: Put the new flower you just made in the plant pot and your done!

DSC01144

If you have any questions, feel free to ask them in the comment section.

If you liked this tutorial please share using the social media buttons to the right or below.

How to make a beehive!

A fun tutorial on how to make a beehive for use in messy play or any kind of play activity! The best part is, it’s fun for children to help make it too! We used it for the bee hive messy play sensory tray here.

Step 1: This is the hard part ….. eat a pot noodle! but keep the plastic cup:

DSC01081

Step 2: Turn the cup upside-down and cut an arch out like this:

DSC01082

Step 3: Find some cotton wool pads and selotape them to the underside of the cup:

DSC01083

Step 4: Find a newspaper , rip a page out and roll it up, then selotape it so it looks like this:

DSC01085

Step 5: Wrap the length of paper you just made around the base of your beehive:

DSC01086

Step 6: Make more of these lengths of paper and wrap them around the beehive and keep working your way up until there is no more space:

DSC01087

Step 7: Next you need to paper mache the entire thing with news paper and pva glue:

DSC01088

Step 8: Then the same with tissue paper for a base white layer that will take the yellow paint we are going to use later. Wait about two days for the glue to dry:

DSC01105

Step 9: While its drying you can try to find some acrylic paint and some brushes, we got ours from Wilko:

DSC01104

DSC01106

Step 10: Once its dry you can paint it, use yellow paint and paint it all over, three coats should be enough, let them dry for about a day. Cut out some blades of grass using green felt and stick it to the bottom using glue. Then wrap some string around the beehive to make it look like it has sections, then when your done, it should look a bit like this:

DSC01109

If you have any questions, feel free to ask them in the comment section.

If you liked this tutorial please share using the social media buttons to the right or below.

How to make coloured rice

An easy and cheap way to make coloured rice for messy play.

Step 1: Find a mixing bowl and spoon:

DSC01089

Step 2: Get a 2kg bag of rice:

DSC01091

Step 2: Buy some hand sanitizer, the hand sanitiser :

DSC01093

Step 3: Buy some Wilton Neon food colouring from Amazon:

DSC01090

Step 4: Mix about 4 squirts of hand sanitiser and 4 or 5 drops of food colouring into the mixing bowl and mix together until one solid colour.

DSC01095

Step 5: Add a handful of rice:

DSC01096

Step 6: Mix with colour solution:

DSC01097

DSC01098

Step 7: Add some more rice:

DSC01099

Step 8: Mix in the extra rice:

DSC01100

Step 9: All done, now wait a few hours for it to try and once it dried, you can start using the coloured rice for messy play! Click here for messy play ideas, or click here or on the picture below for a tutorial on how to make the sensory box below.

DSC01101

If you have any questions, feel free to ask them in the comment section.

If you liked this tutorial please share using the social media buttons to the right or below.