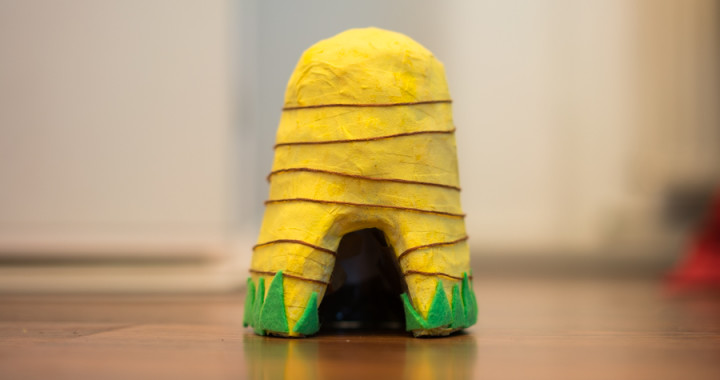
A fun tutorial on how to make a beehive for use in messy play or any kind of play activity! The best part is, it’s fun for children to help make it too! We used it for the bee hive messy play sensory tray here.
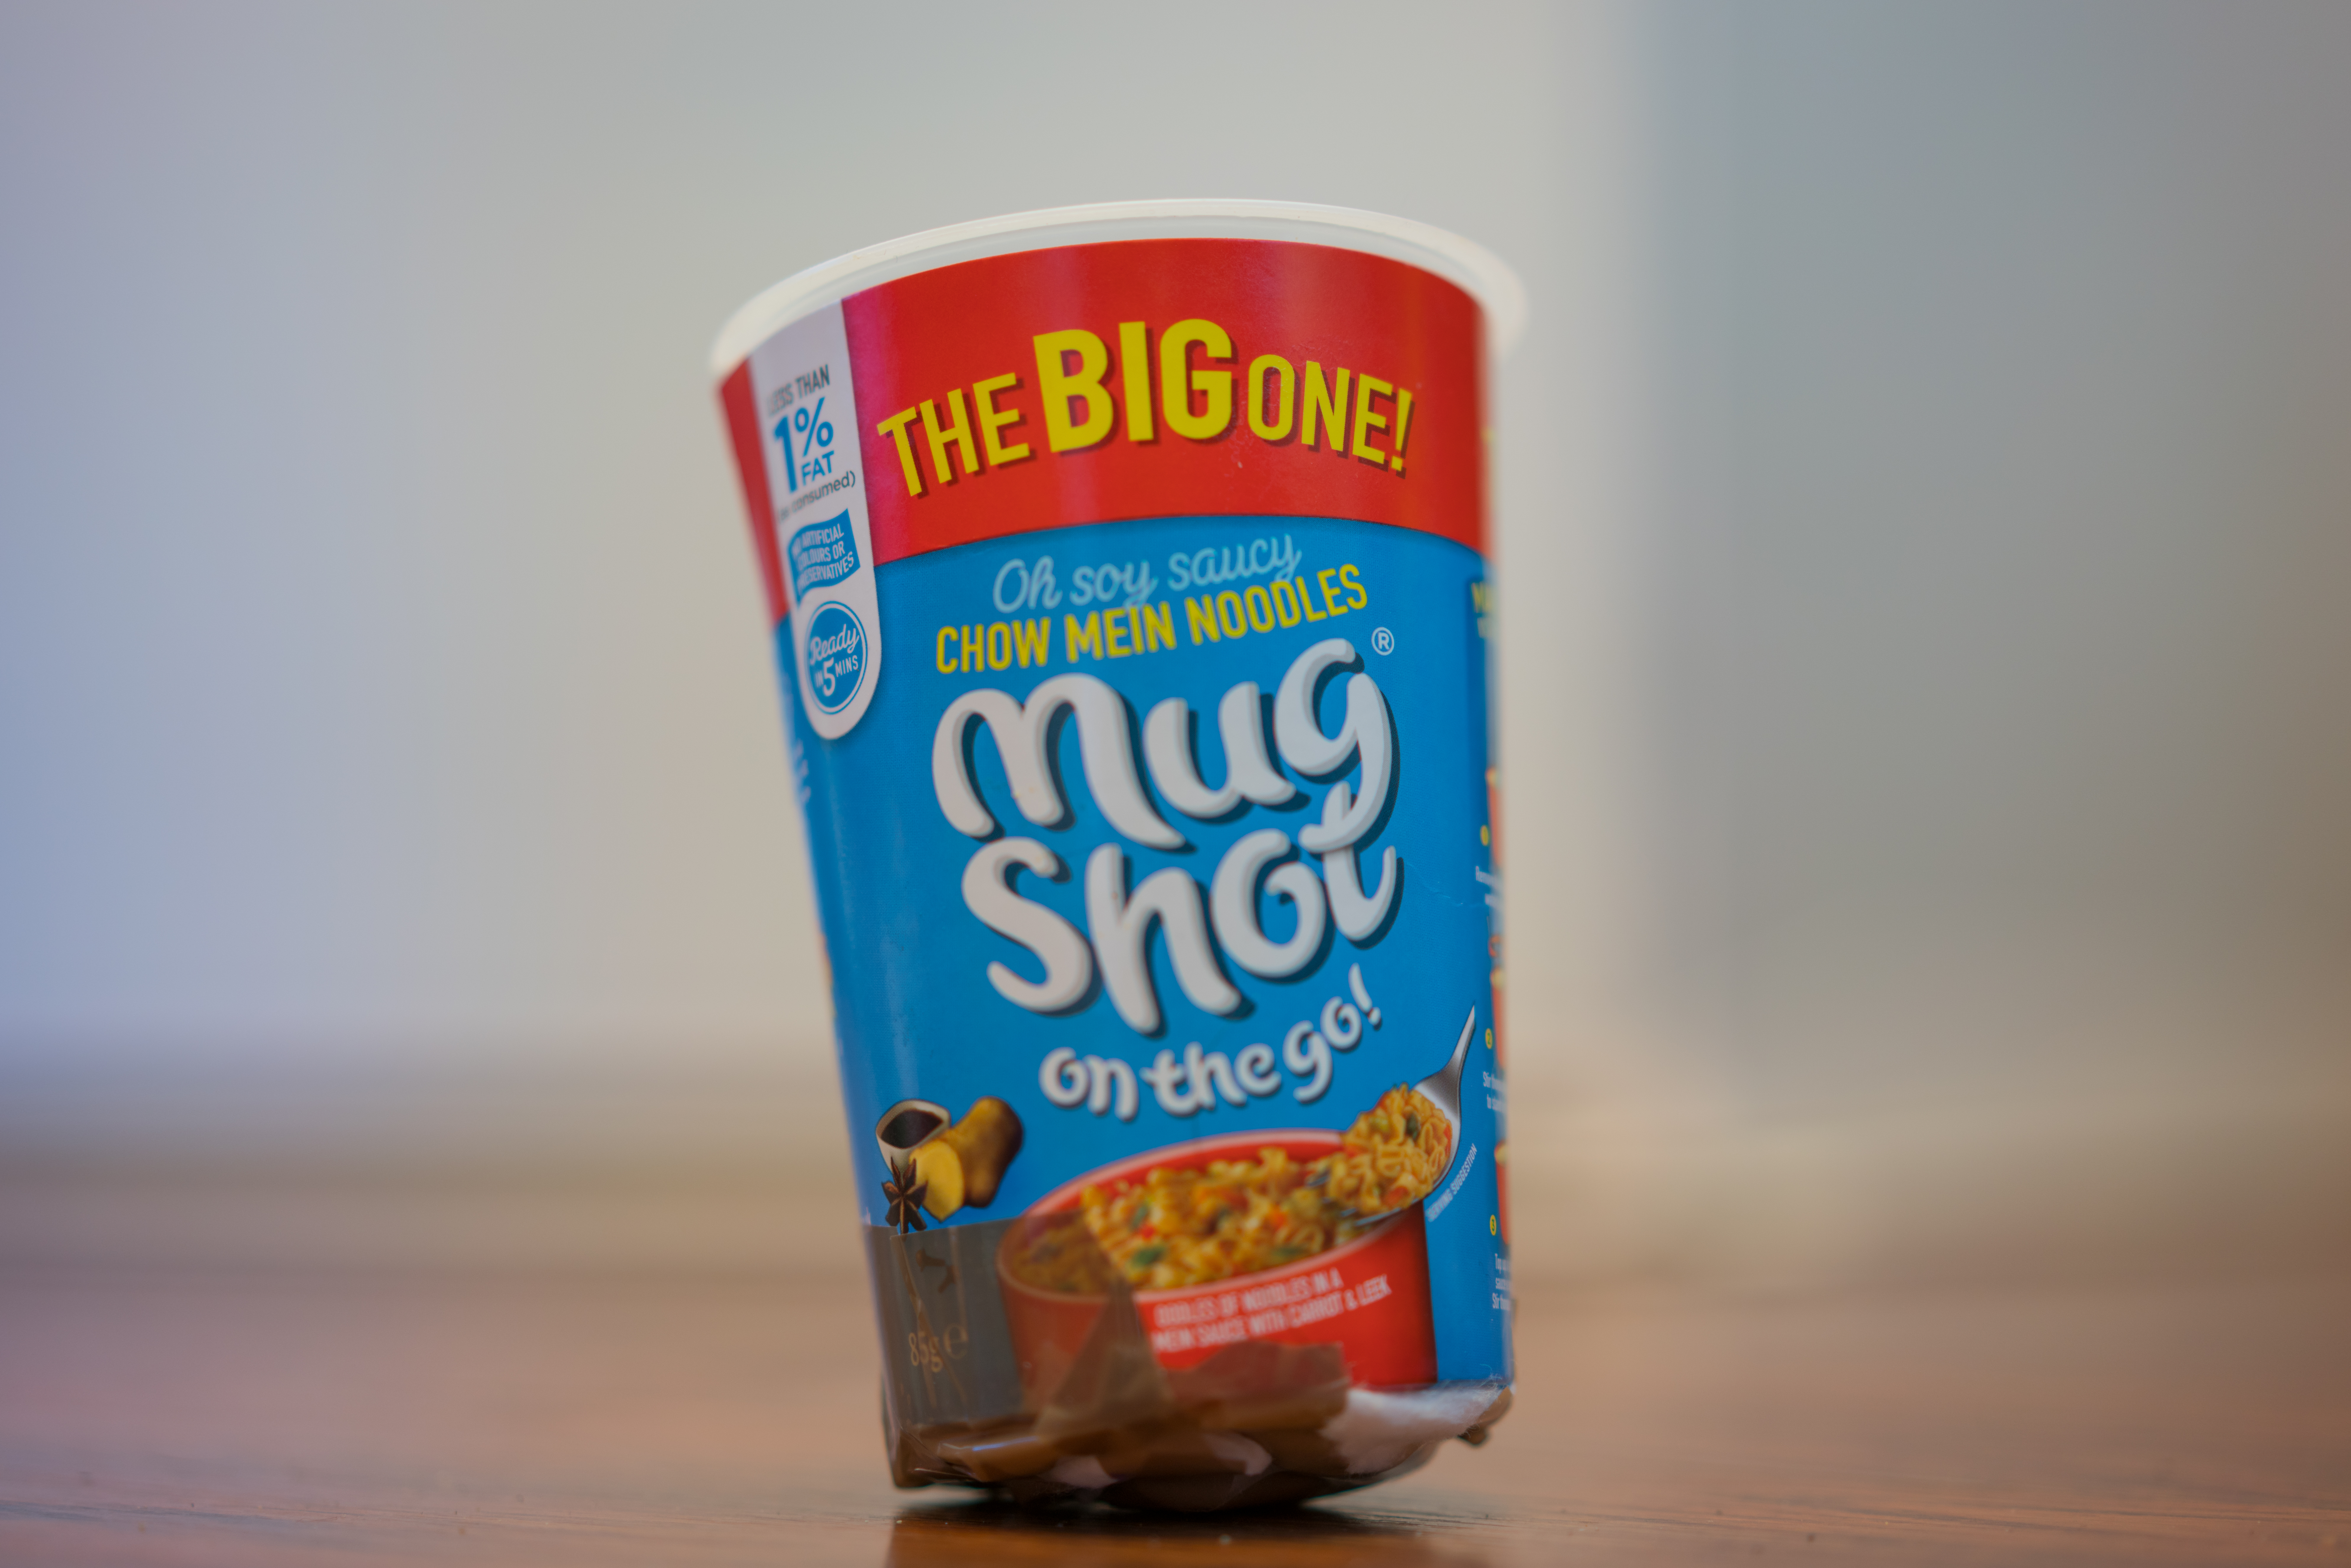
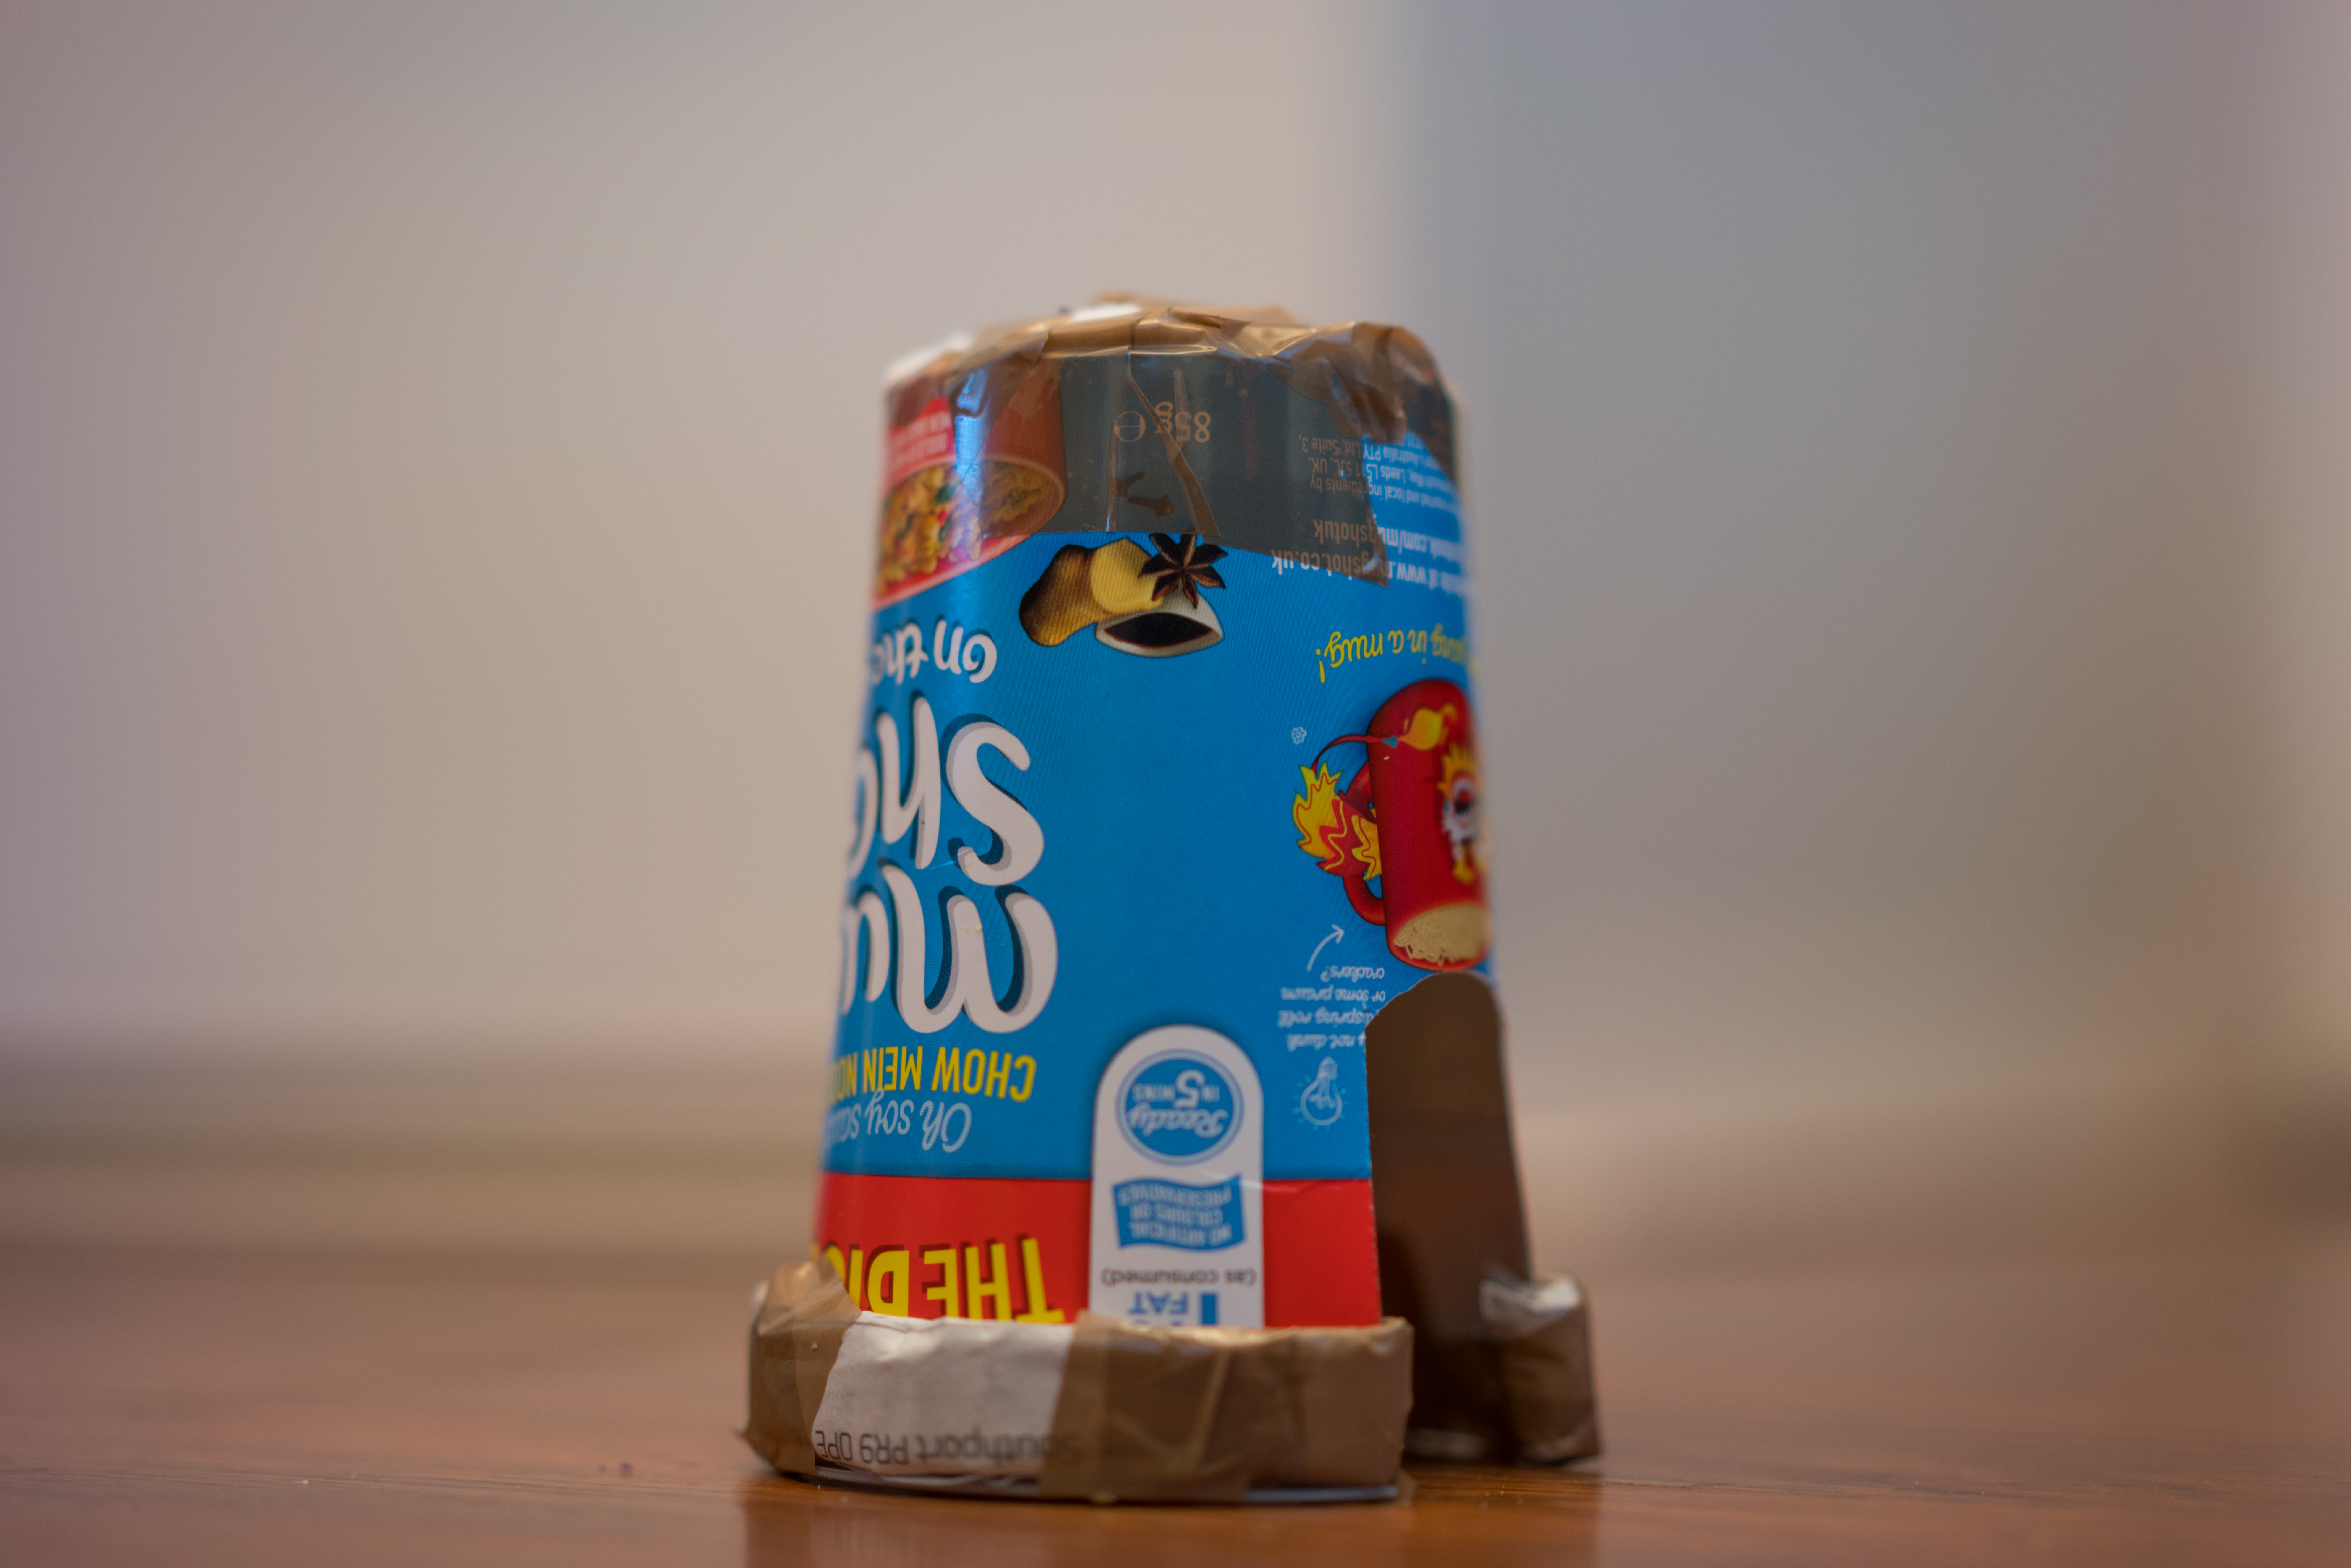
Step 1: This is the hard part ….. eat a pot noodle! but keep the plastic cup:
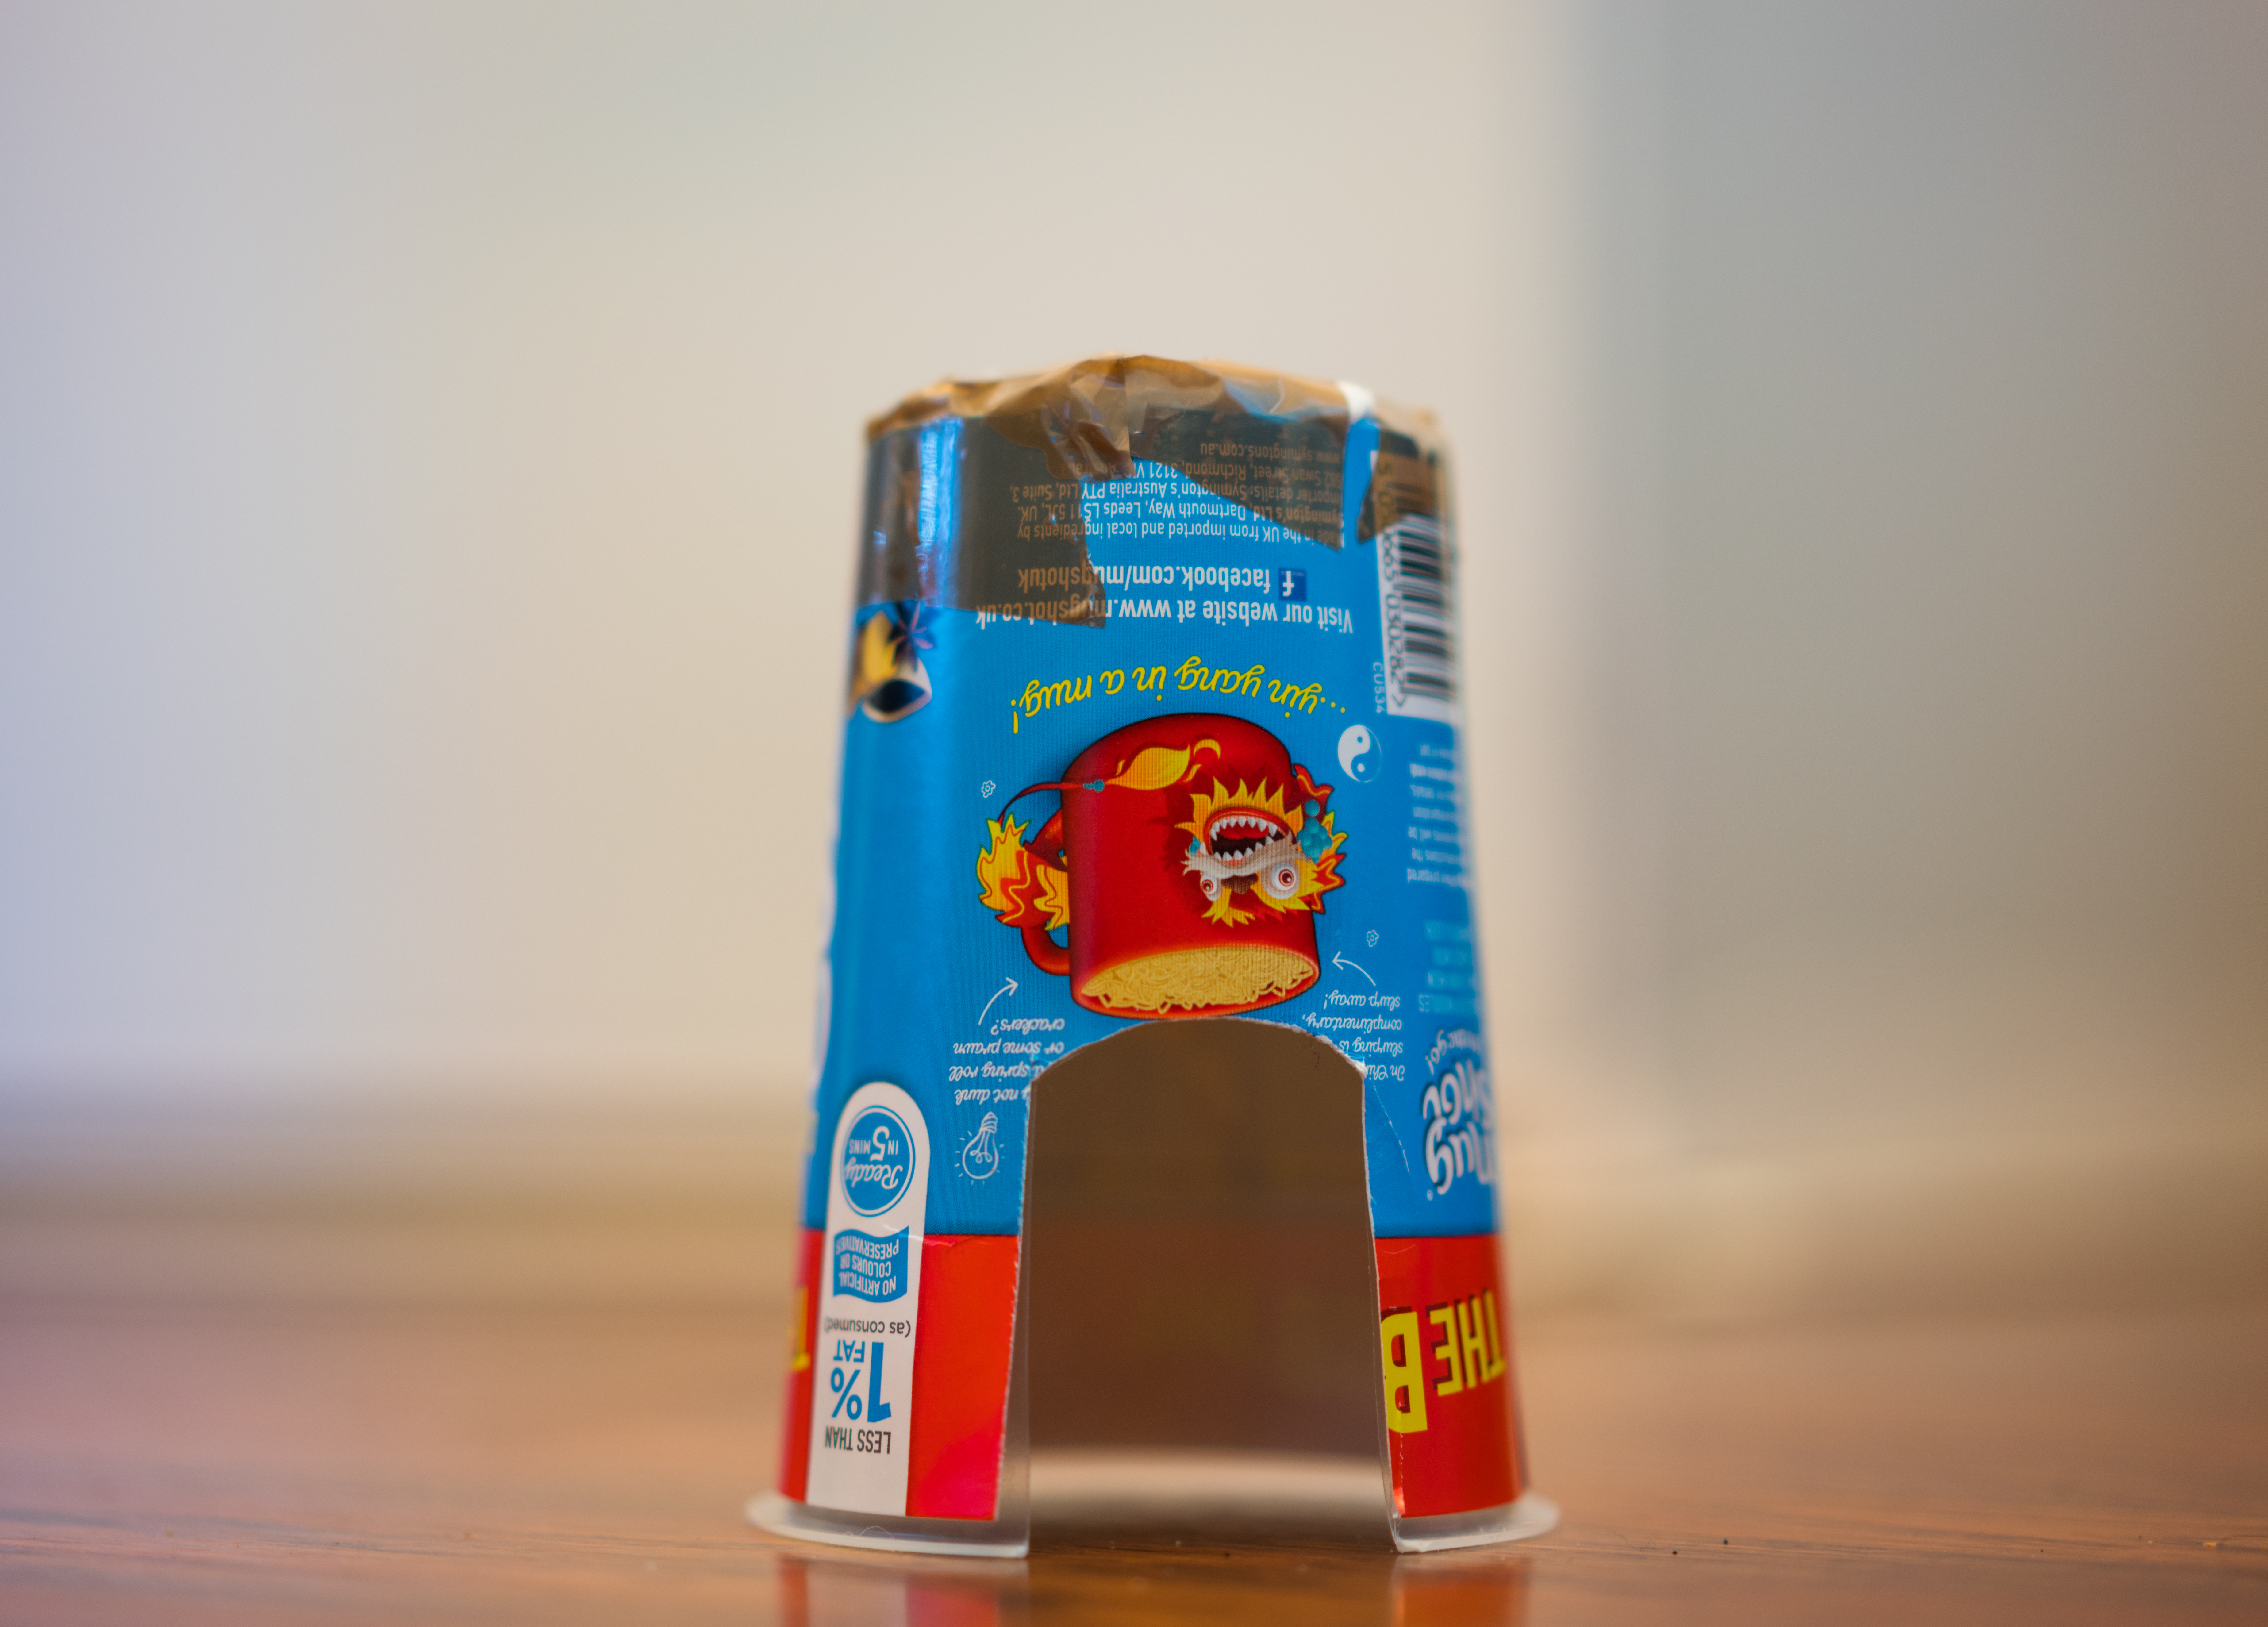
Step 2: Turn the cup upside-down and cut an arch out like this:
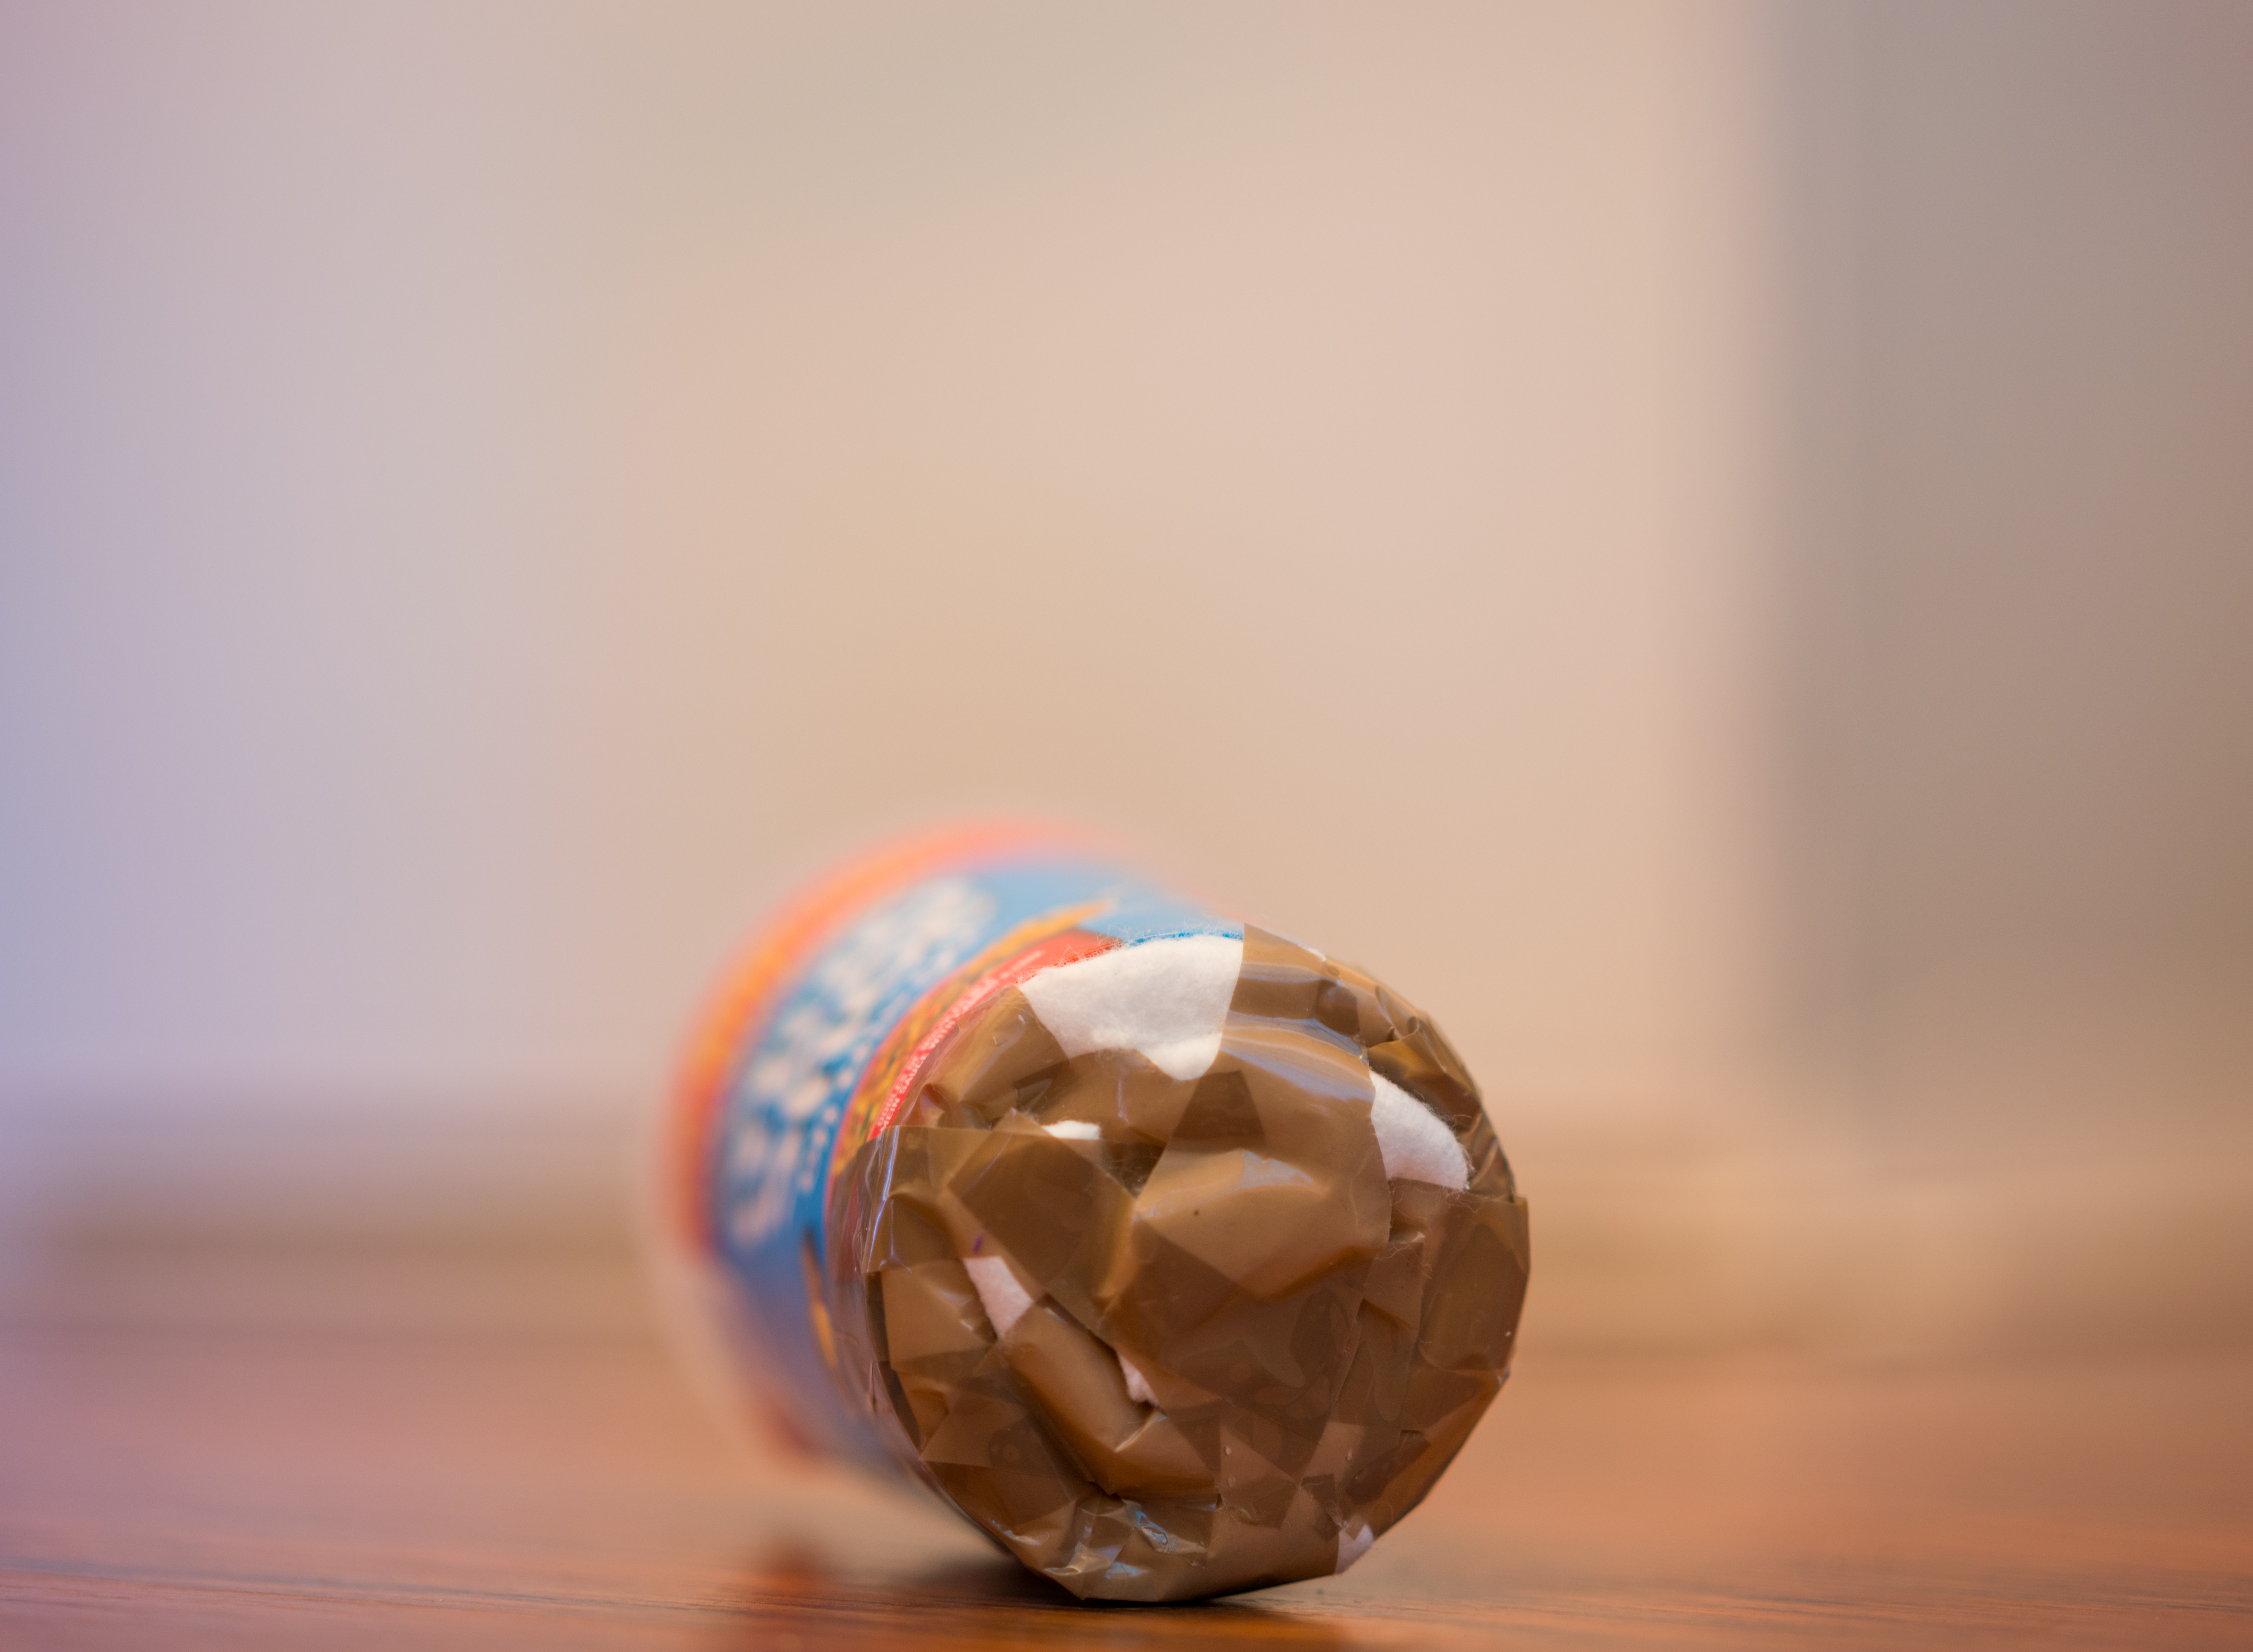
Step 3: Find some cotton wool pads and selotape them to the underside of the cup:
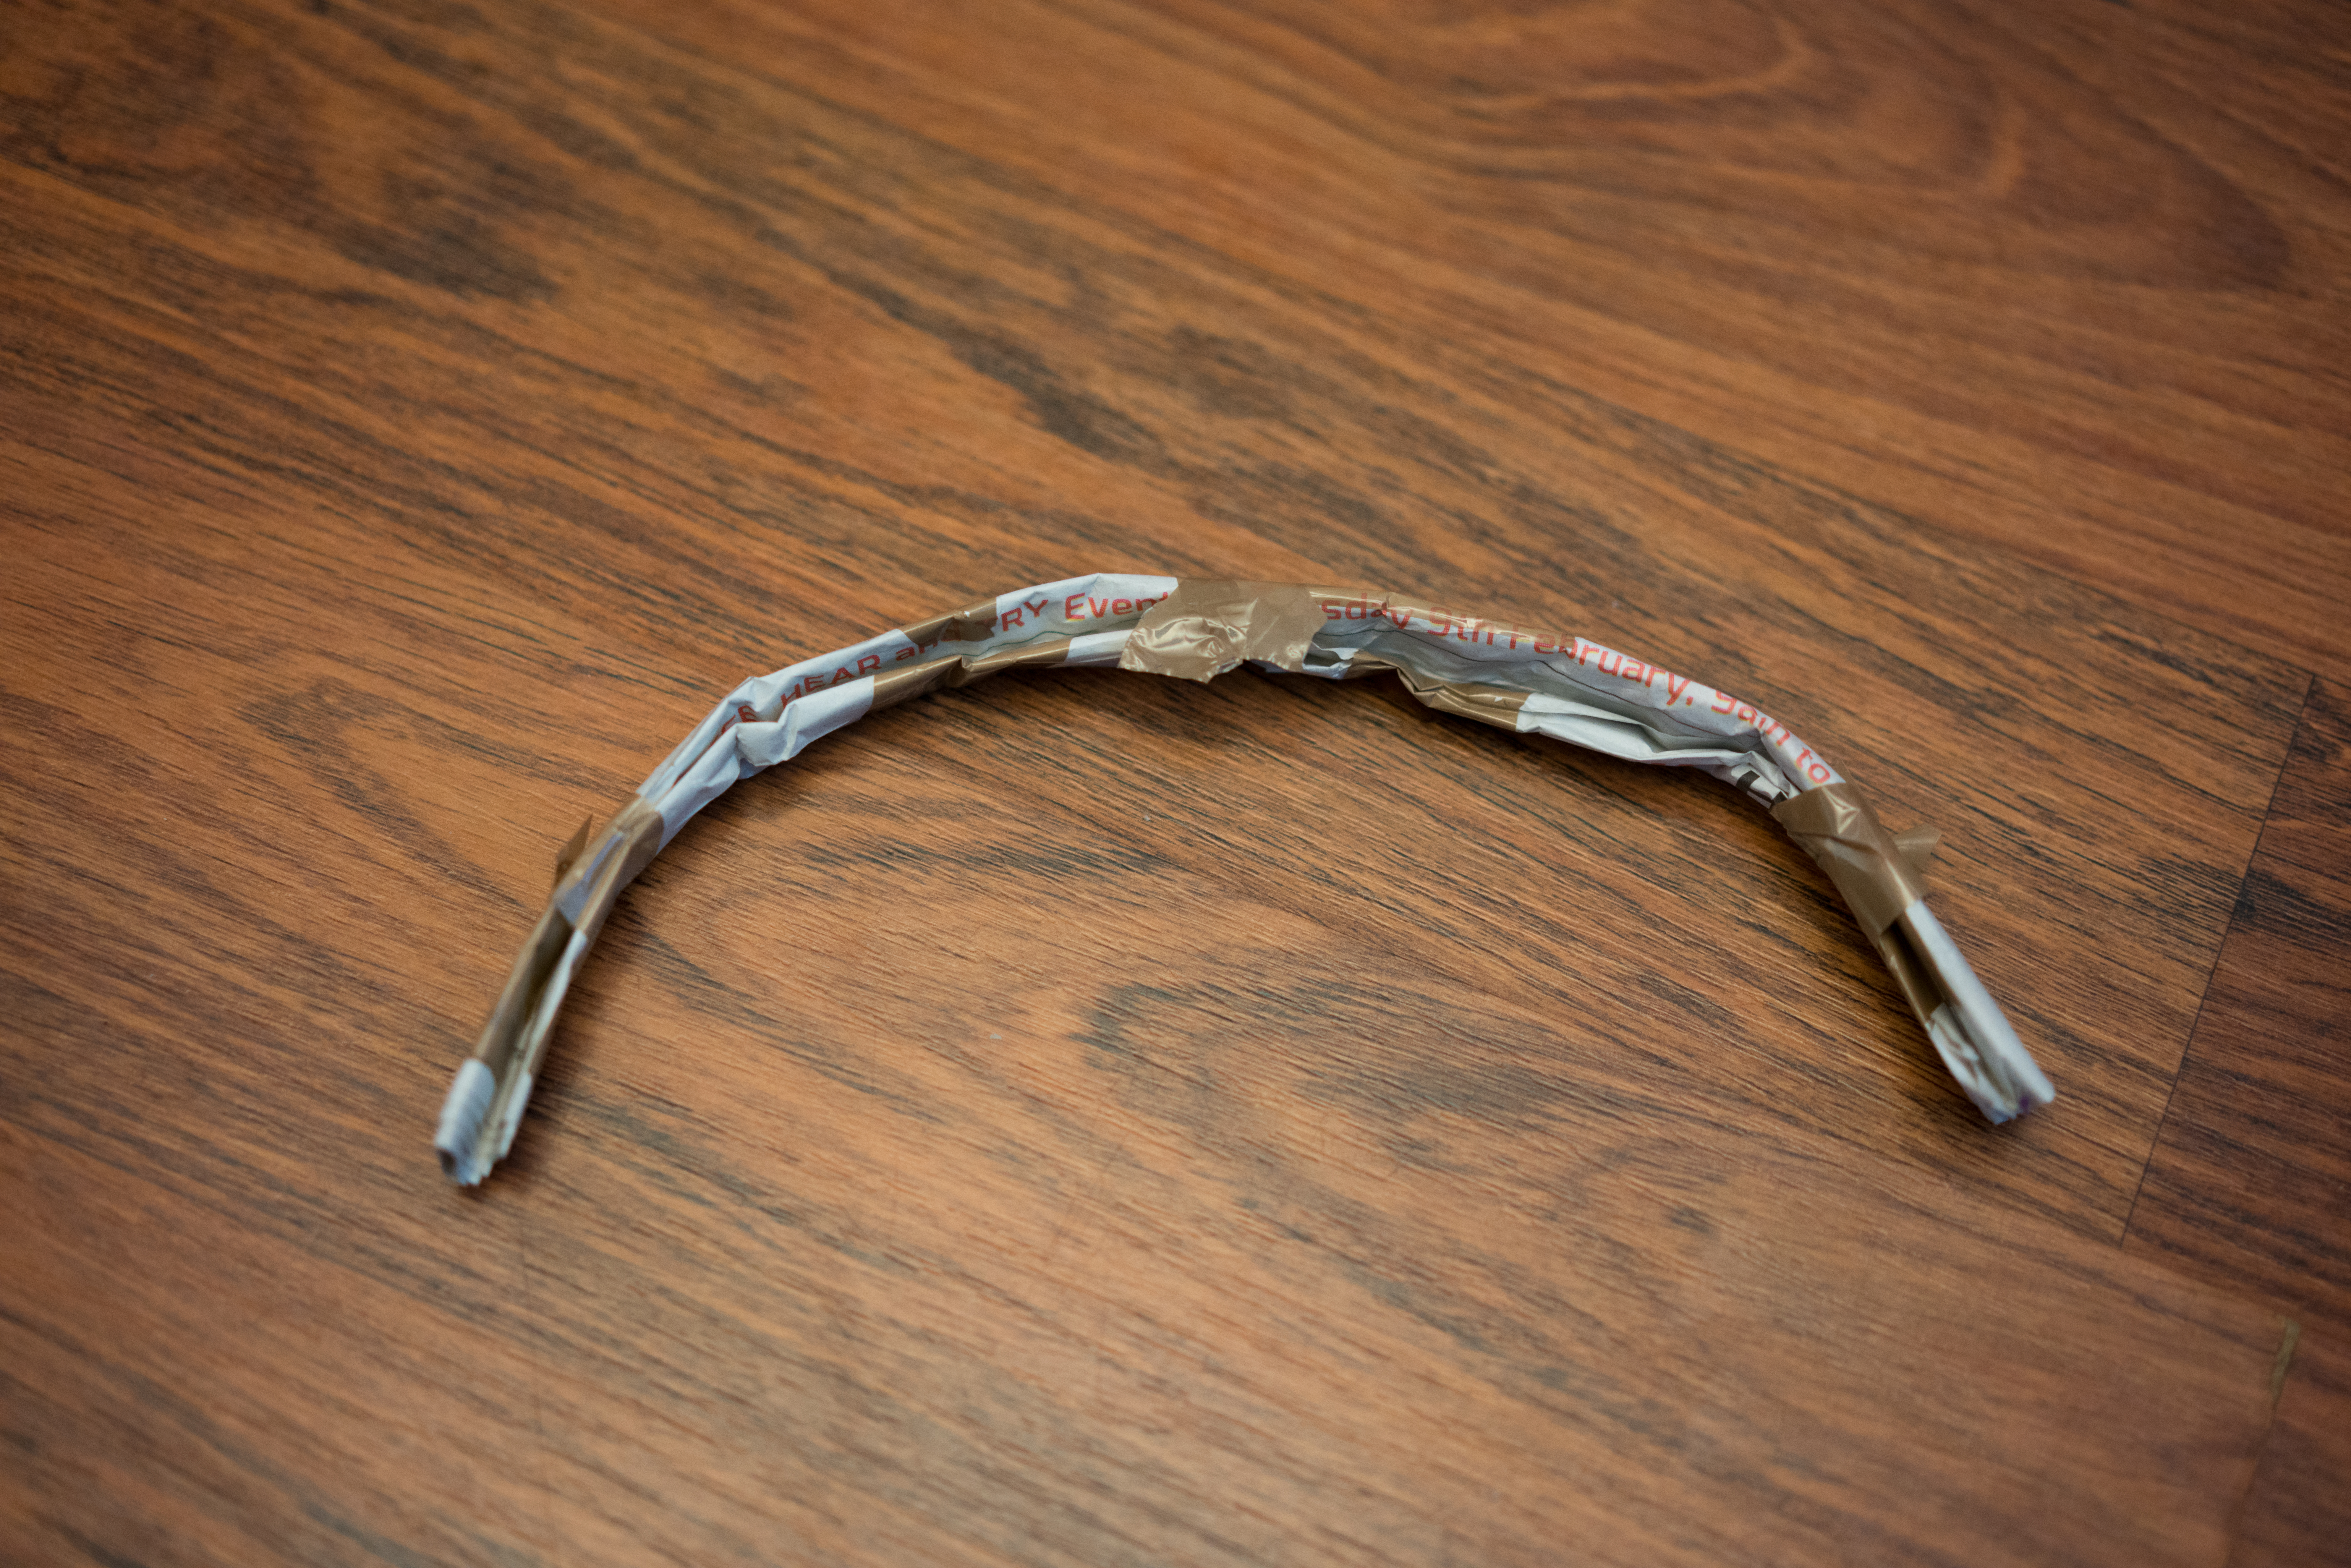
Step 4: Find a newspaper , rip a page out and roll it up, then selotape it so it looks like this:
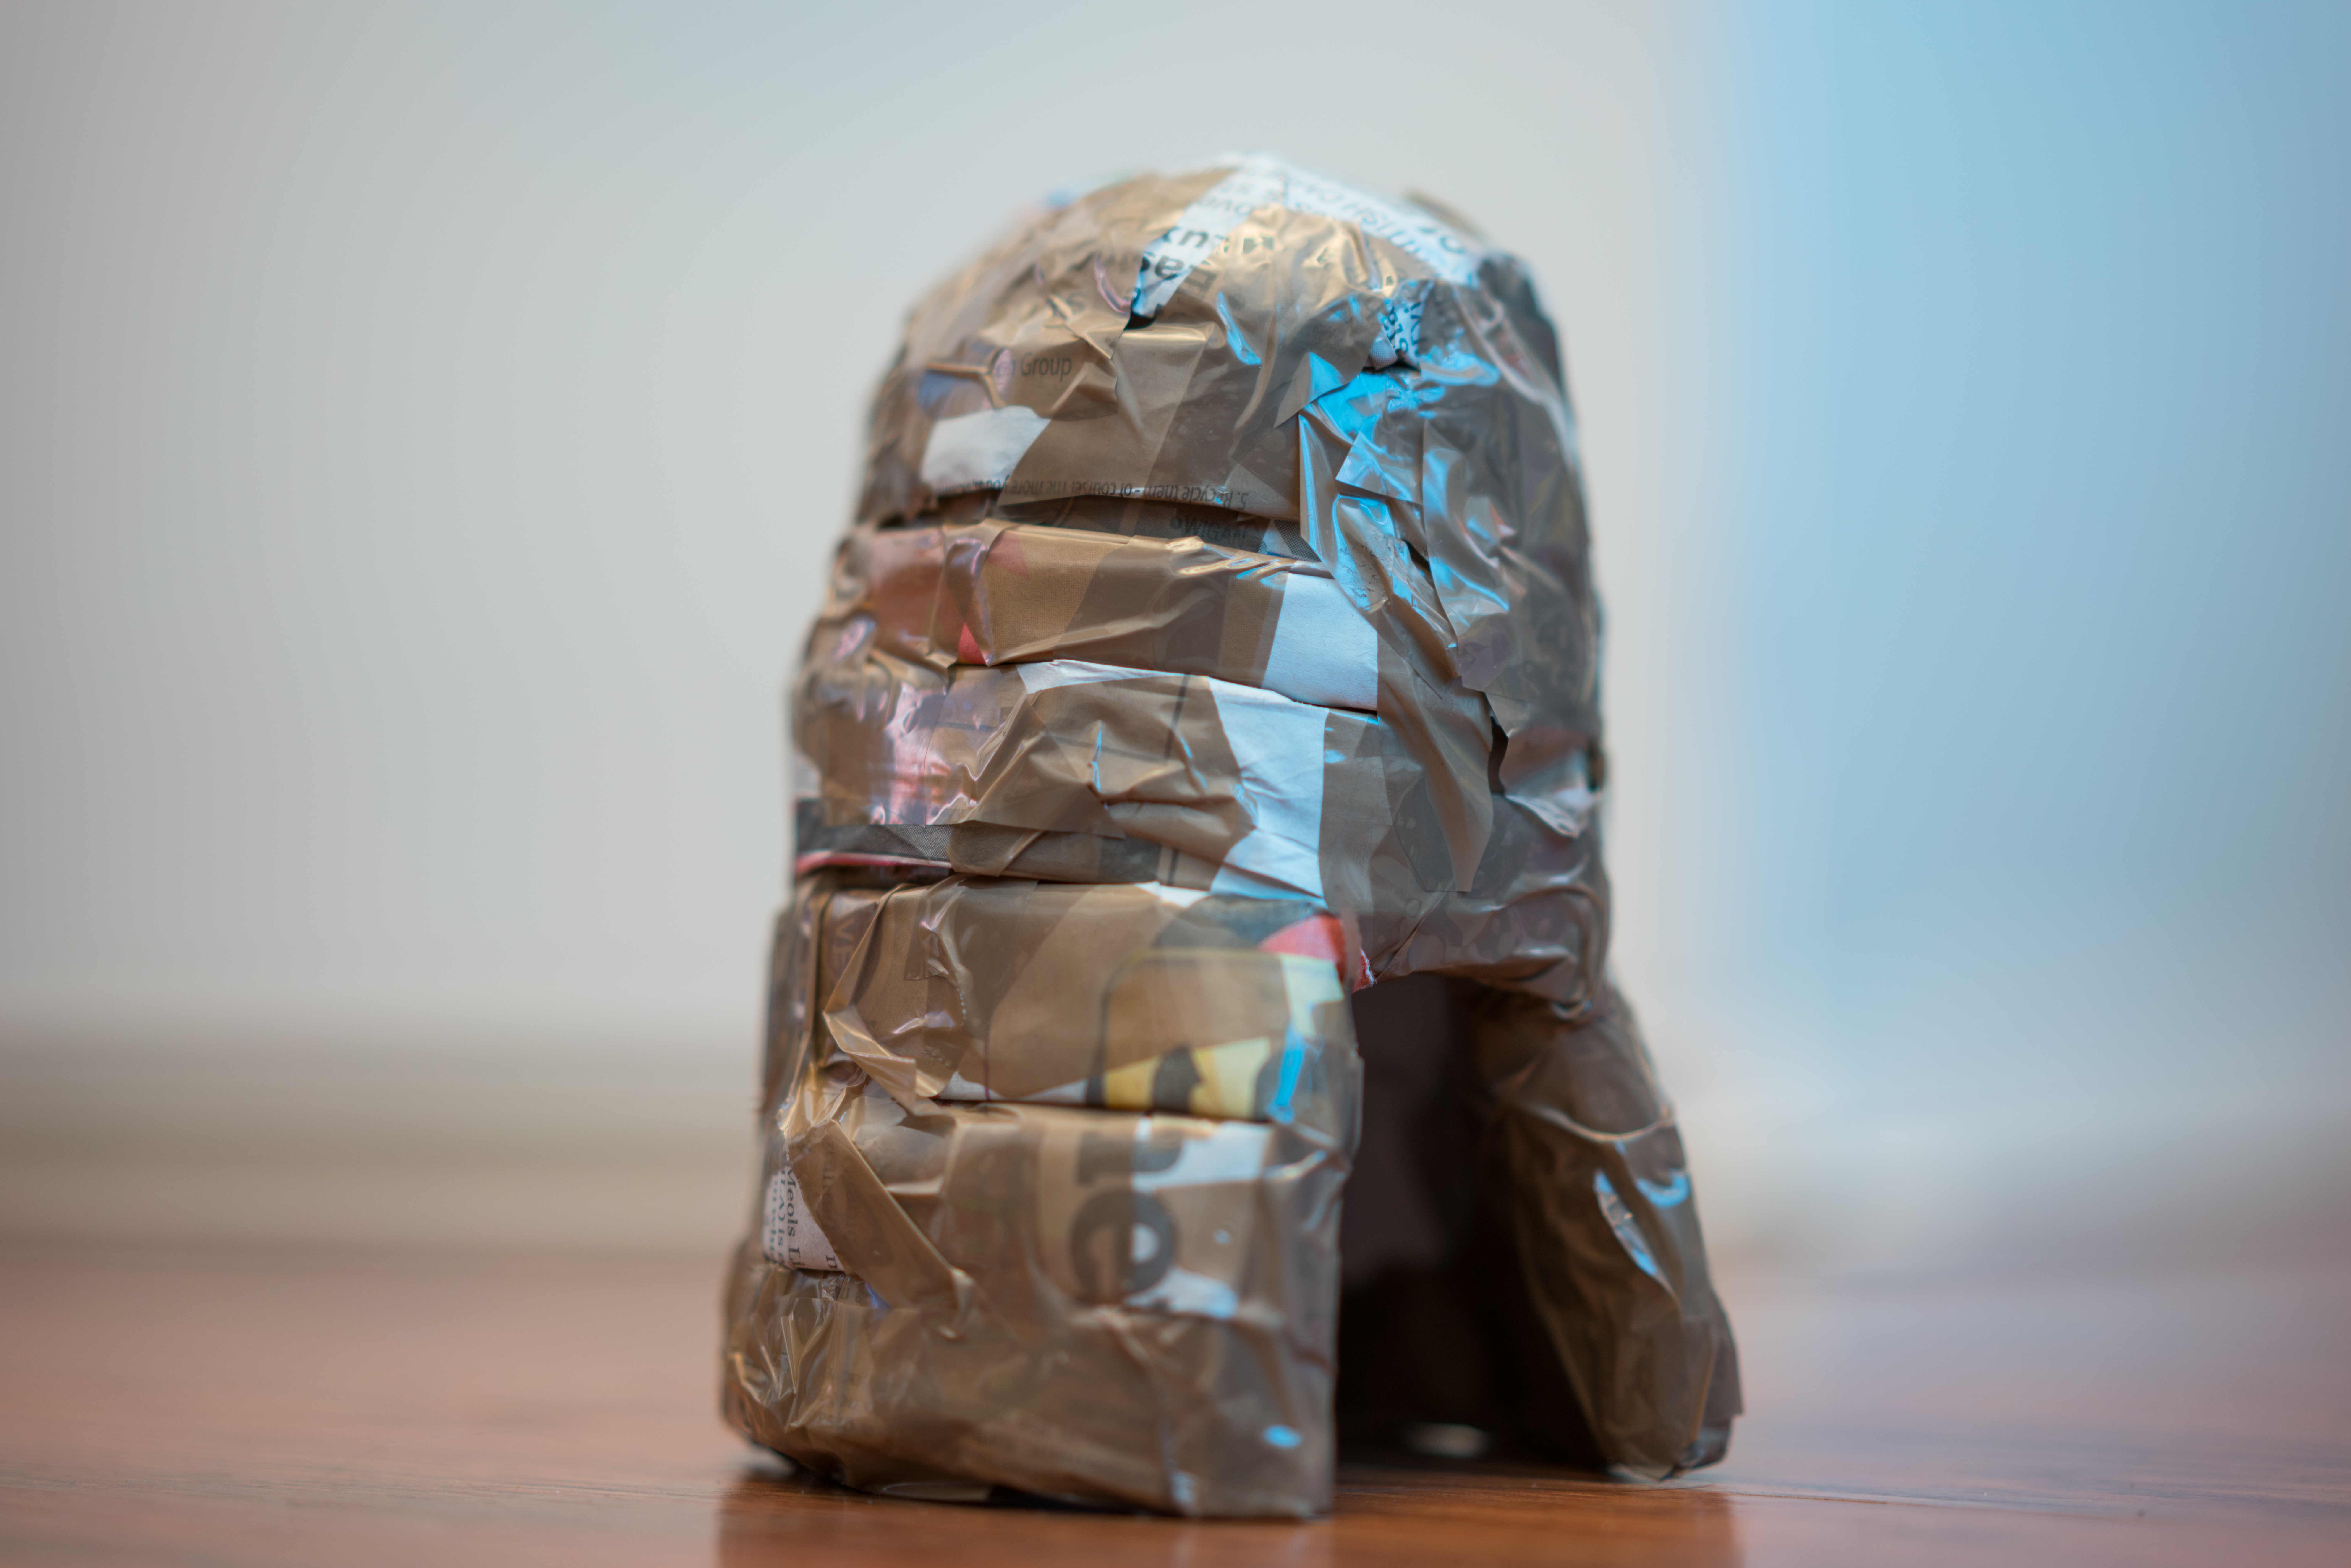
Step 5: Wrap the length of paper you just made around the base of your beehive:
Step 6: Make more of these lengths of paper and wrap them around the beehive and keep working your way up until there is no more space:
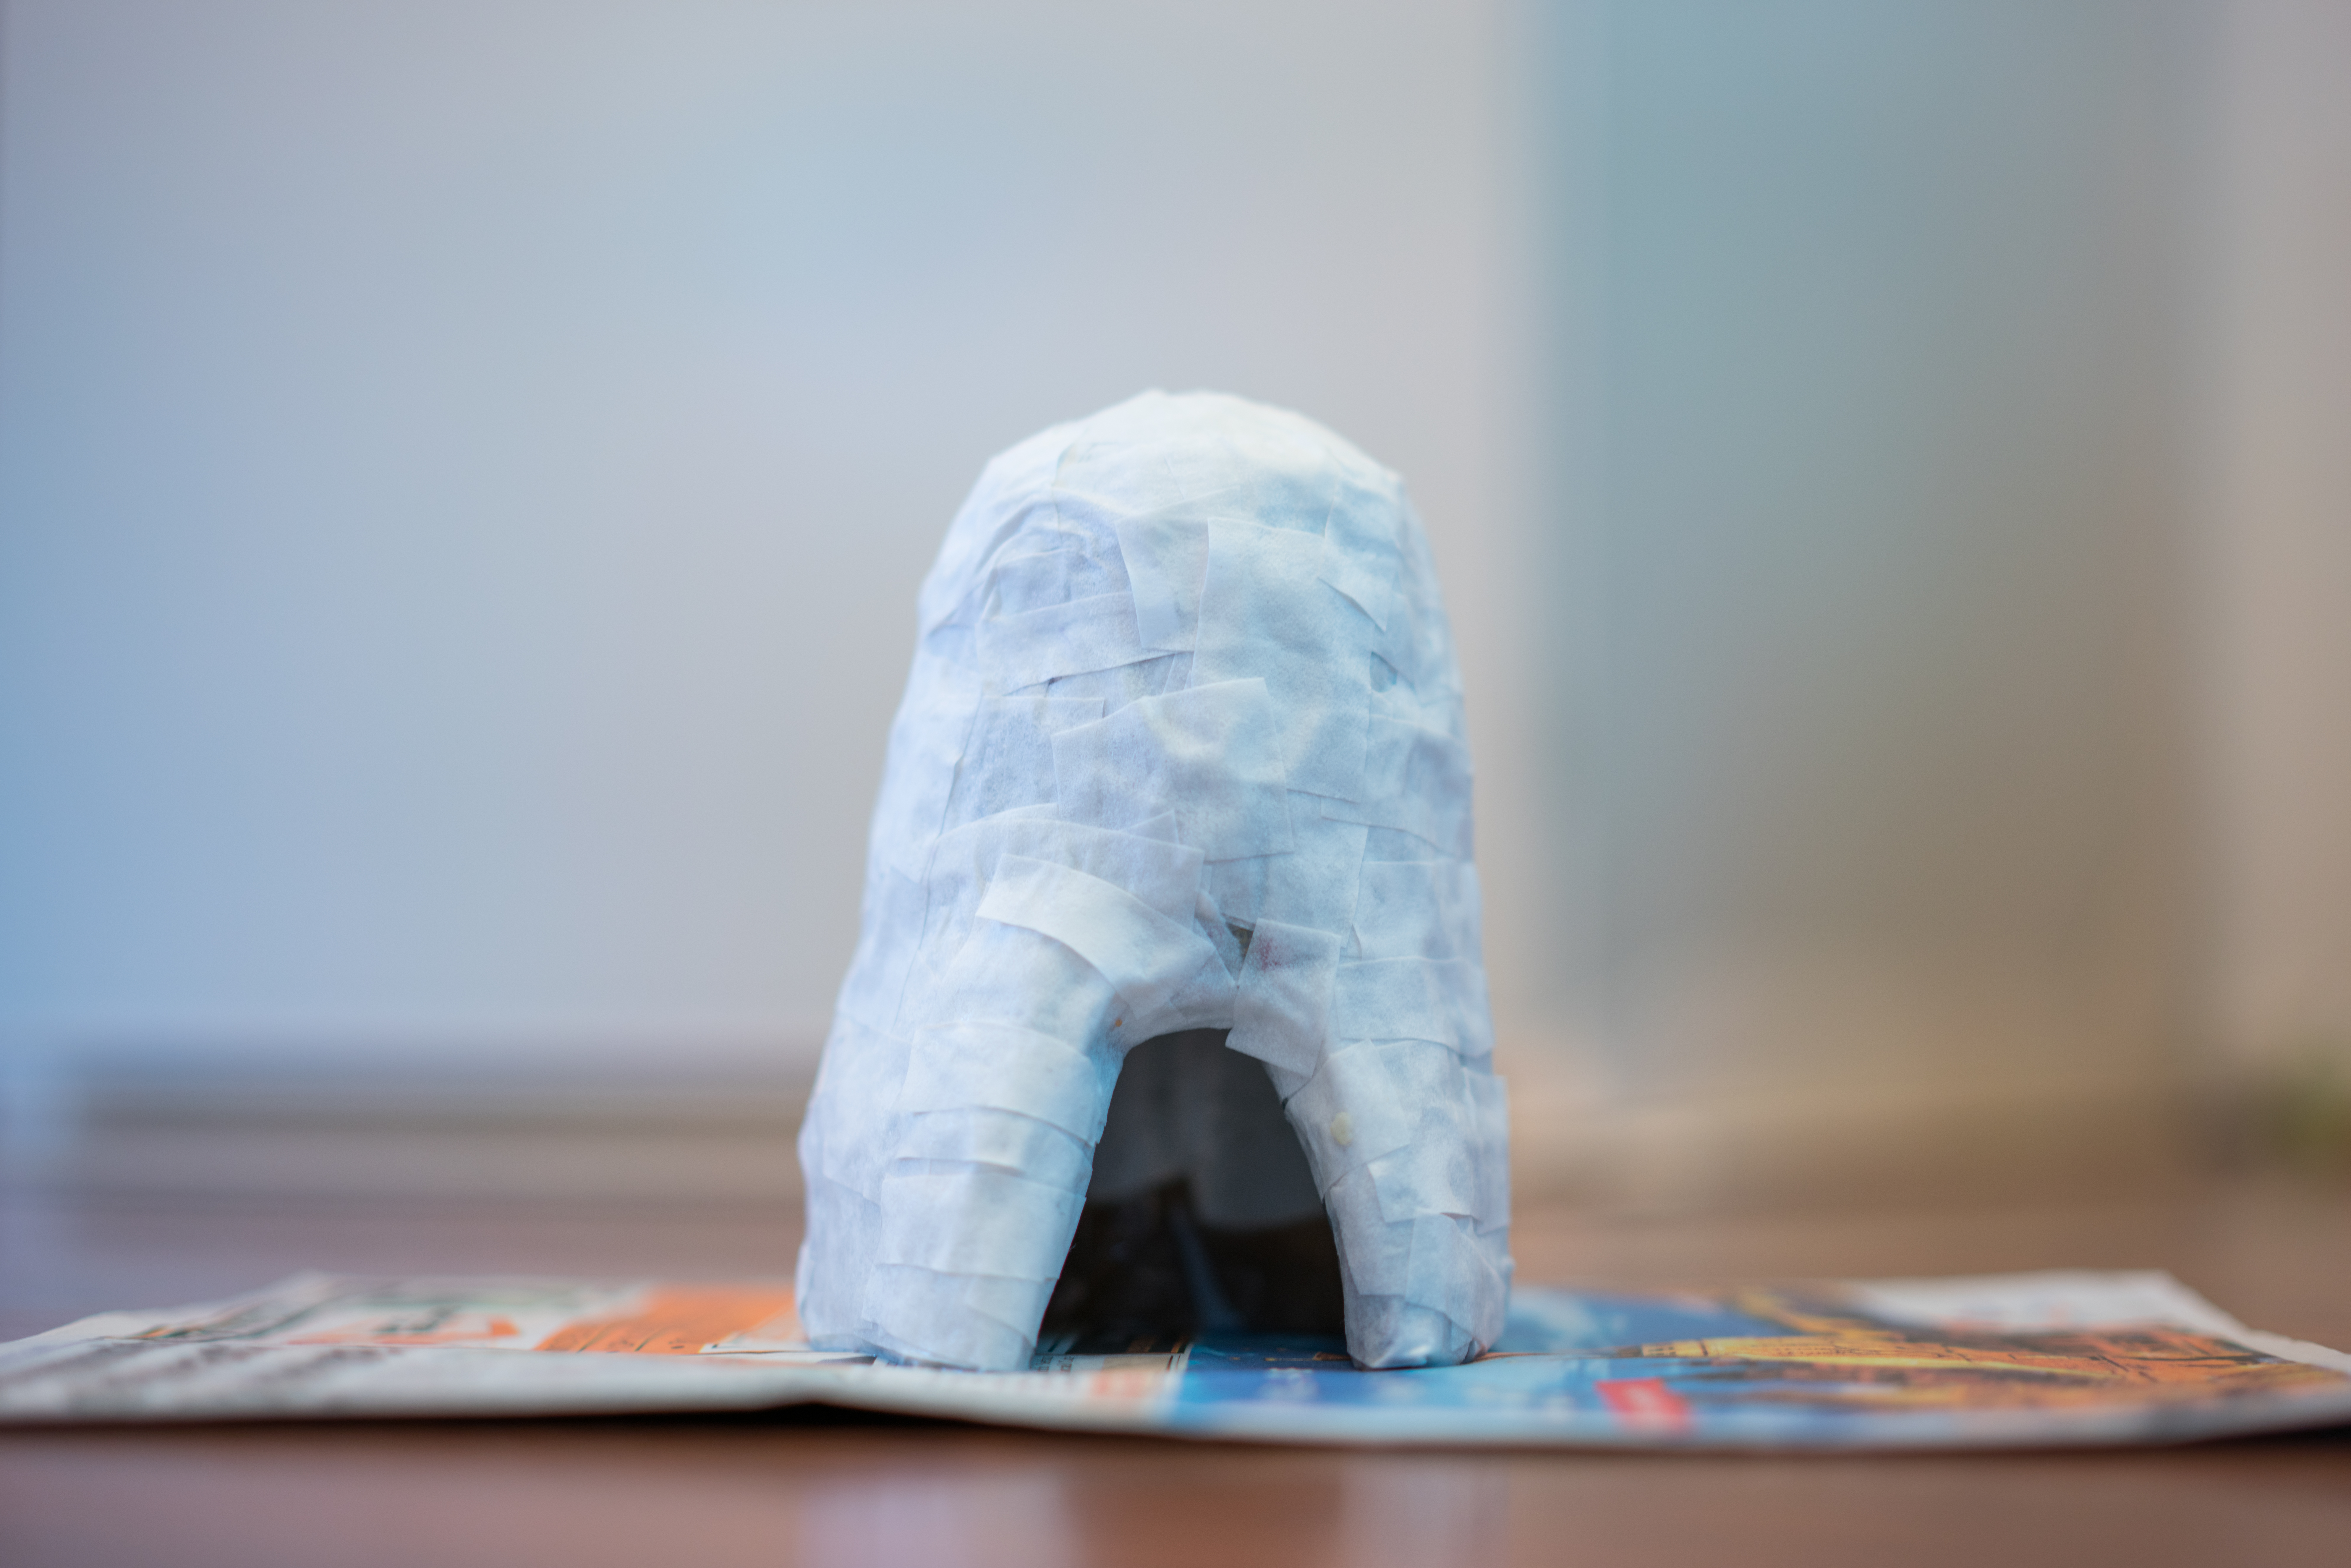
Step 7: Next you need to paper mache the entire thing with news paper and pva glue:
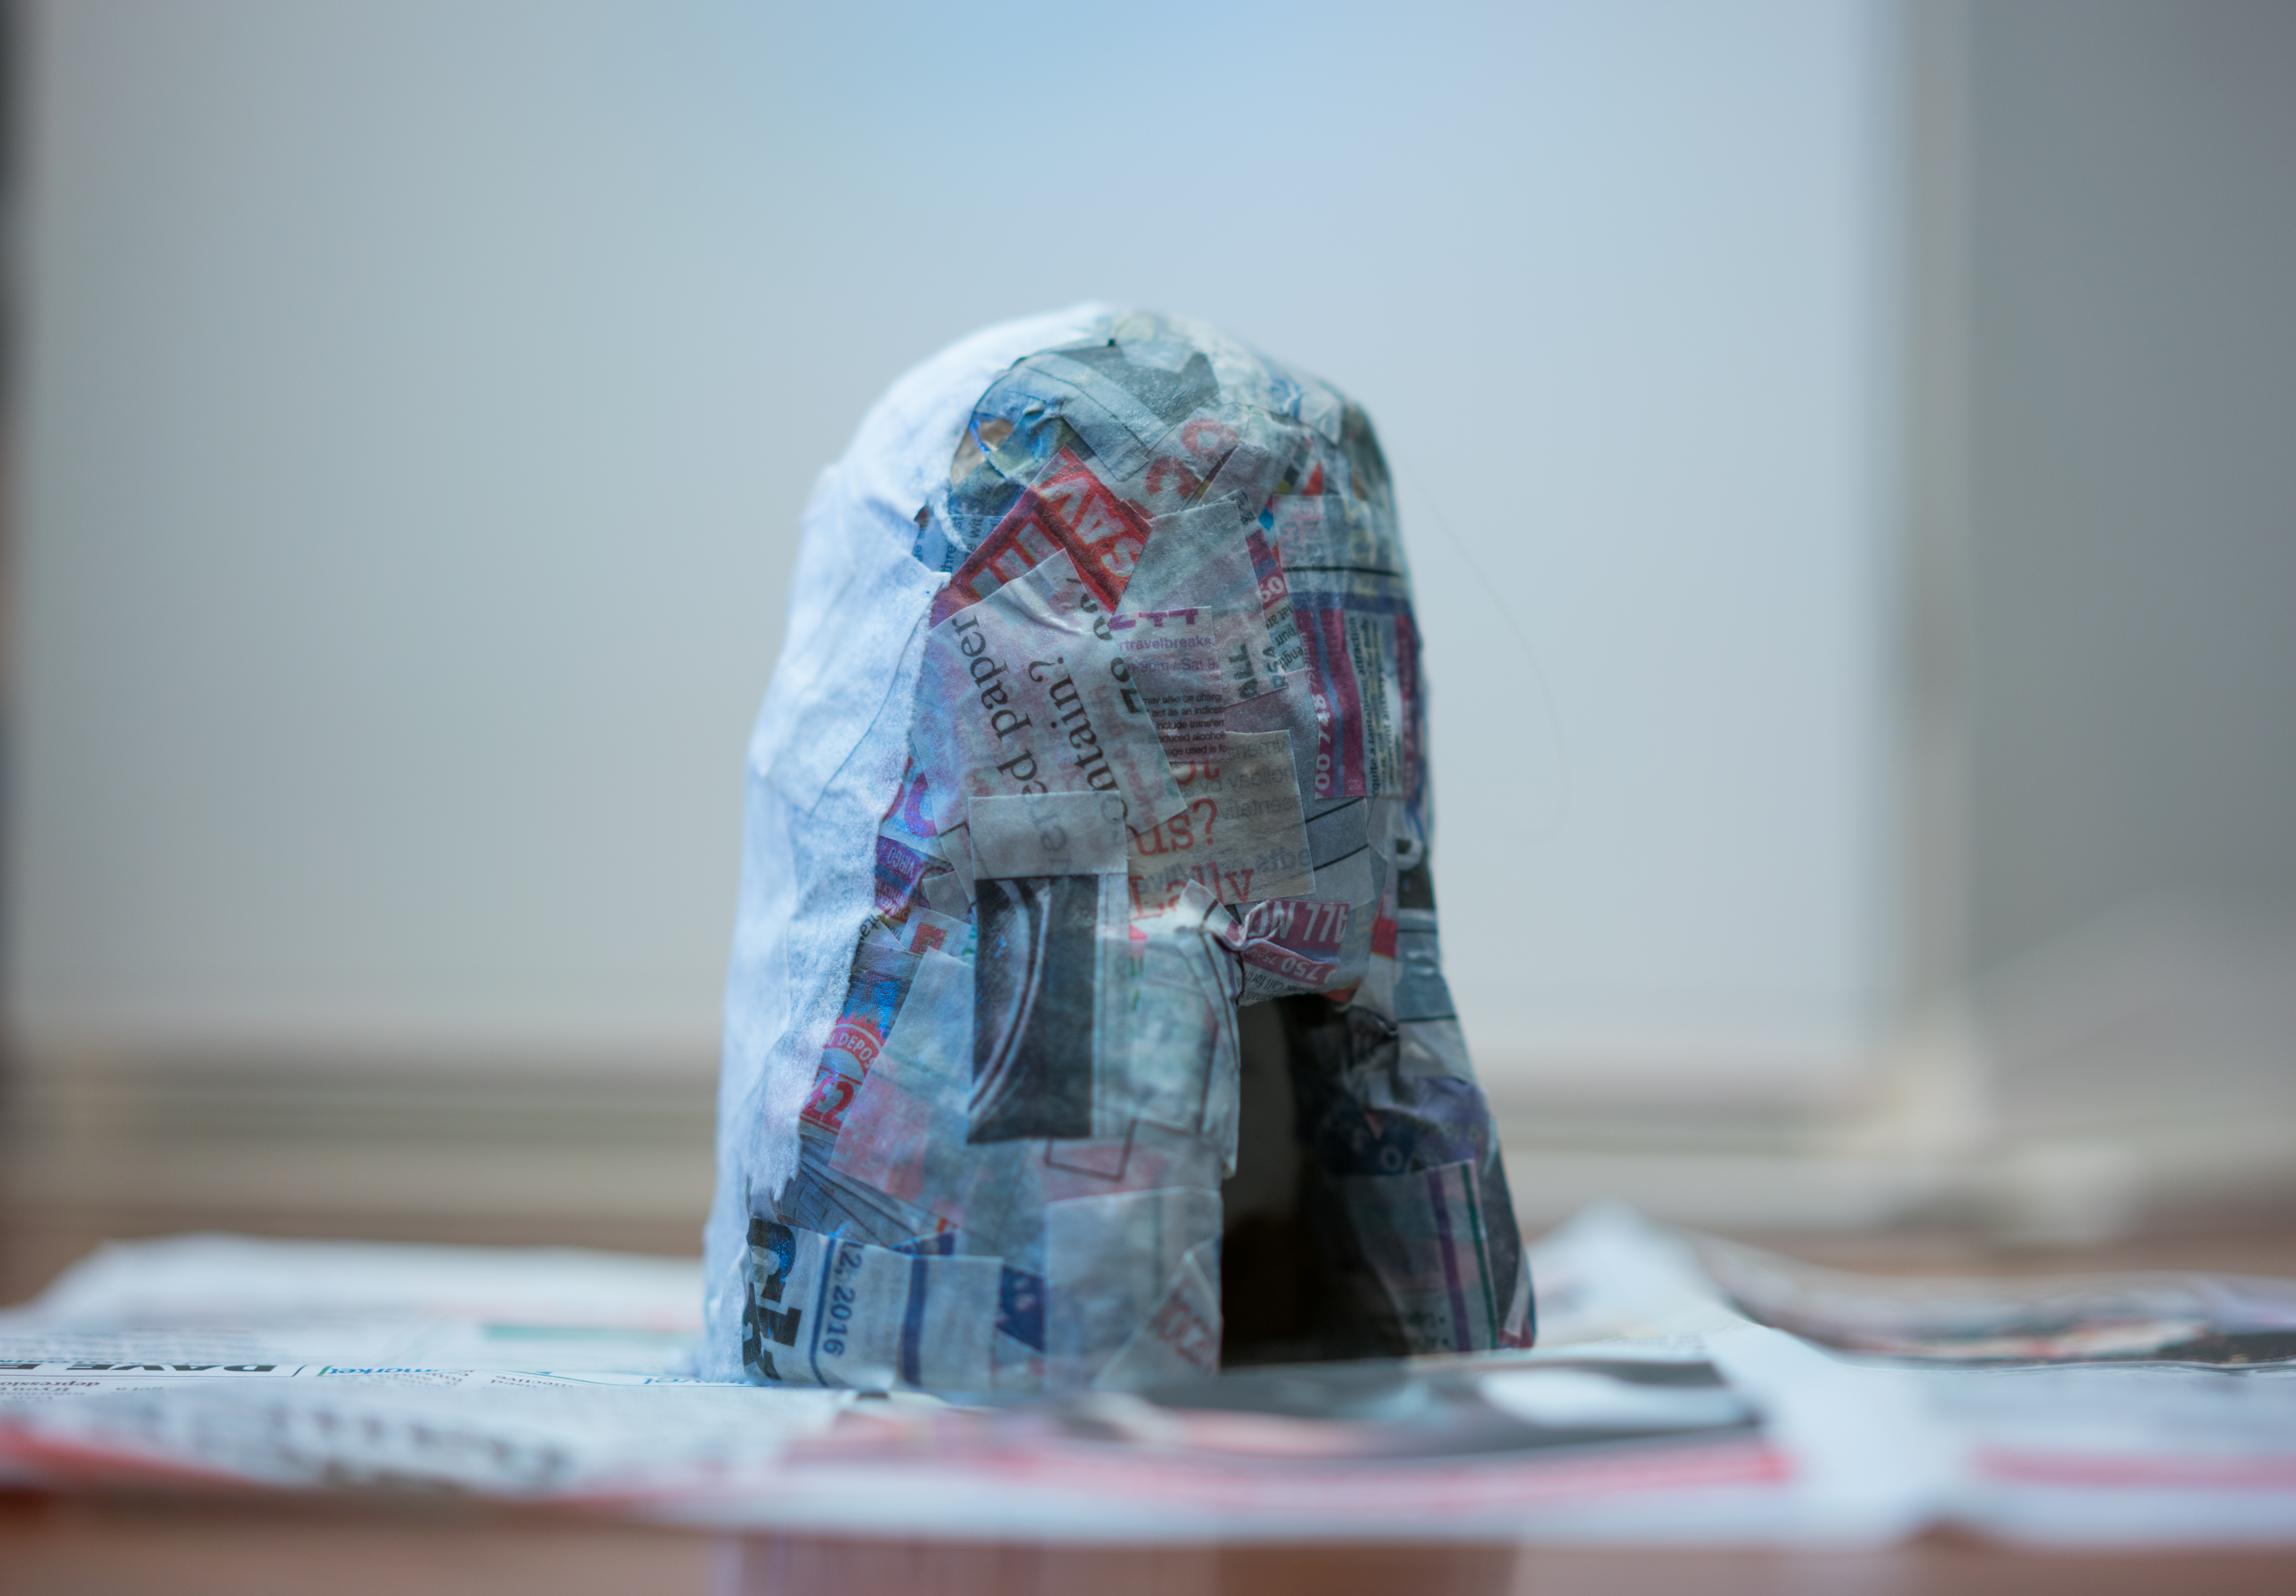
Step 8: Then the same with tissue paper for a base white layer that will take the yellow paint we are going to use later. Wait about two days for the glue to dry:
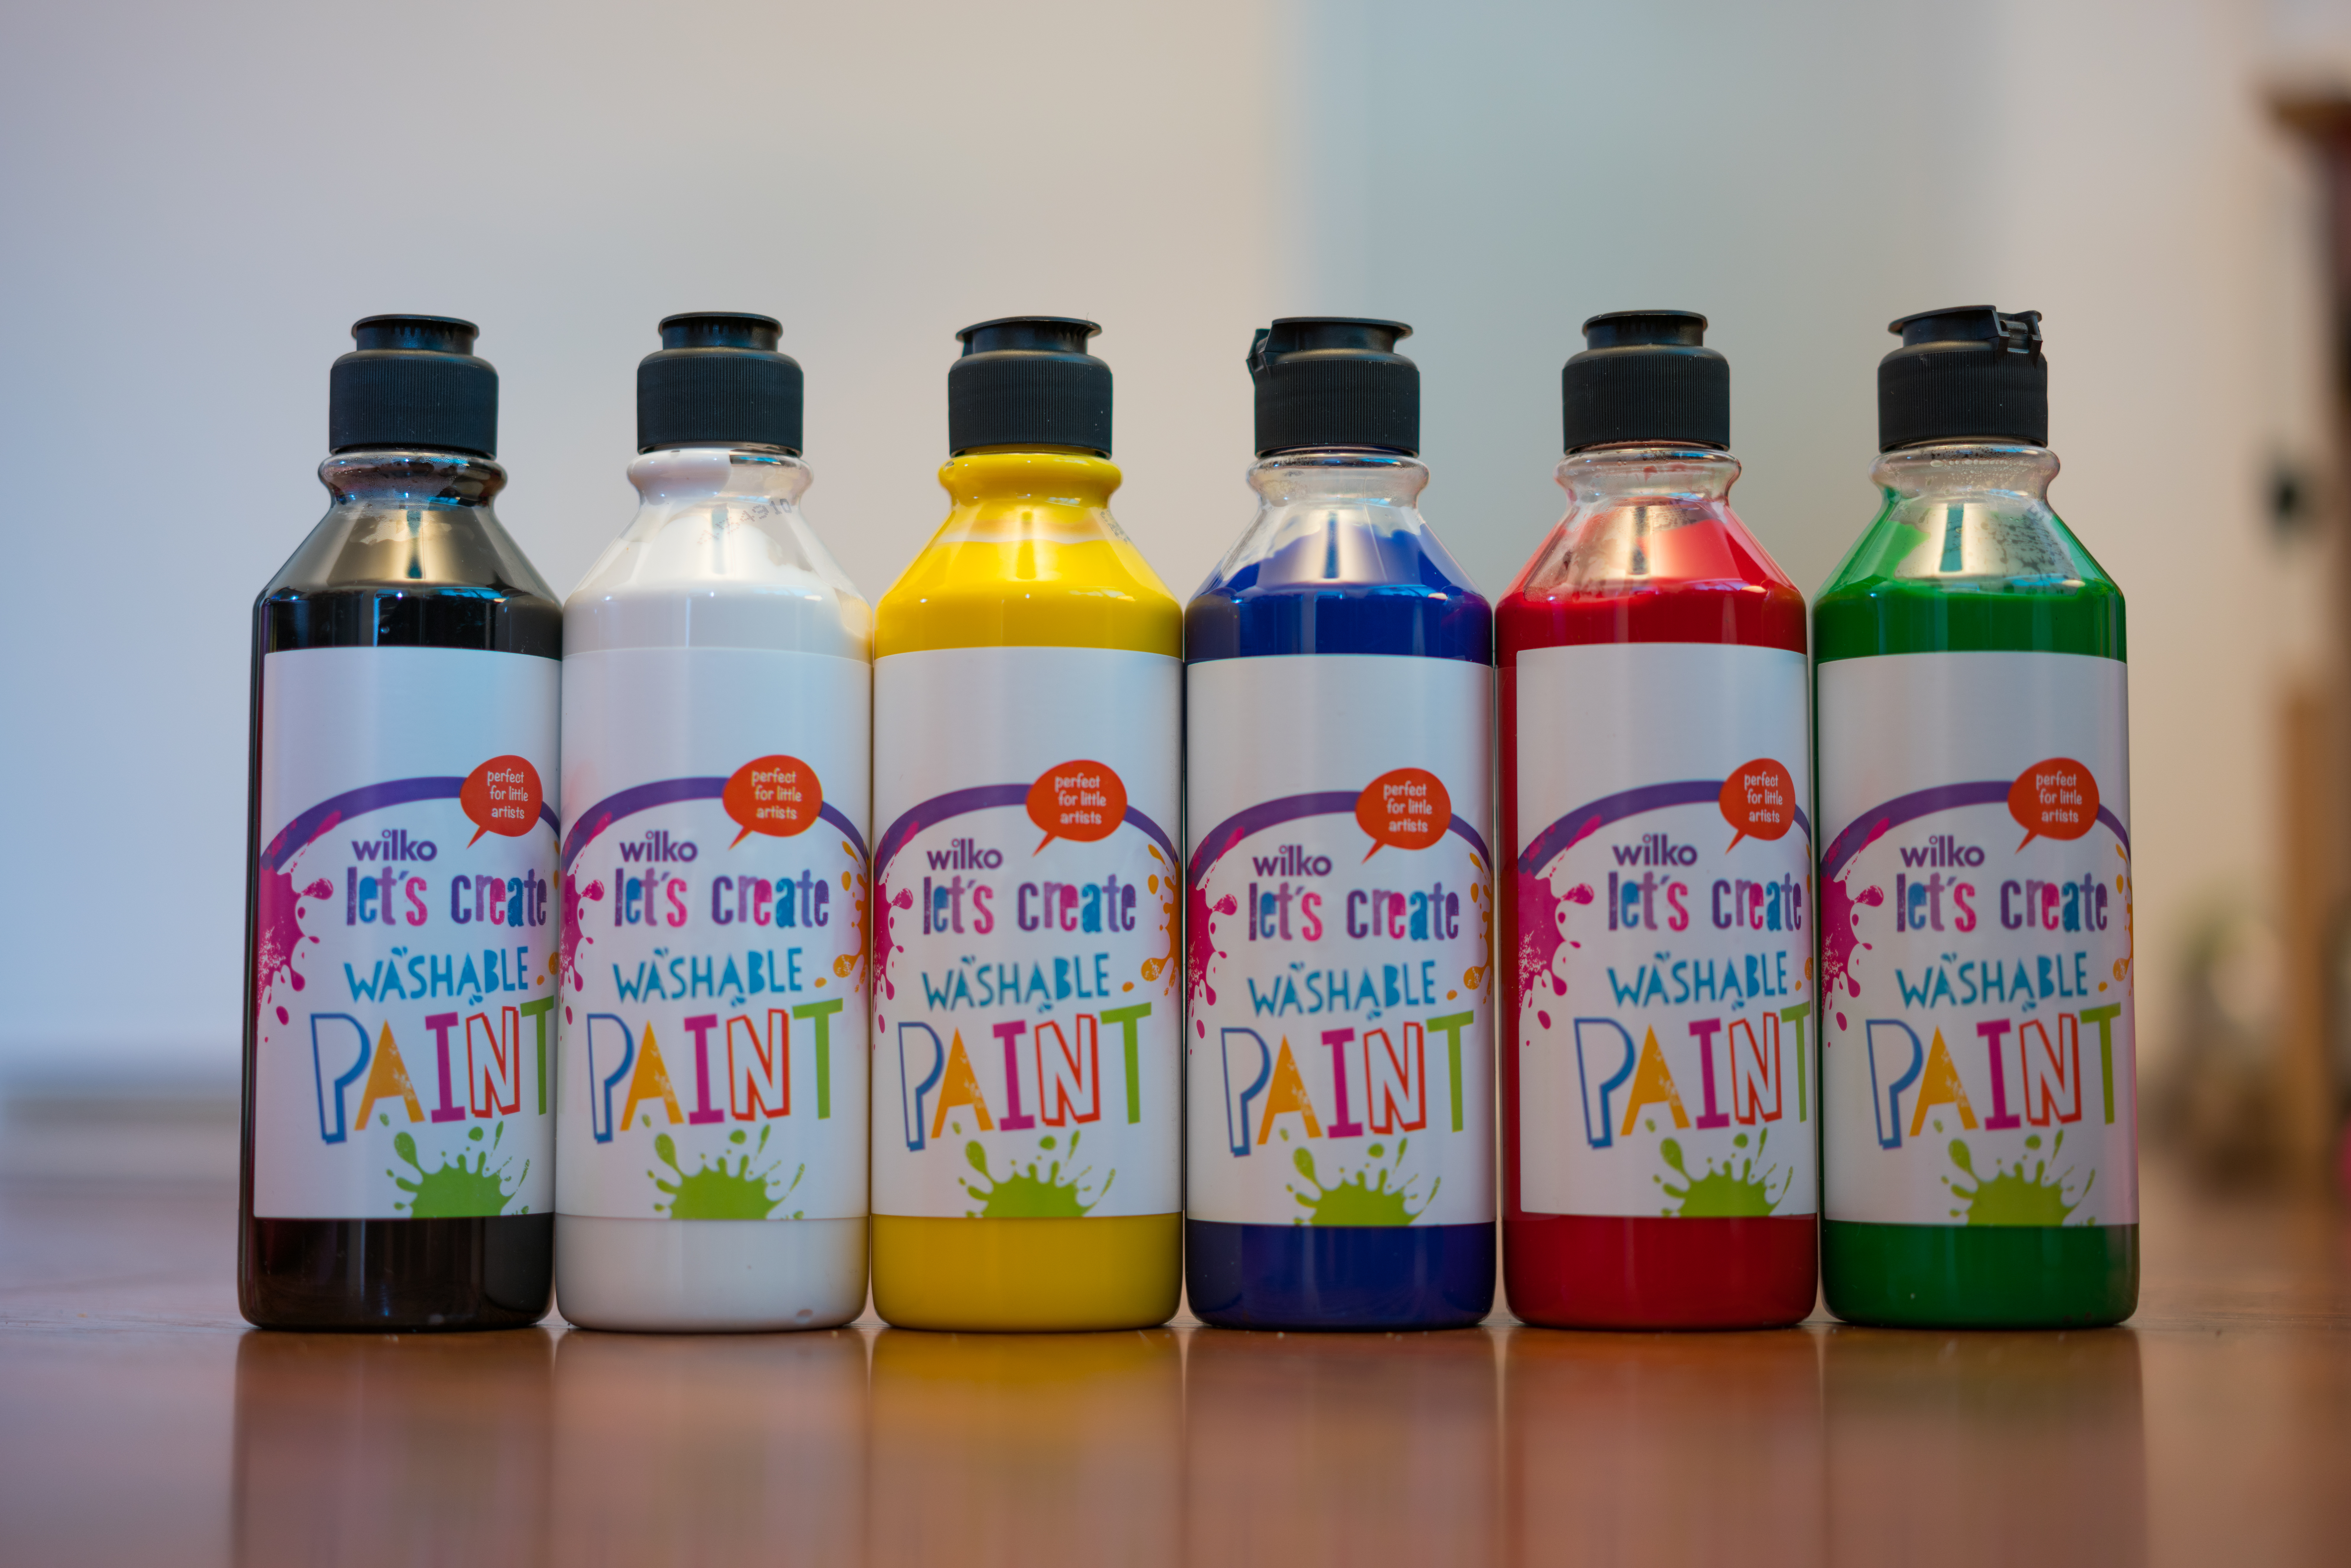
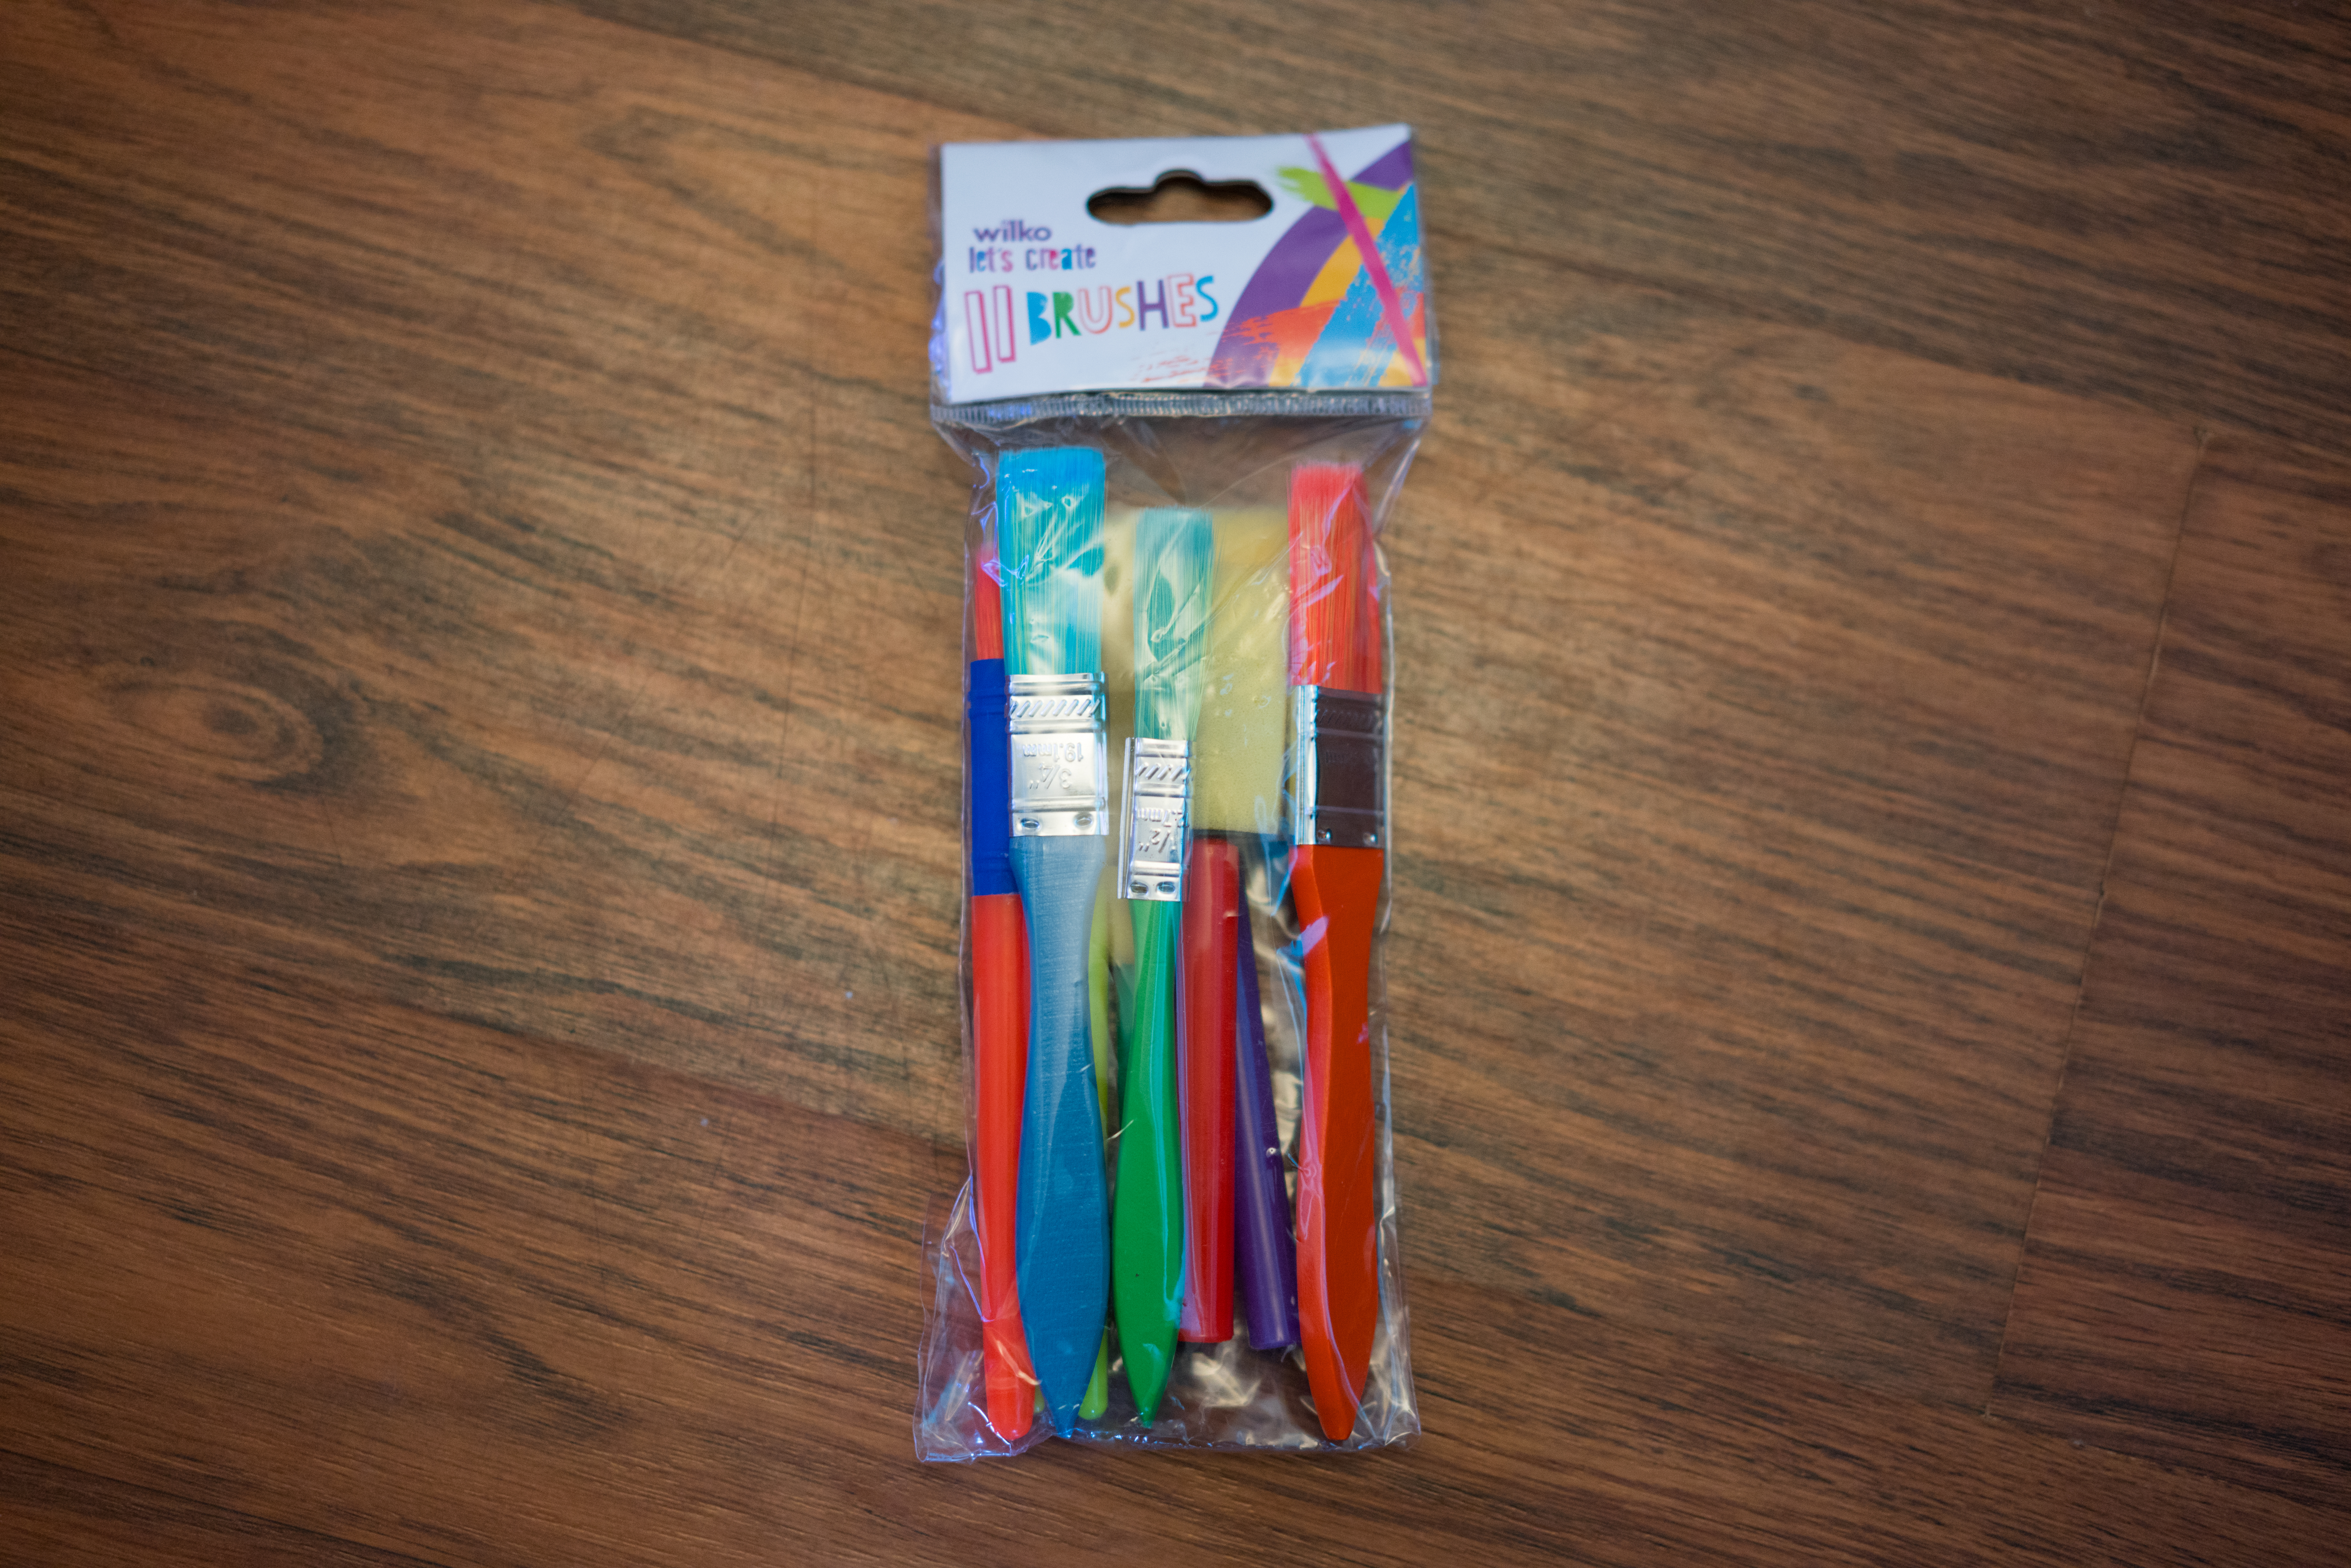
Step 9: While its drying you can try to find some acrylic paint and some brushes, we got ours from Wilko:
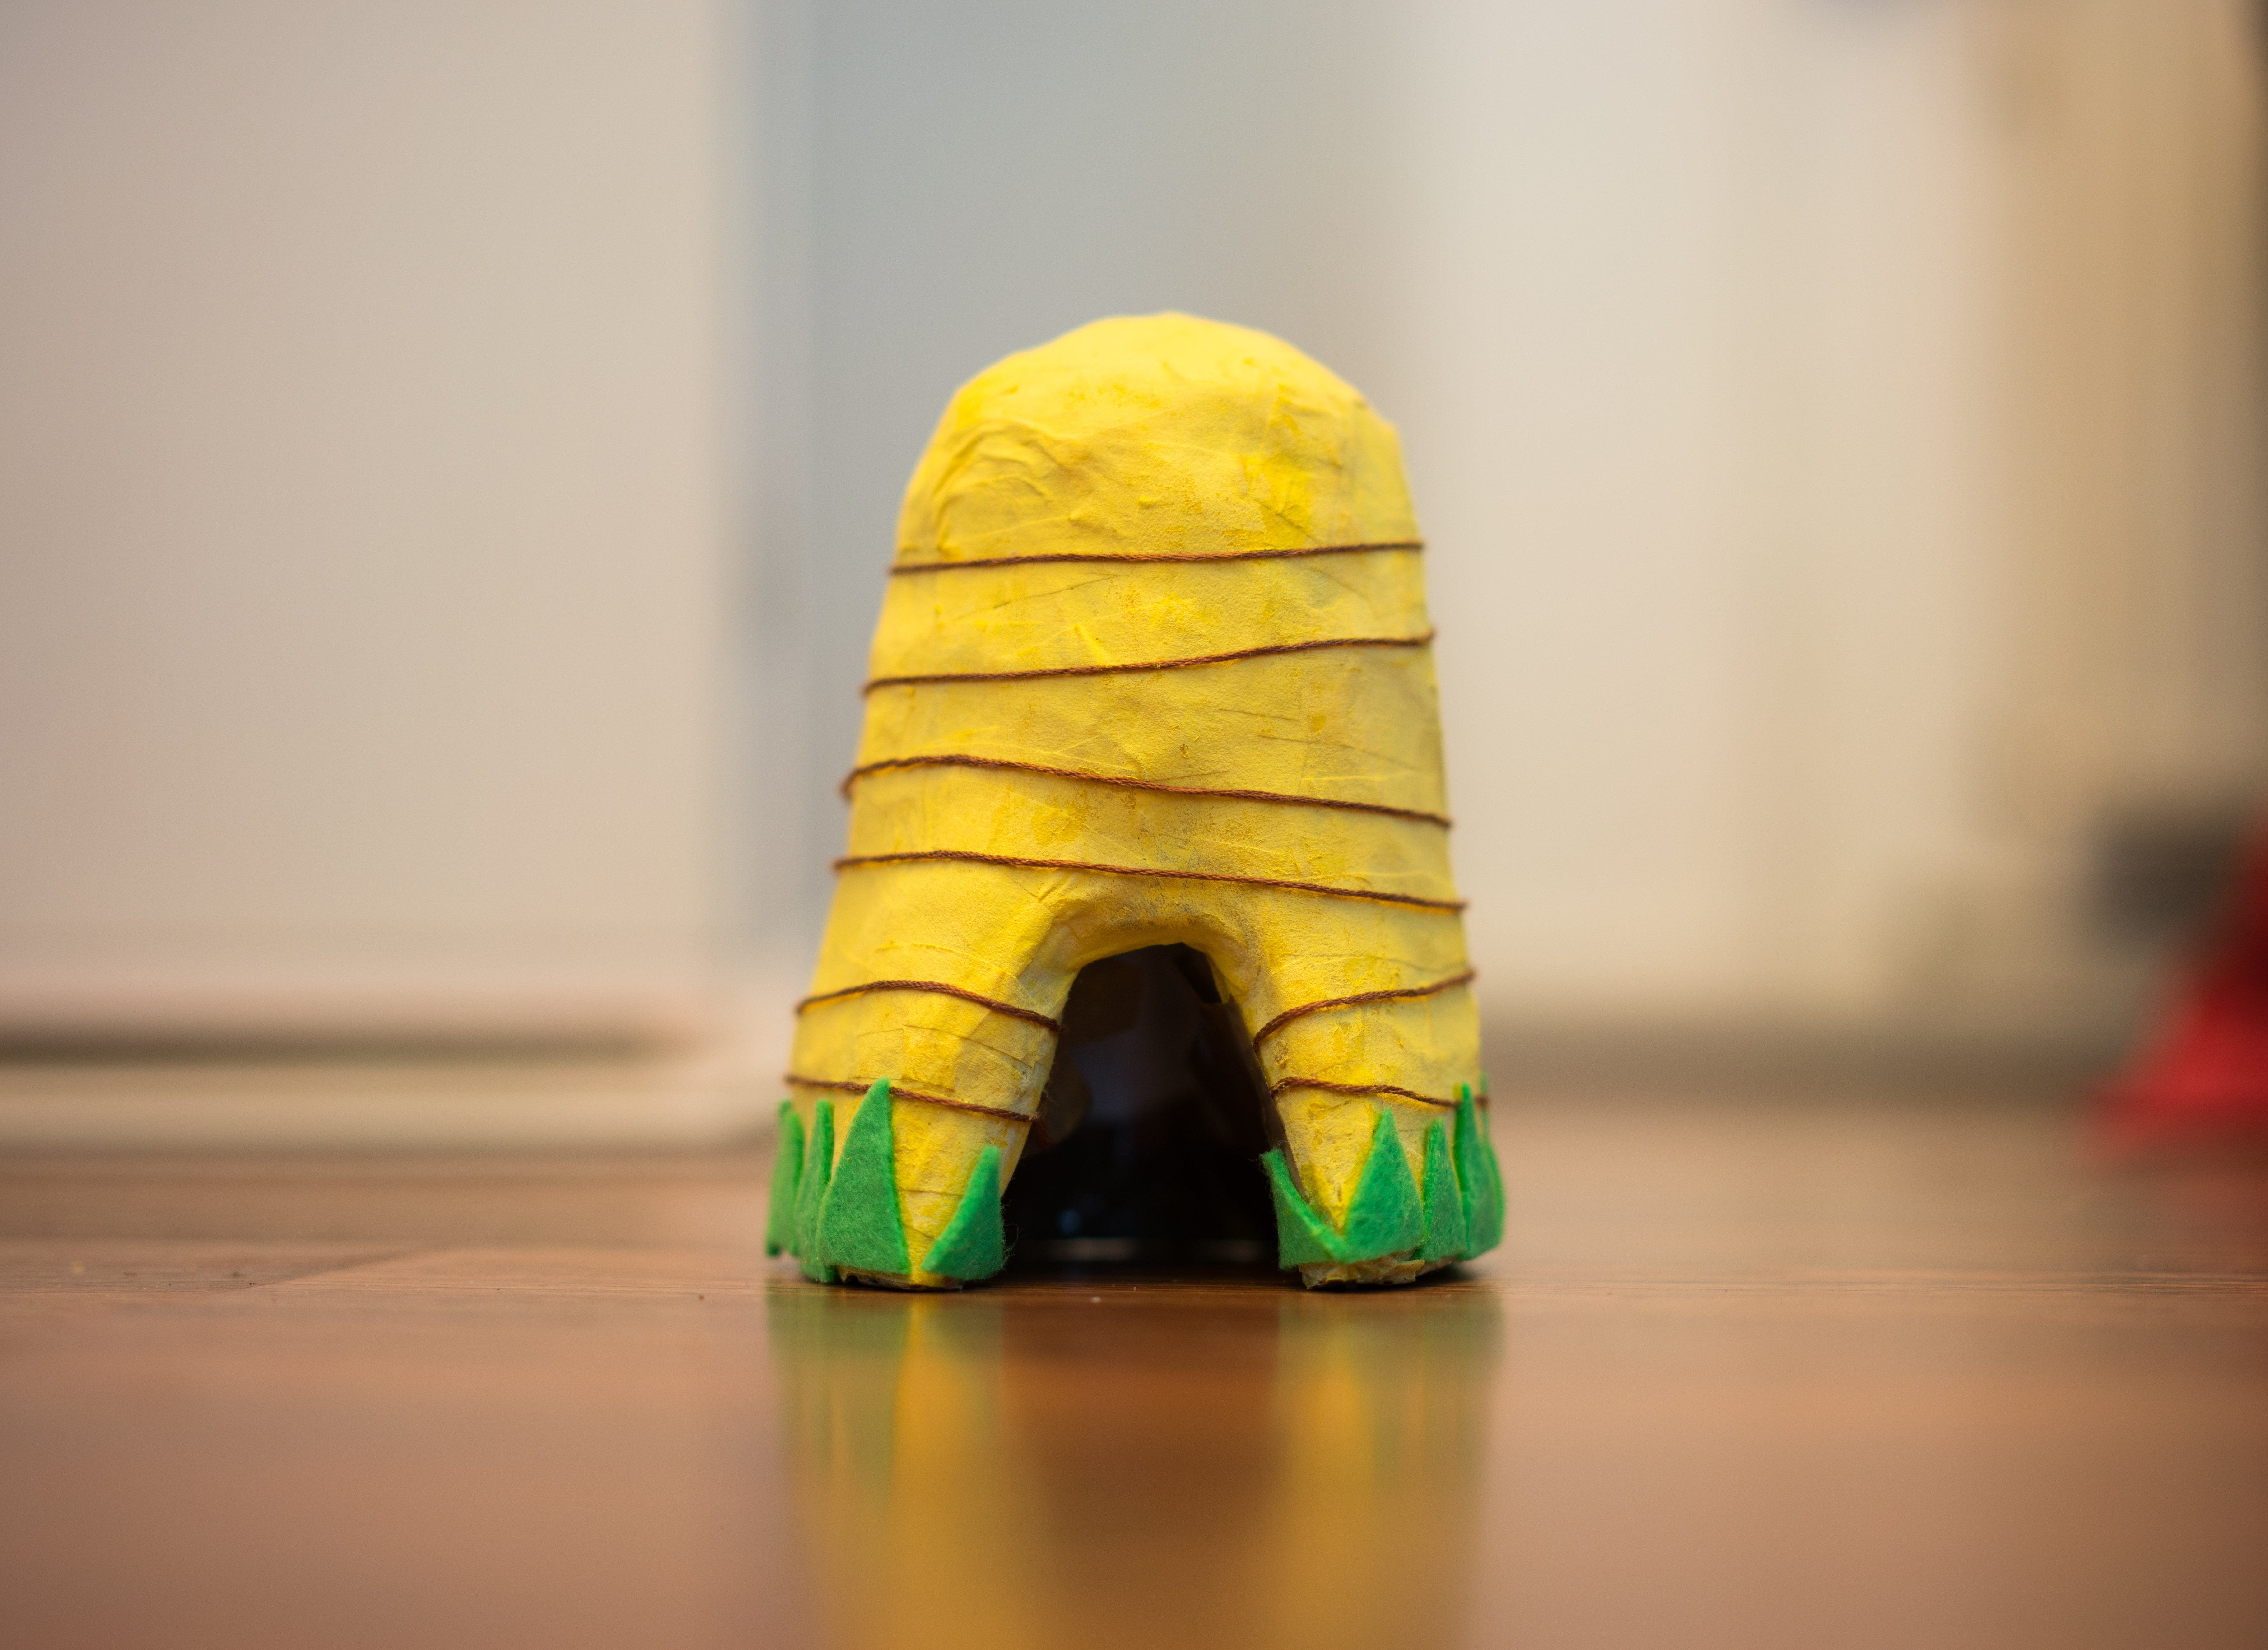
Step 10: Once its dry you can paint it, use yellow paint and paint it all over, three coats should be enough, let them dry for about a day. Cut out some blades of grass using green felt and stick it to the bottom using glue. Then wrap some string around the beehive to make it look like it has sections, then when your done, it should look a bit like this:
If you have any questions, feel free to ask them in the comment section.
If you liked this tutorial please share using the social media buttons to the right or below.
Chef specialneedsandsensoryplayideas.com stiff upper lip cool portal created!
Article useful, the main thing that helped people, Respect to you!