In this tutorial you will find the best way to make your own crayons, its so easy and only takes no time at all. Your children will love all of the different shapes and character crayons you will be able to make for them. This is by far the best method, we have made thousands of crayons this way, you can even make a bit of money by selling them on eBay if you want to.
Step 1: First of all you need the right crayons. We’ve been through alot of crayons trying to find the right ones, I highly recommend Crayola after going through so many brands for the following reasons. Crayola are very easy to peel and don’t have that horrible white residue when you’ve melted them, you can find a small pack from here and a large pack here:
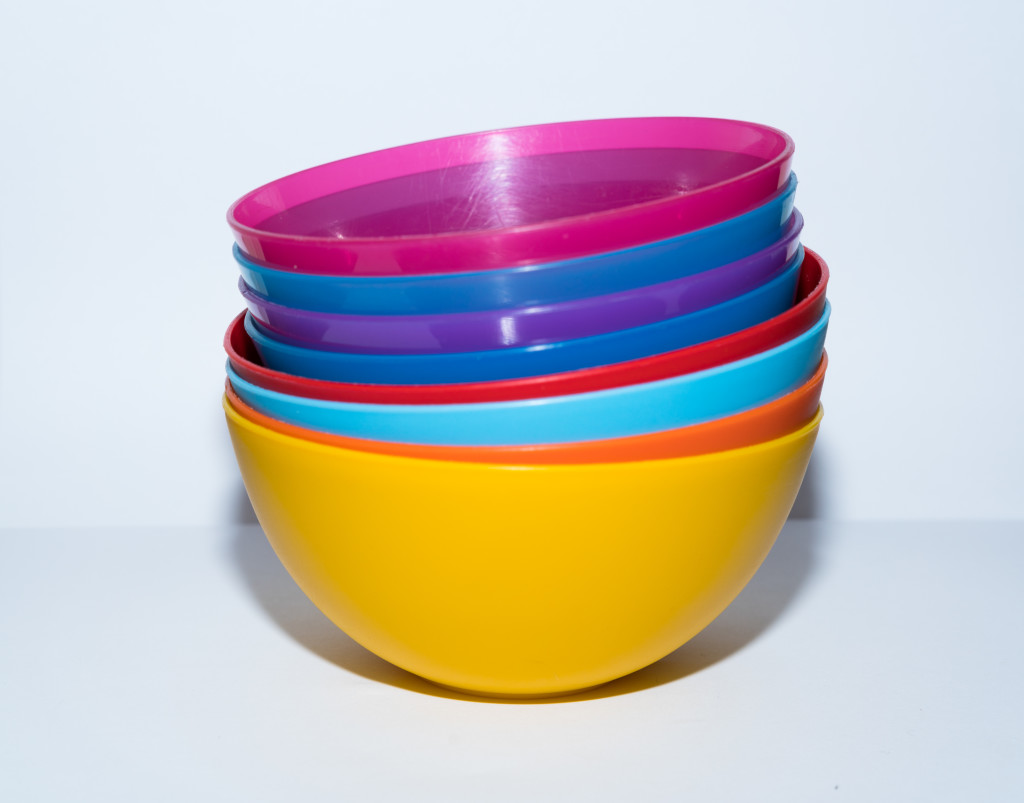
Step 2: Next you will need some bowls, we use these bowls from Amazon:
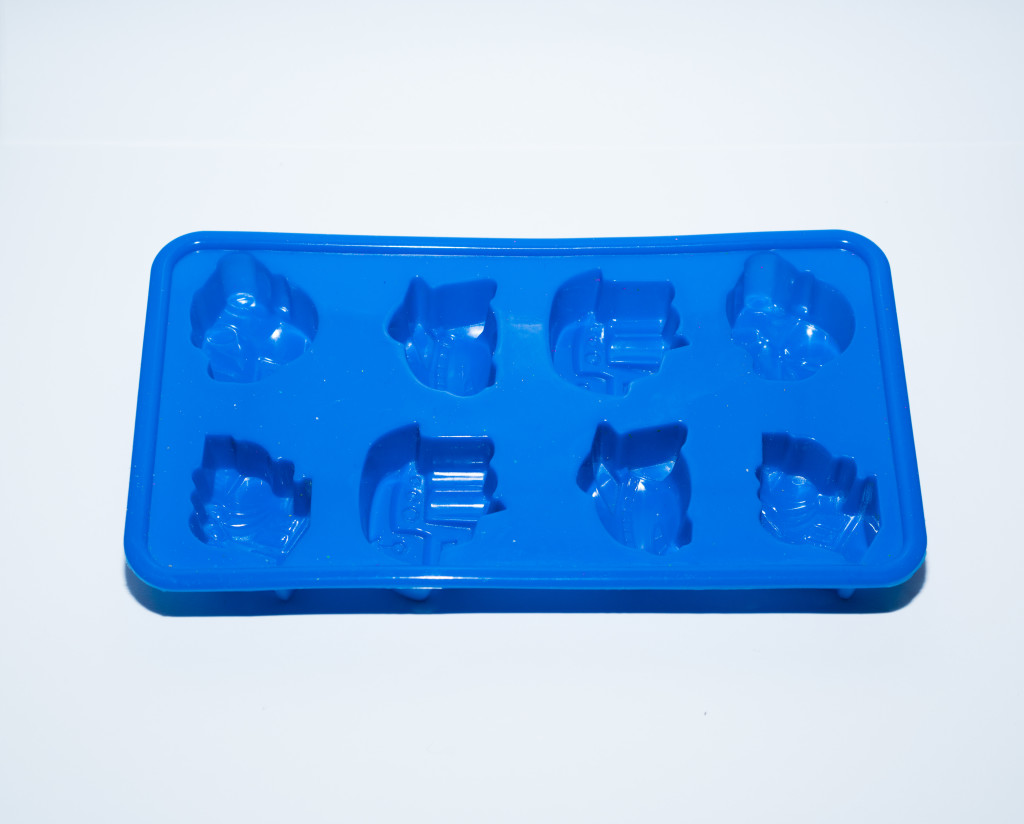
Step 3: Buy an oven safe silicon mould, make sure its both silicon and oven safe, this is very important, we have had some non oven safe ones that have melted in the past, we got this cool transport one from here:
Step 4: If you would like to see a very quick technique on how to peel the paper from a crayon, follow this tutorial:
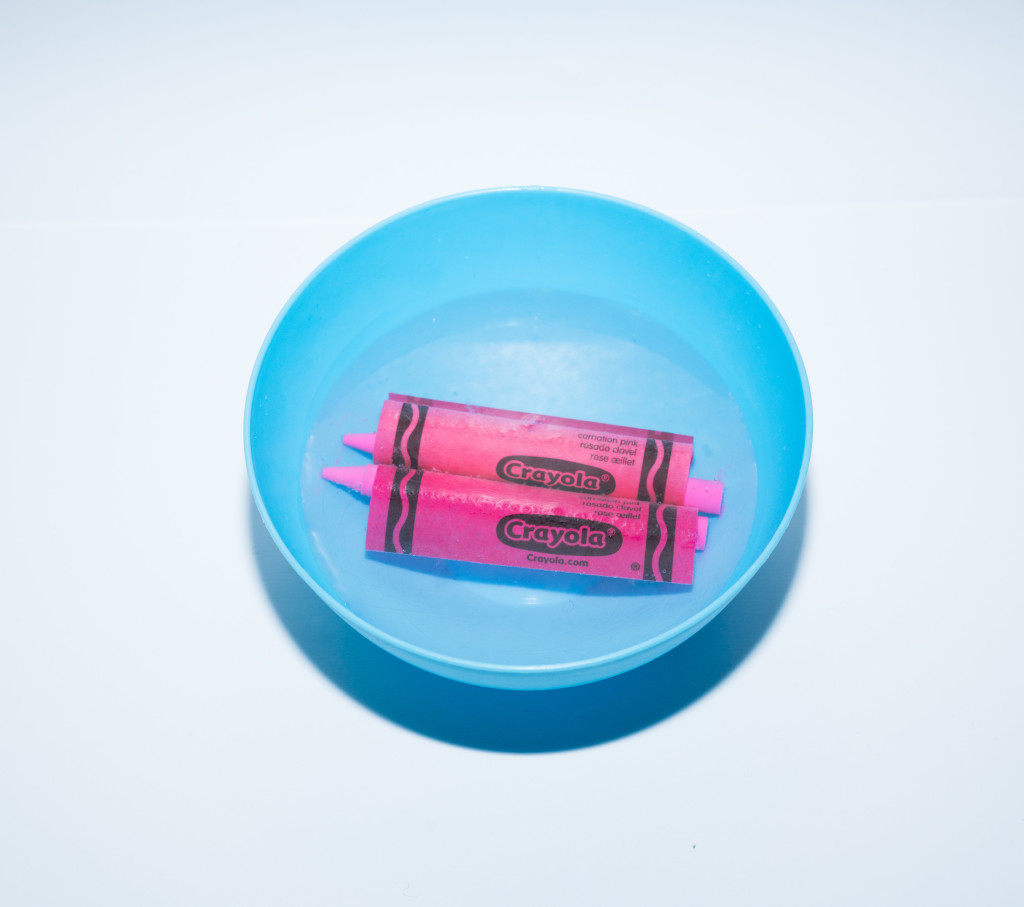
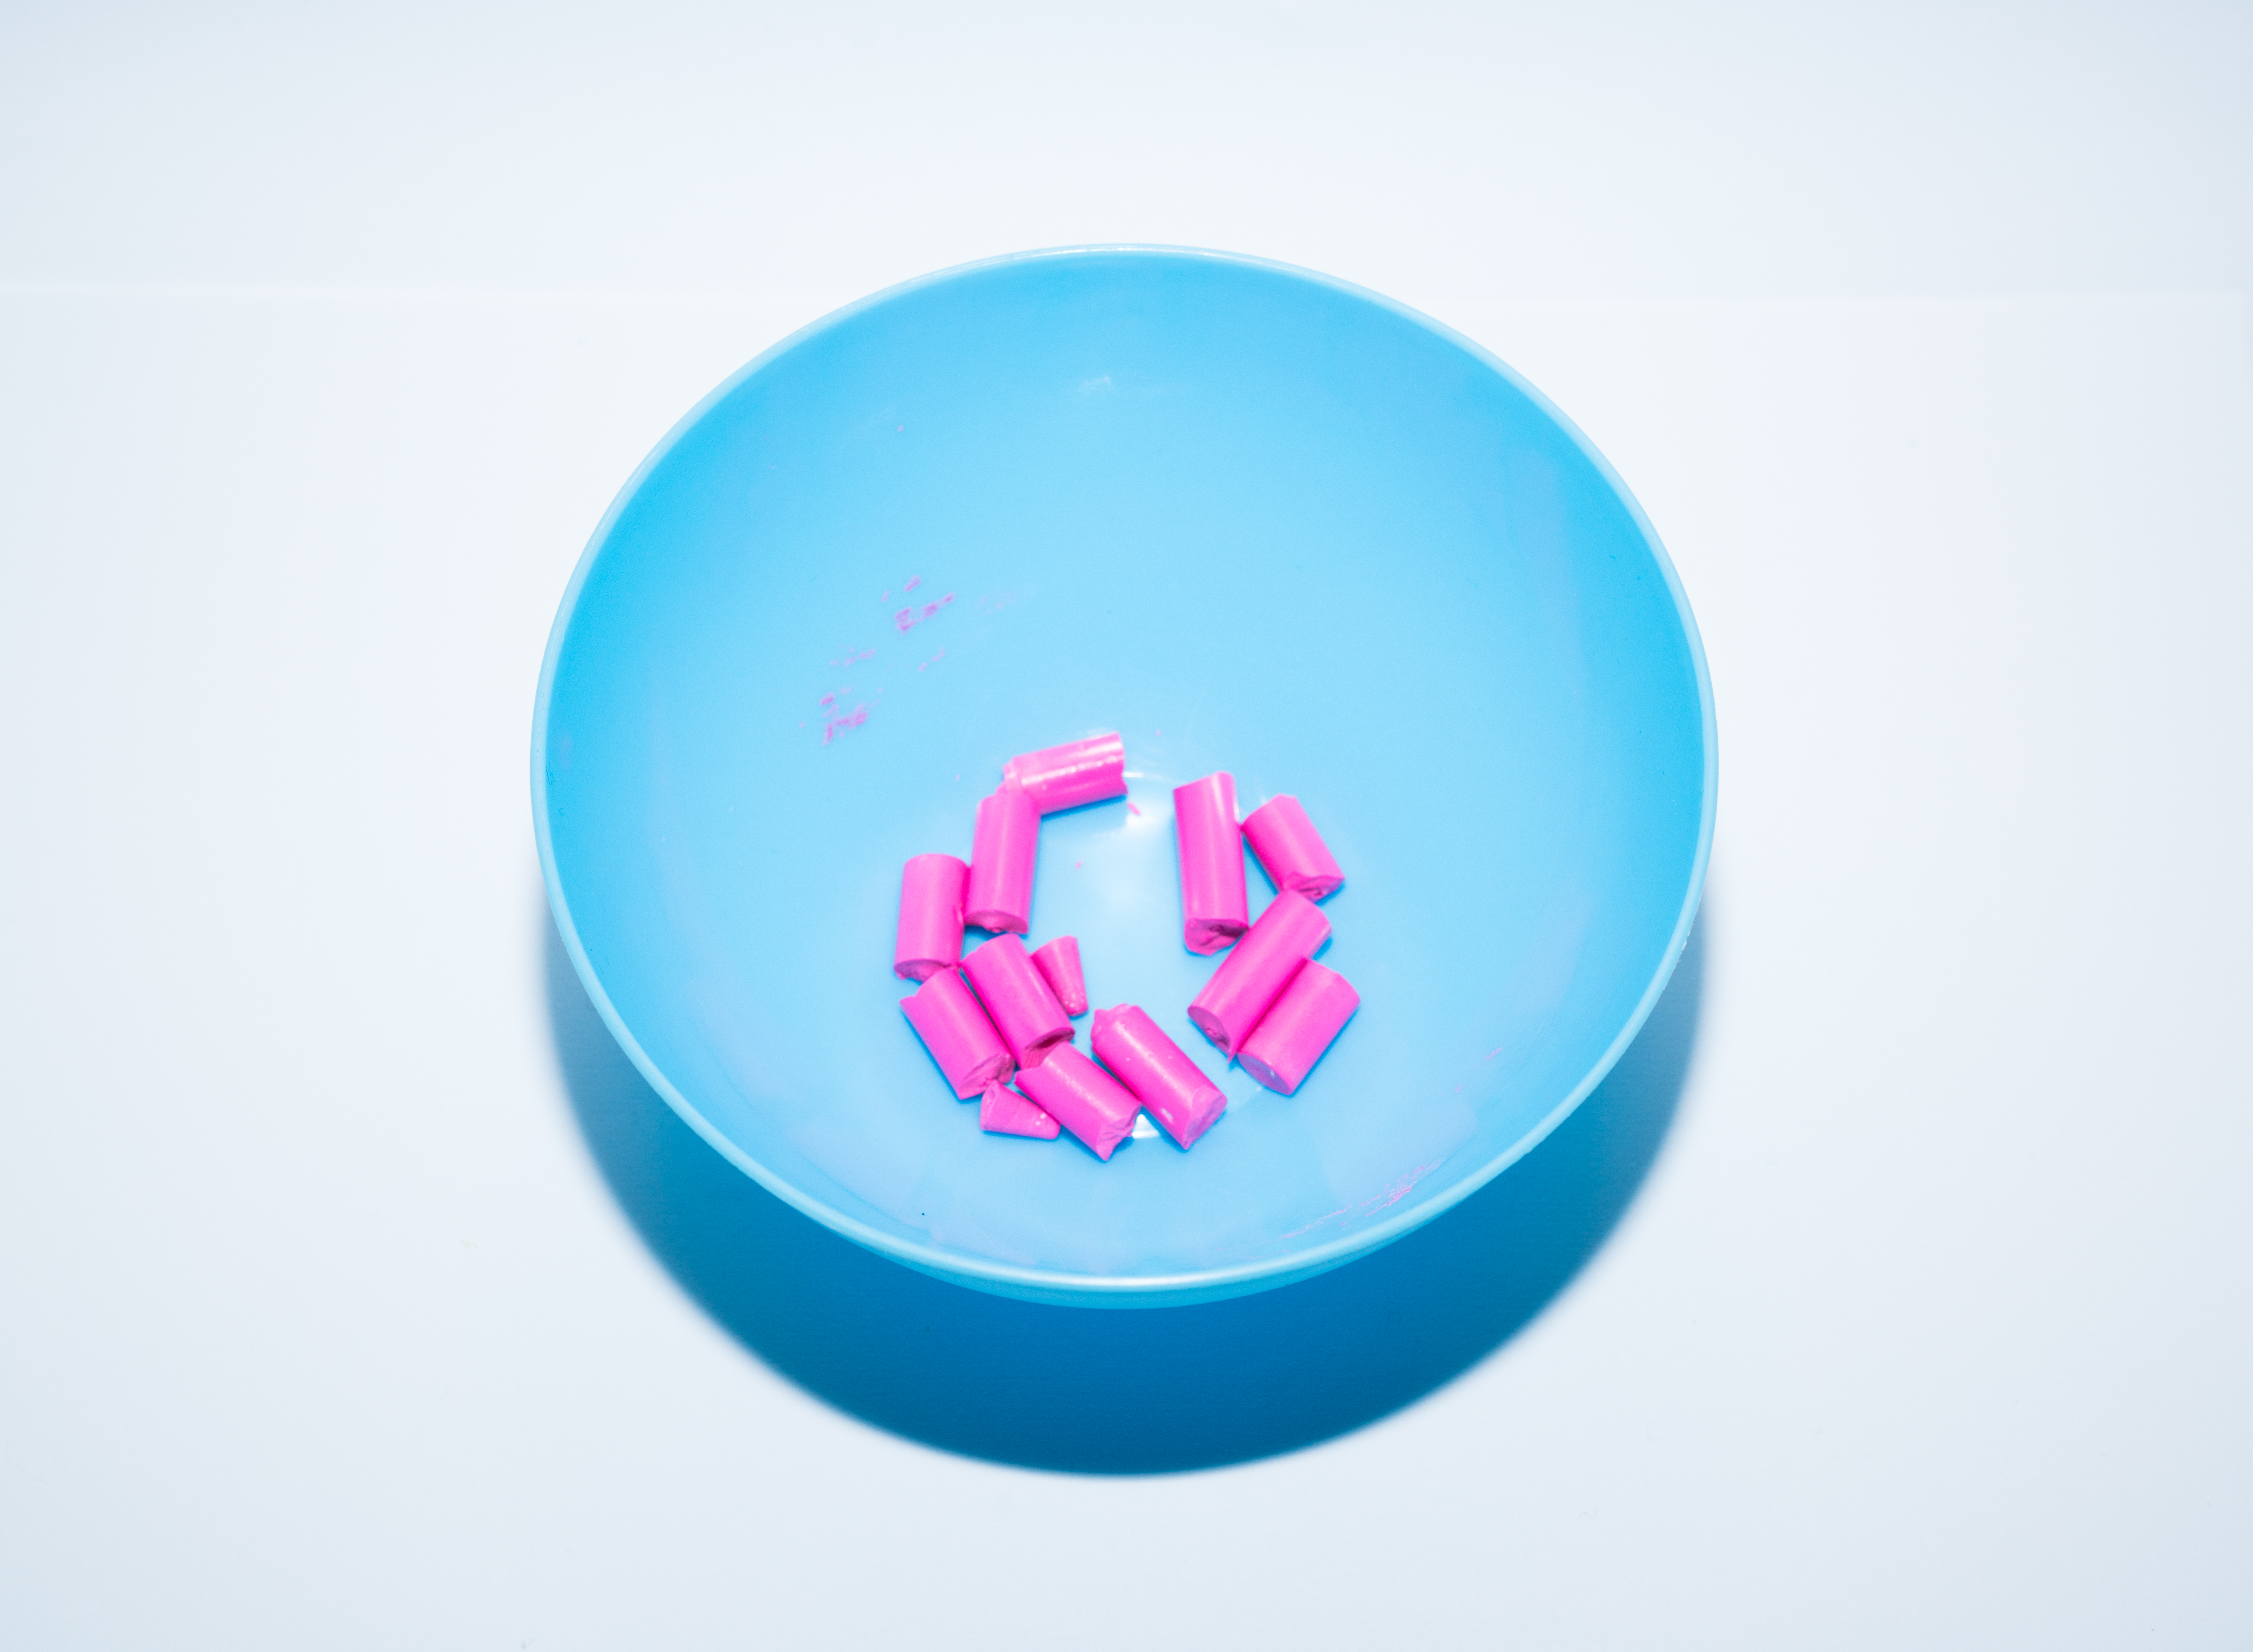
Step 5: Once your crayons are peeled you can snap them into little pieces like this:
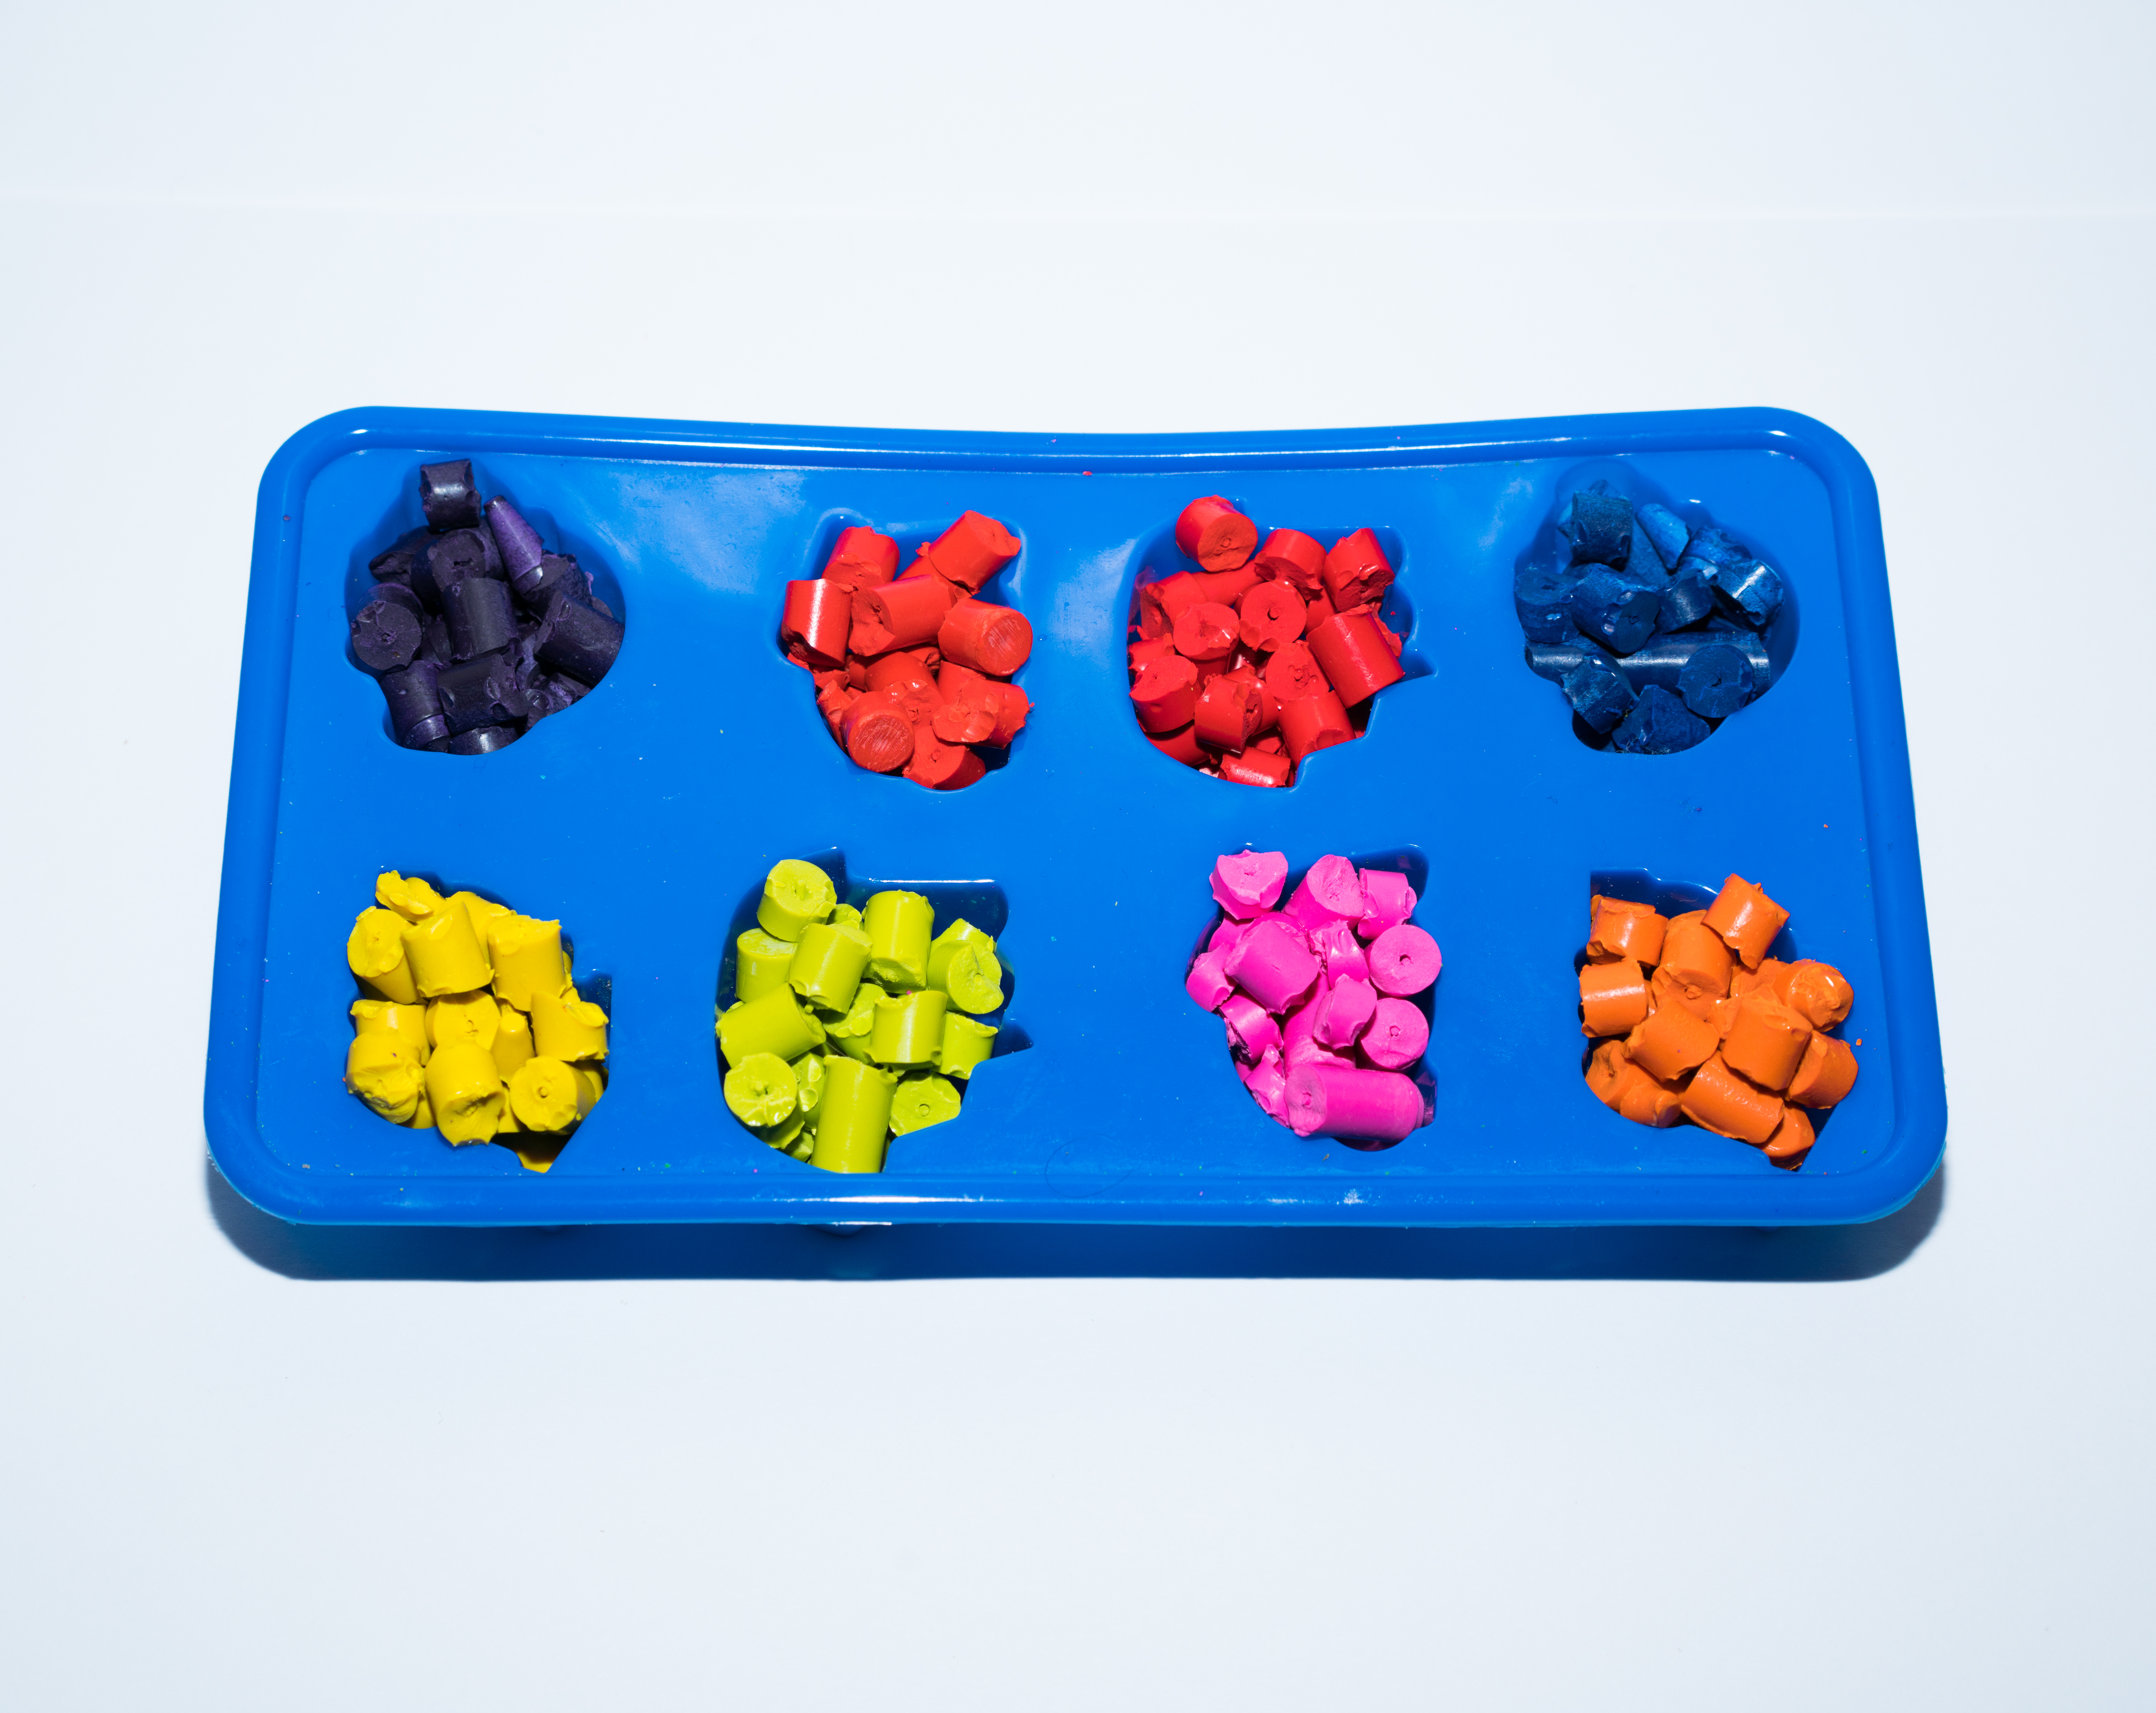
Step 6: Then place them in the mould, make sure you don’t mix colours (unless you want to):
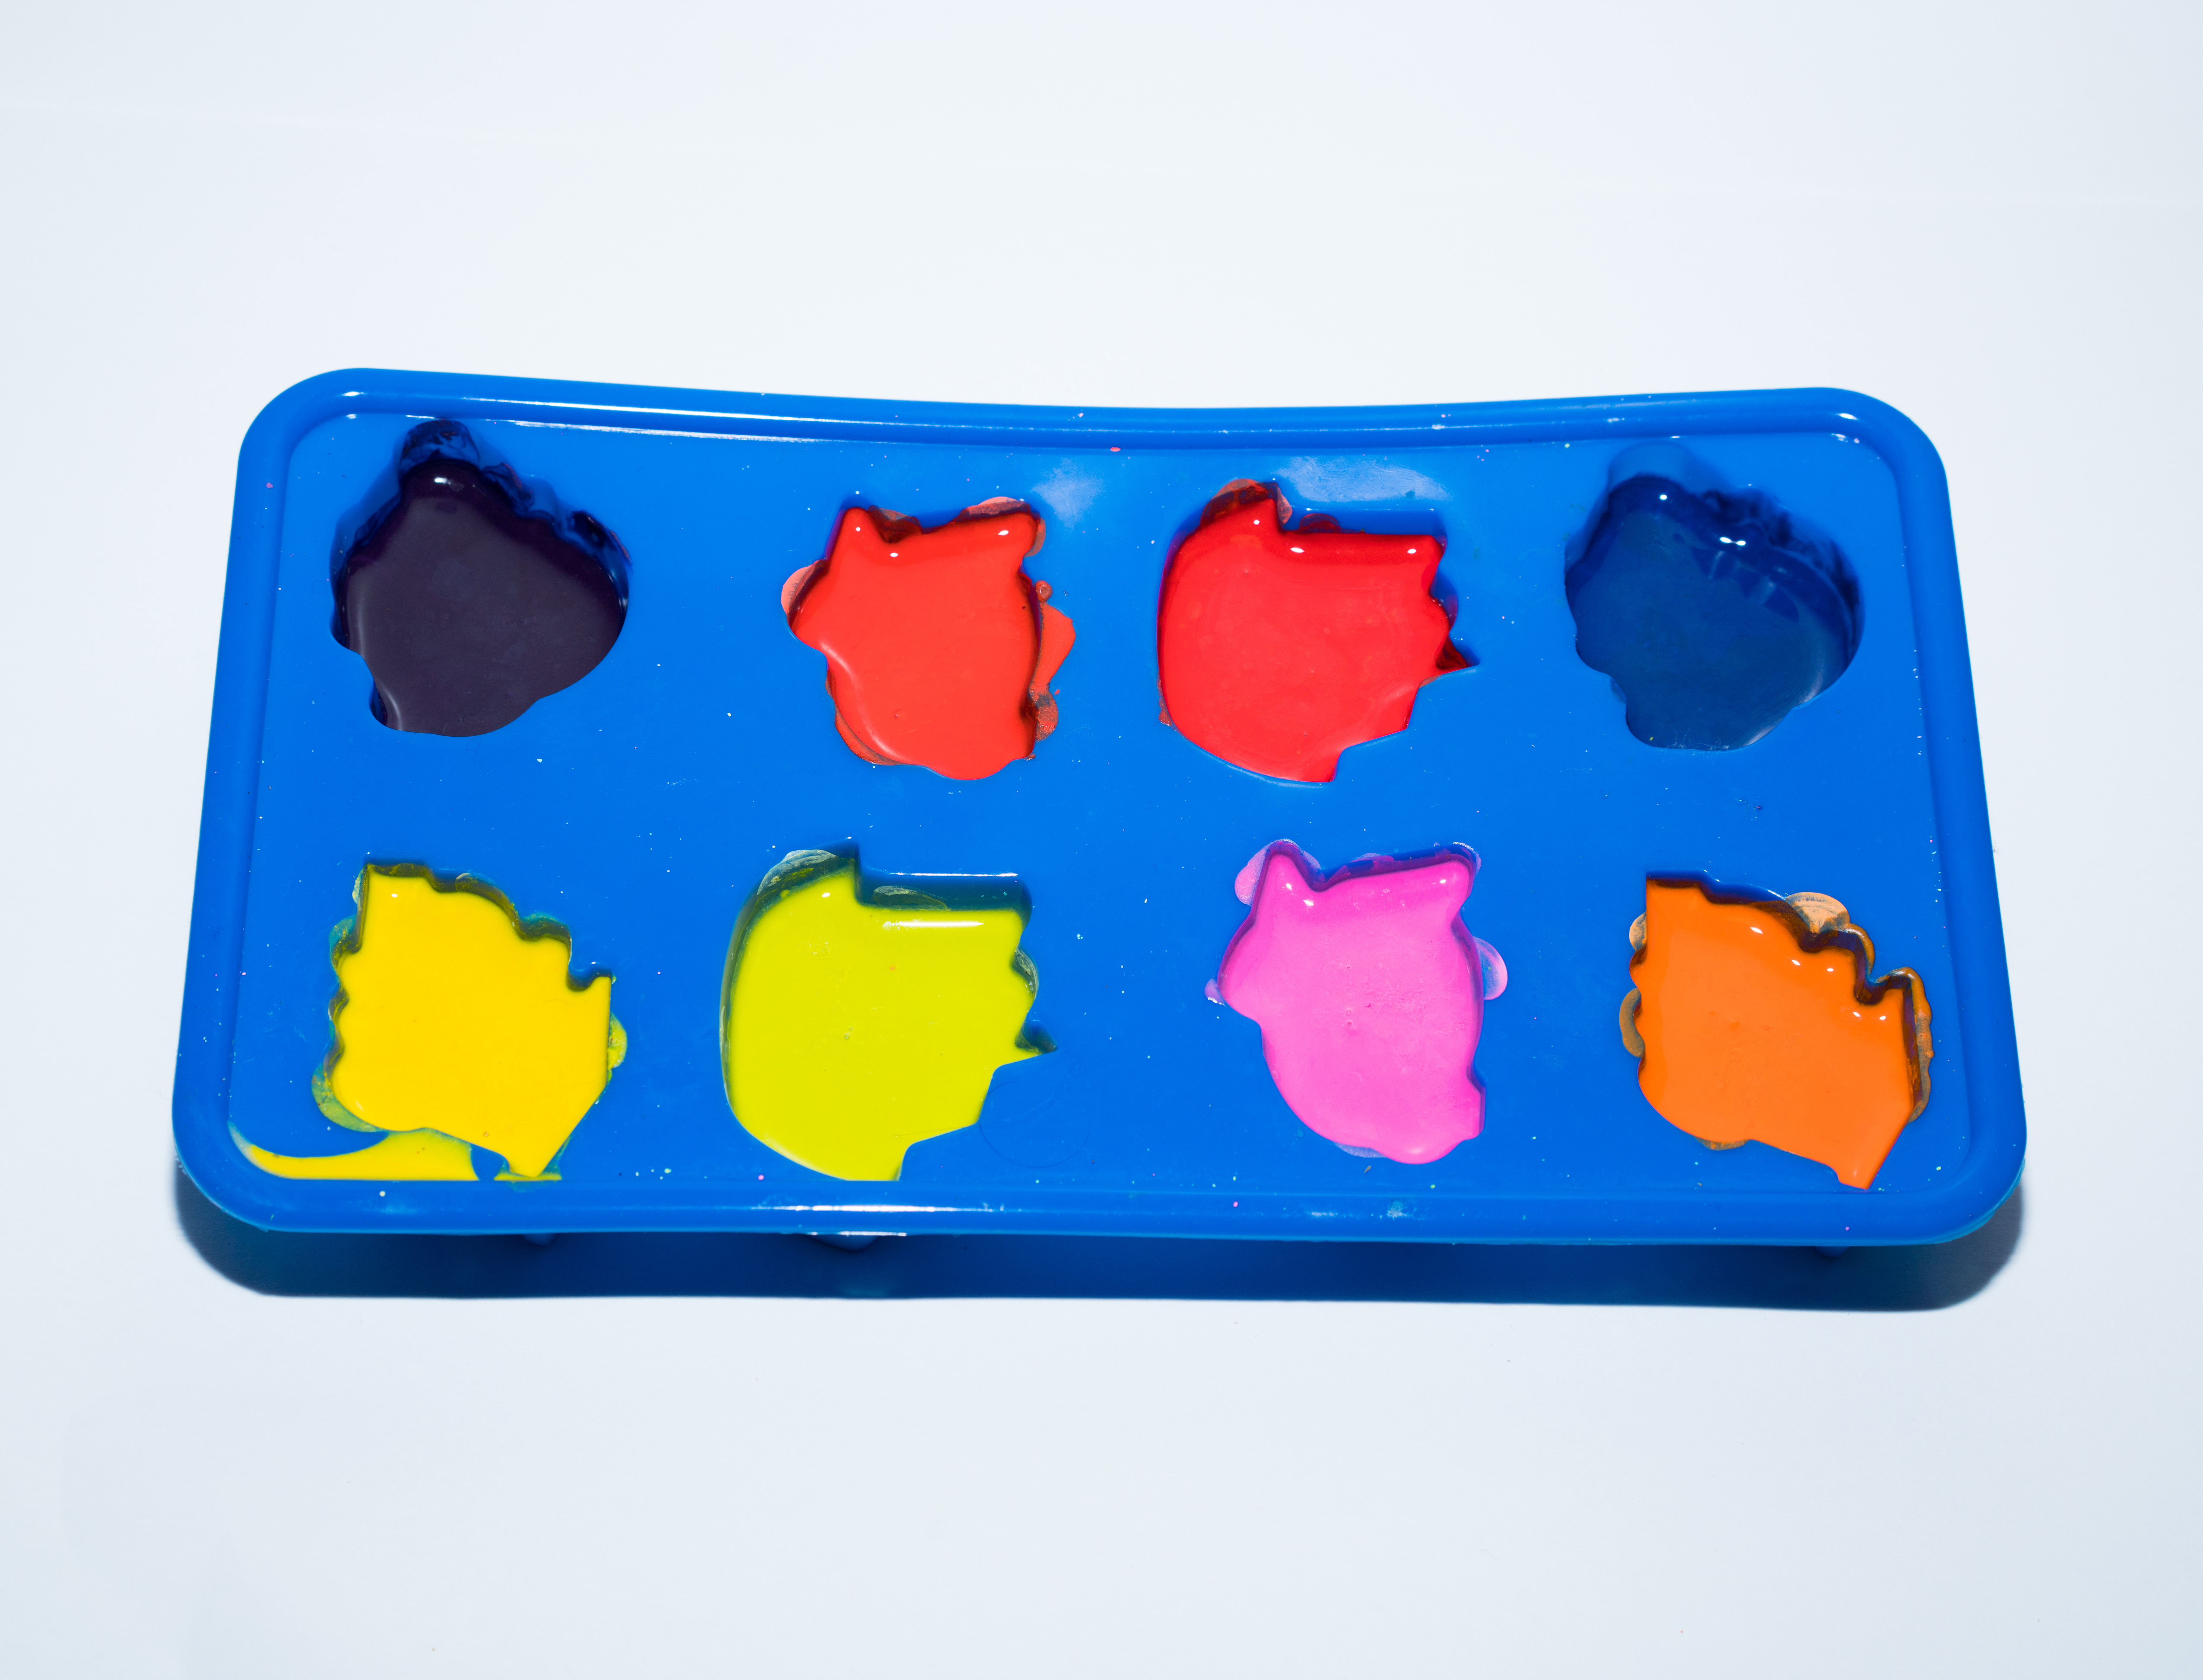
Step 7: Place the mould on a baking tray and put it in the middle of the oven, you don’t have to pre-heat the oven. Set the oven to 110° and wait ~9-11 minutes, keep checking on it. Once the crayons have completely melted into a liquid and have a flat surface you can take them back out.
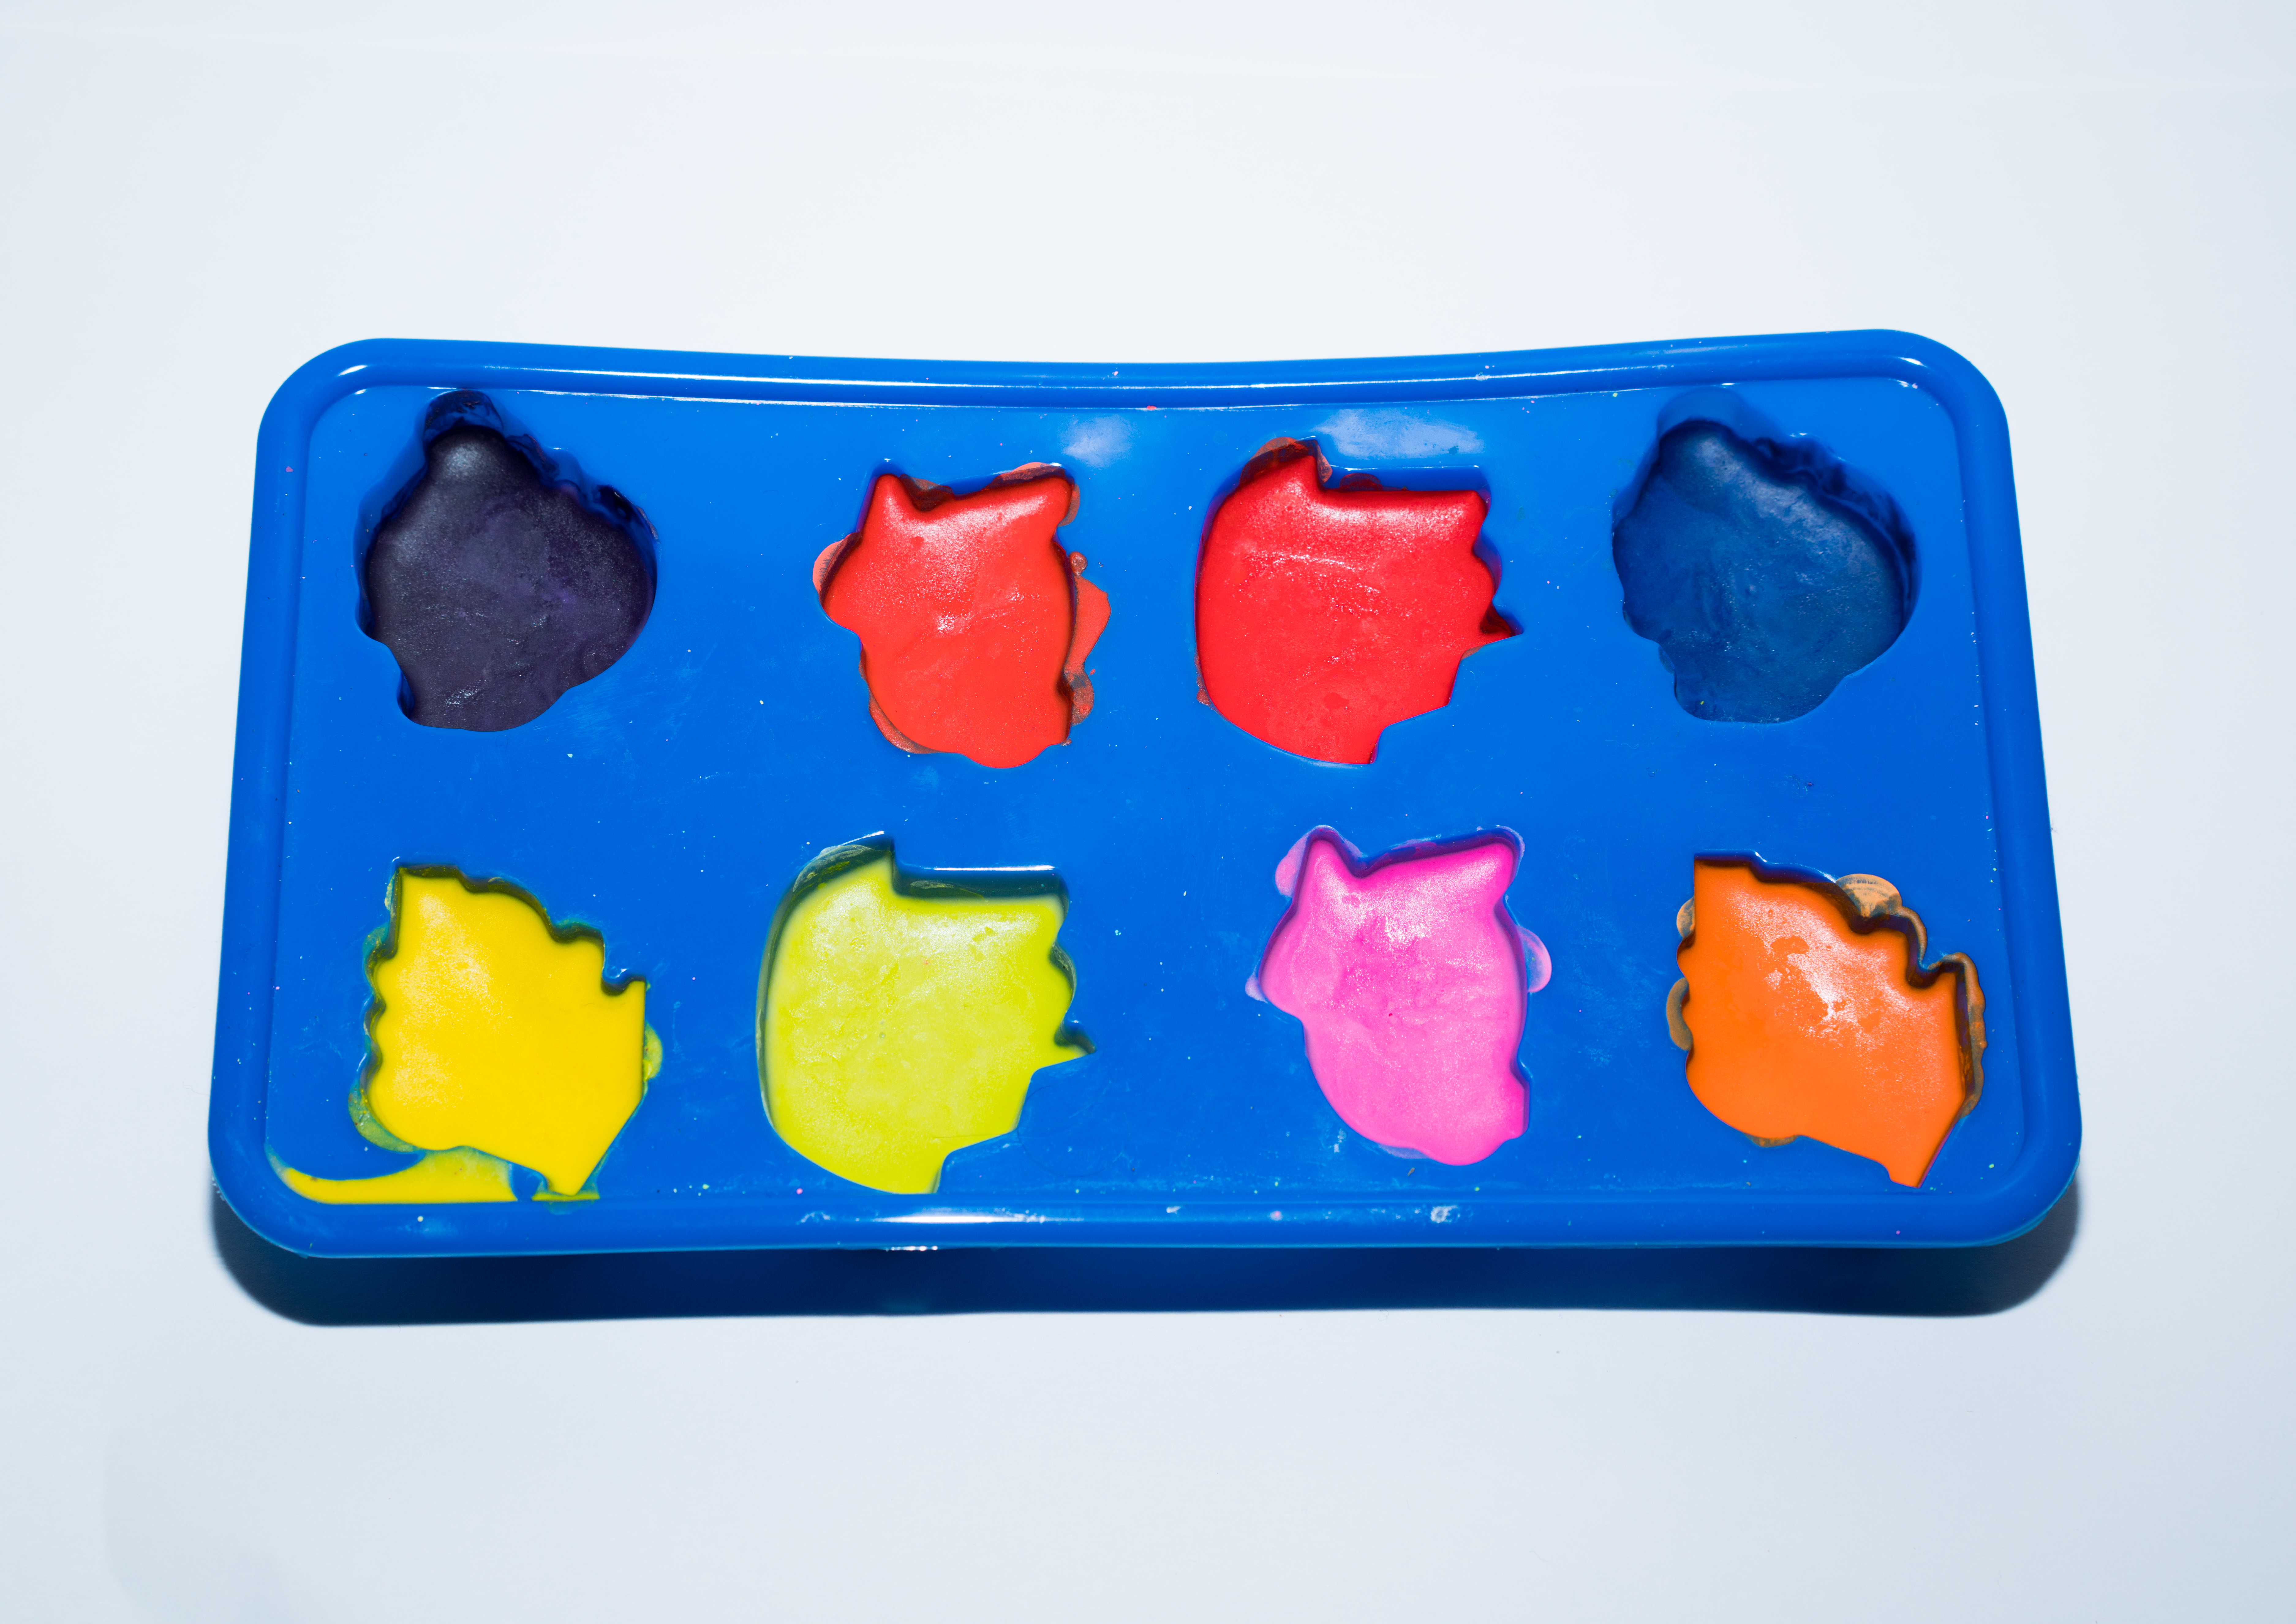
Step 8: This step is very important, as soon as you take the mould out of the oven the liquid crayons will have bubbles on and inside them. Quickly grab a sharp knife and gently stir a colour, then pop the tiny bubbles, the easiest way to do this is to push the bubbles to the sides and pop them from there. You must wipe the knife clean with a tea towel before you move onto the next colour or the colours will mix. Once you have popped all of the bubbles it should look something like this:
Step 9: Leave the liquid crayons to cool for about 30 minutes:
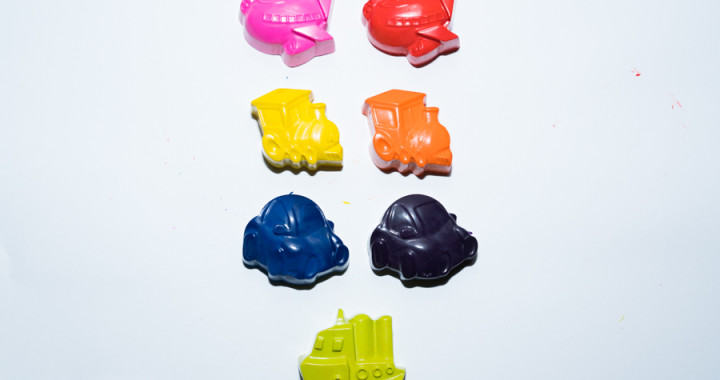
Step 10: Once the crayons have cooled you need to pop them out of the mould, this can sometimes be quite tricky, the best way to do this is the pull the mould from around the crayons edges and then popping it out, rather than just pushing it through from behind. Sometimes if you didn’t stir the liquid crayon properly the crayons can end up with bubbles inside, one of ours had this problem, if this happens just put it back in the mould and put it back in the oven and try again. If you did this correctly you should end up with some perfect crayons for your little one, enjoy!

If you have any questions, feel free to ask them in the comment section.
If you liked this tutorial please share using the social media buttons to the right or below.