Insect garden messy play sensory tray

A quick and simple tutorial on how to set up an insect garden messy play sensory tray.

Step 1: First buy a garden tray, 60x60cm should be big enough, we got ours from Amazon:

Step 2: Make some green coloured rice for the bottom layer, tutorial here.

Step 3: Shred some green tissue paper up, or buy some pre shredded paper from Amazon:

Step 4: Buy some fake leaves (or use real ones if you want). Here are some cheap ones on Amazon:

Step 5: Buy some blue glass beads to mimic the sea, we got some of ours from Amazon:

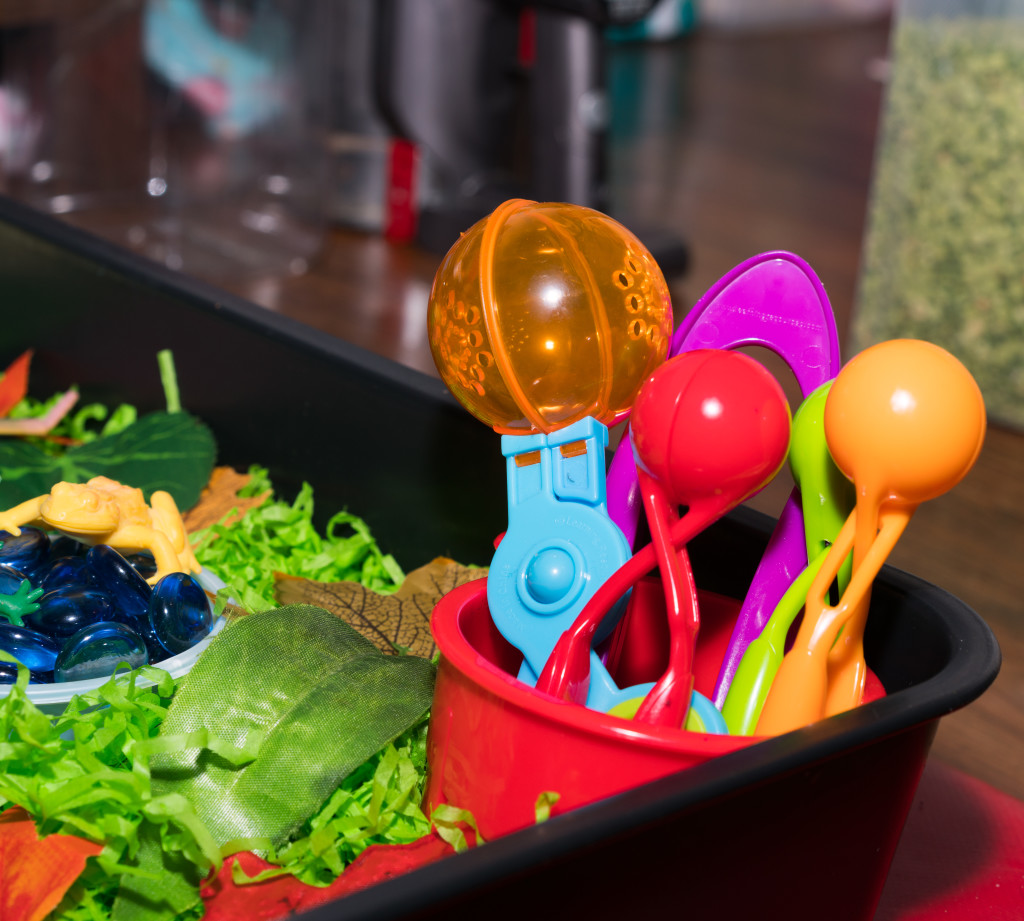
Step 6: The helping hands fine motor skill set is a good way to teach your children dexterity, and picking a bunch of small things up with them is fun, from Amazon:

Step 7: For the frogs we bought a counting and sorting set, this this set is great for learning numbers and colours, it also helps with dexterity and recognition. You can pick the set up from Amazon:

Step 8: We bought the large bugs from Amazon:

Step 9: We got the plastic fake rocks from a cheap toy set from a pound shop.

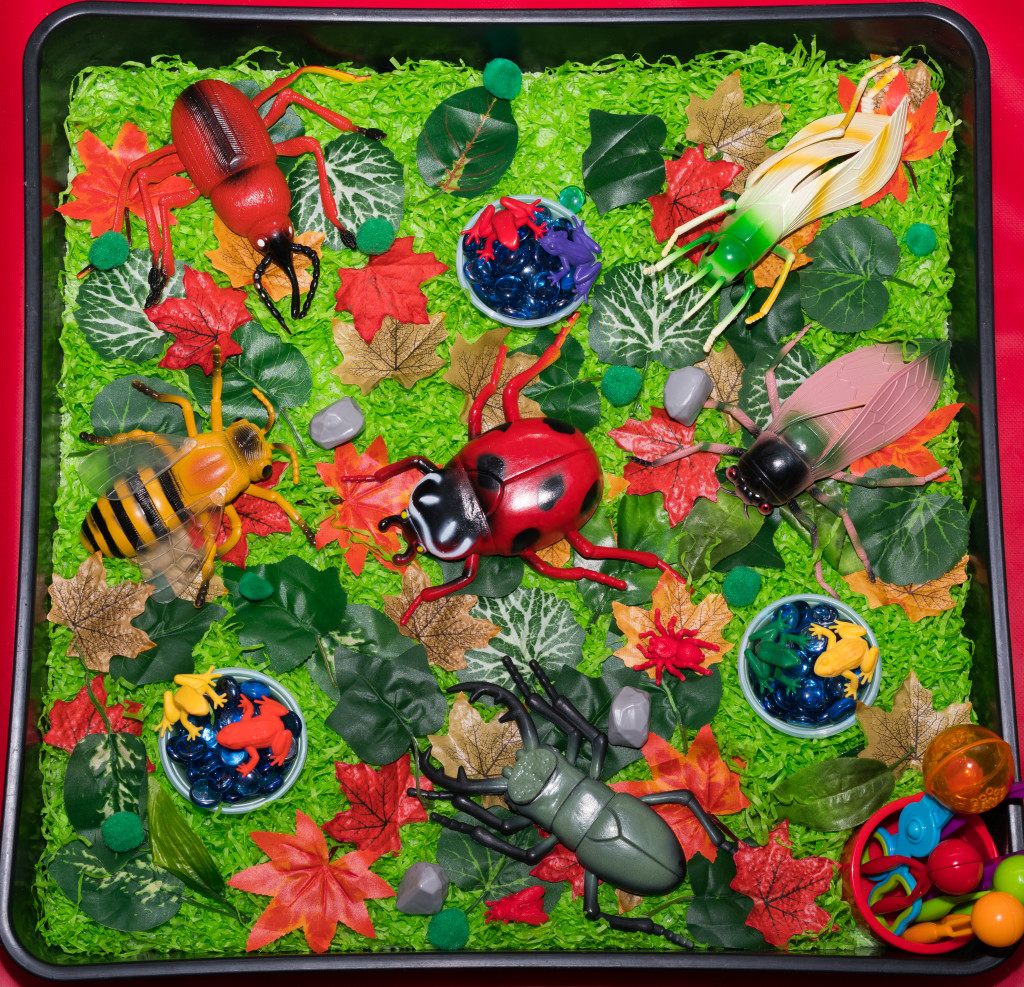
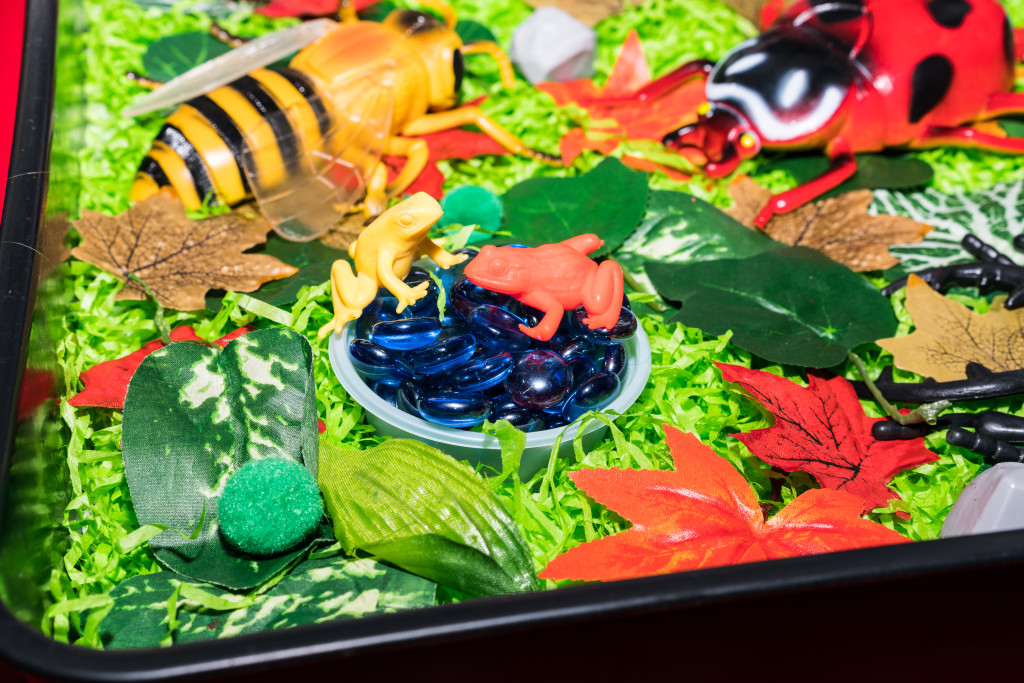
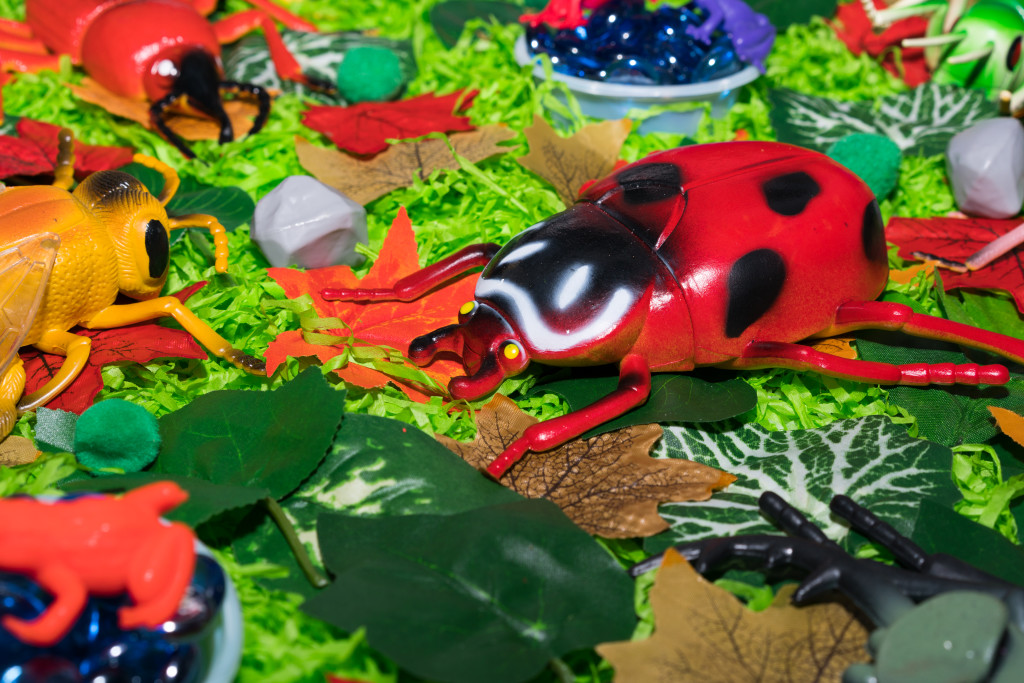
Step 10: Put the rice as the bottom layer, then the shredded green paper as the next layer and set out everything else on top like in the following photographs, then let your child play with it and enjoy it!:

DSC01245-2DSC01246 DSC01247 DSC01248

If you have any questions, feel free to ask them in the comment section.

If you liked this messy play idea please share using the social media buttons to the right or below.

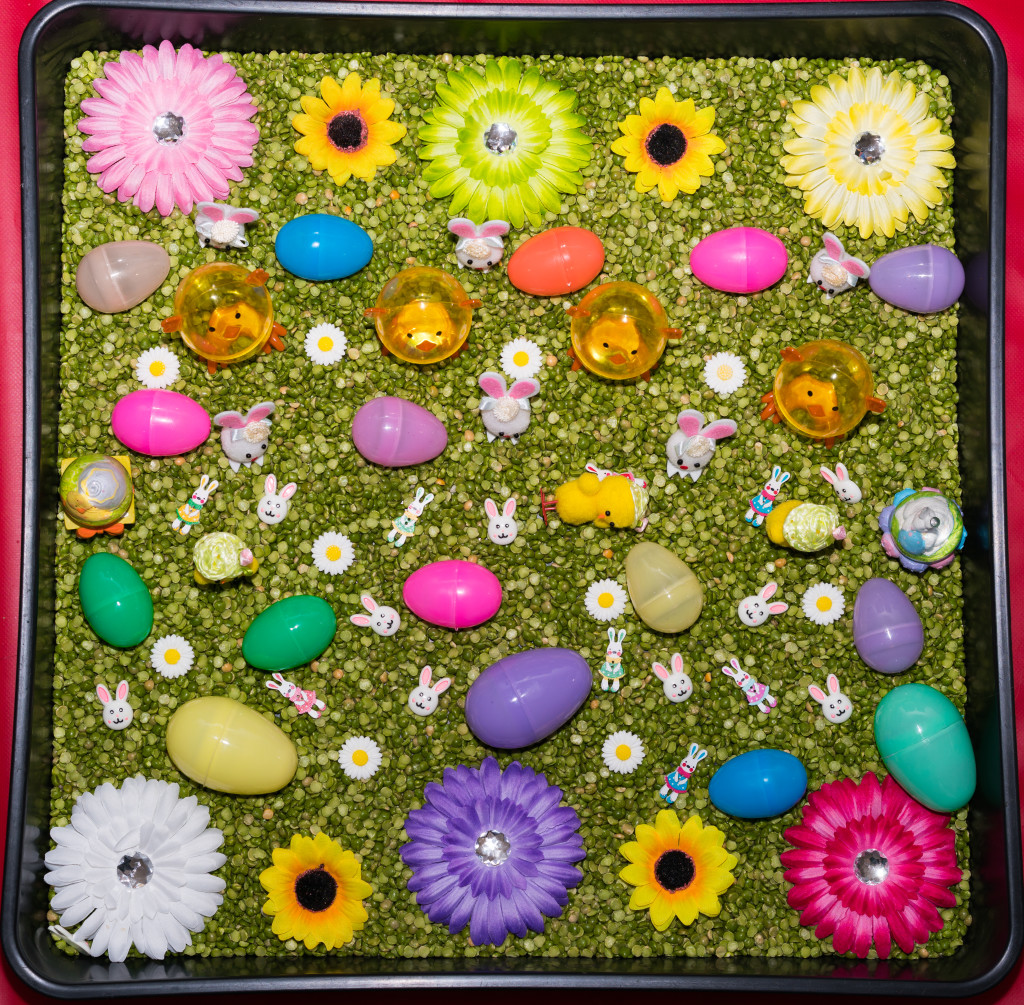
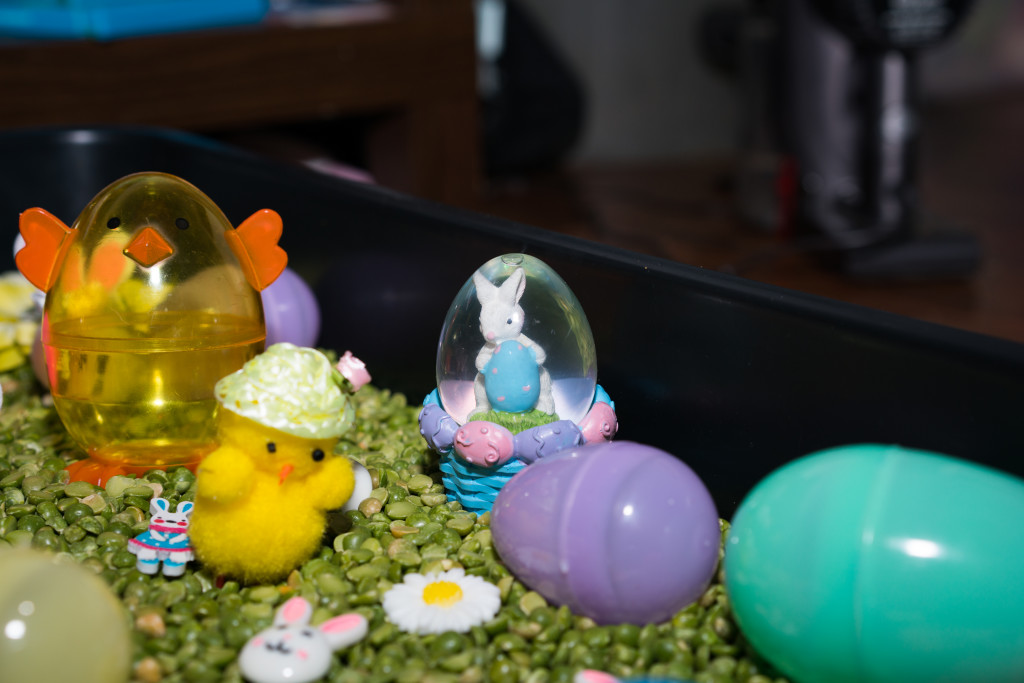
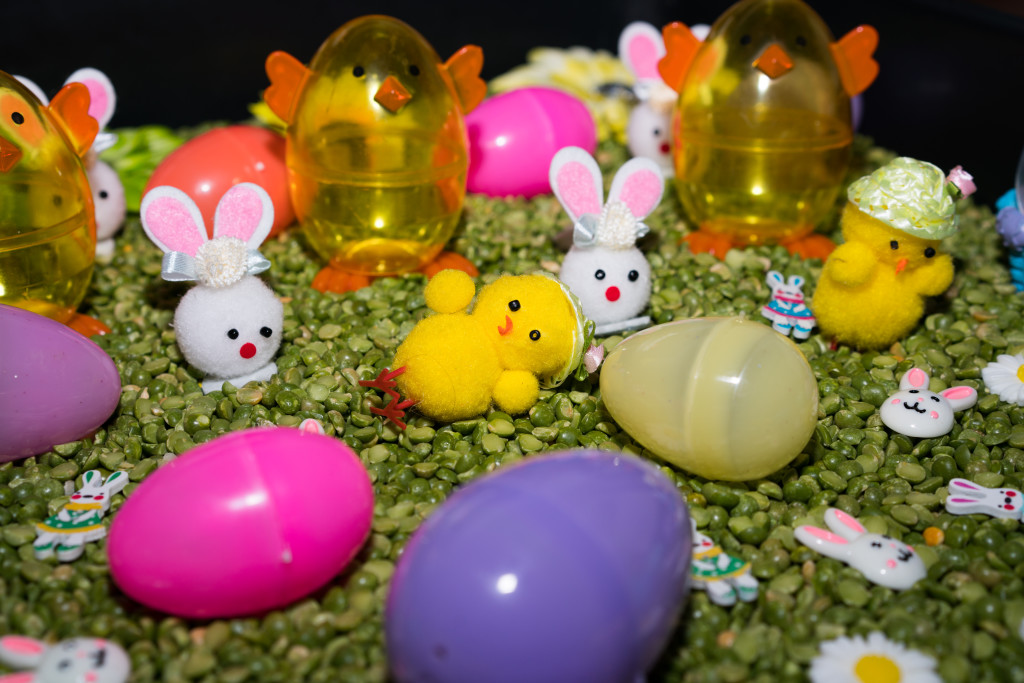
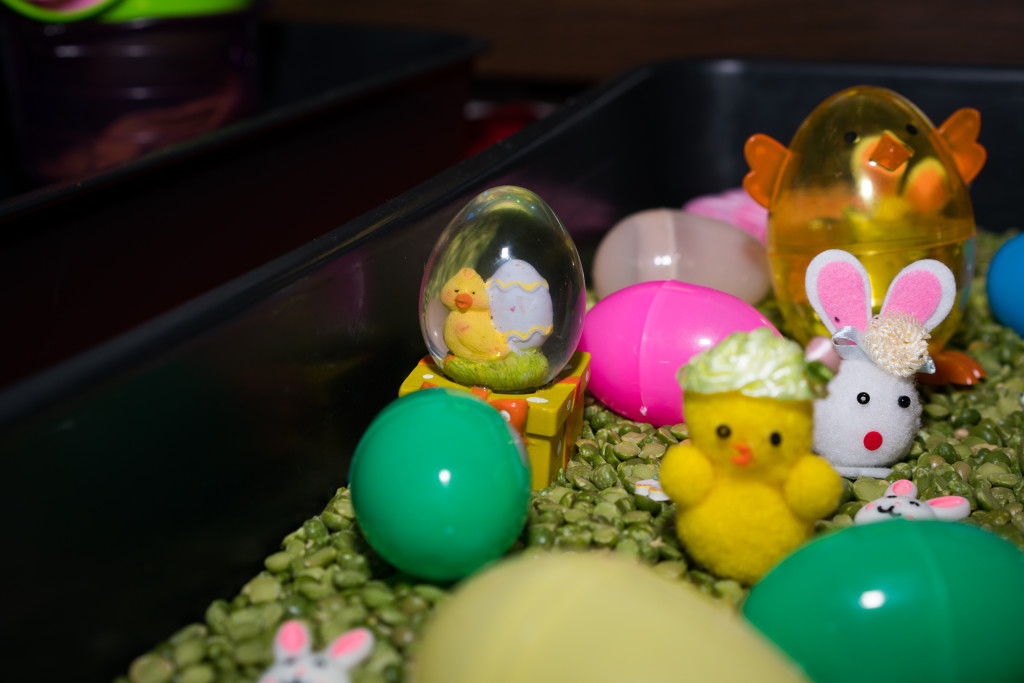
Easter messy play sensory tray

A quick and easy guide to make an Easter messy play sensory tray.

Click on the pictures or the blue links to be taken to the seller’s website.

Step 1: First buy a garden tray, 60x60cm should be big enough, we got ours from Amazon:

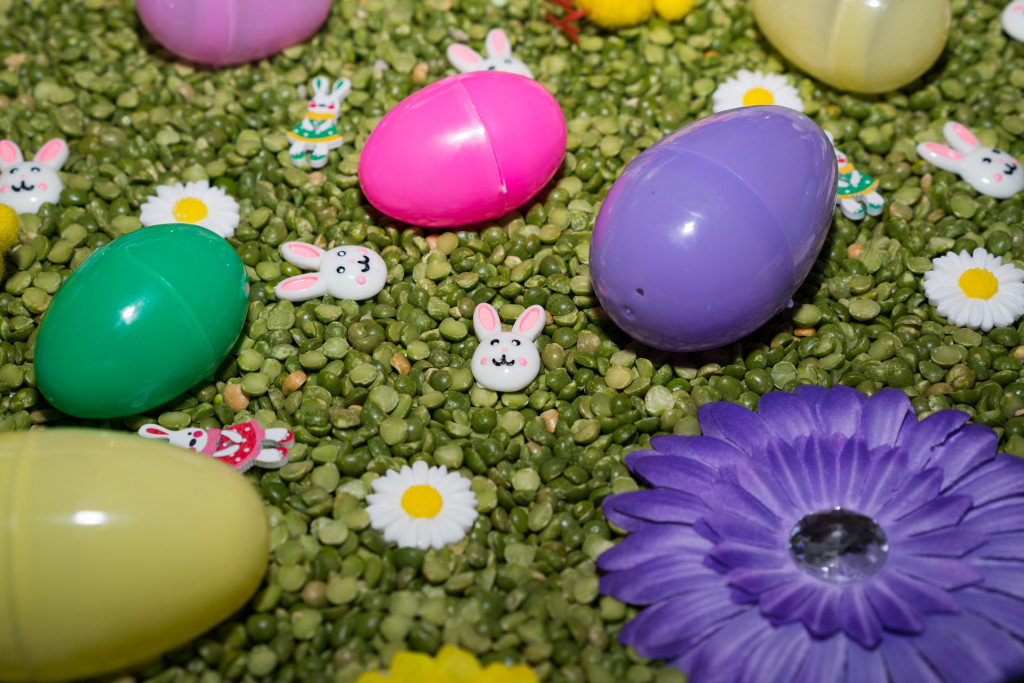
Step 2: Buy 2-3KG of green split peas, they can be found here:

Step 3: Find some flower hair clips if you have them, if you don’t, you can find them here:

Step 4: Buy some flat back plastic daisy flowers from Amazon for cheap:

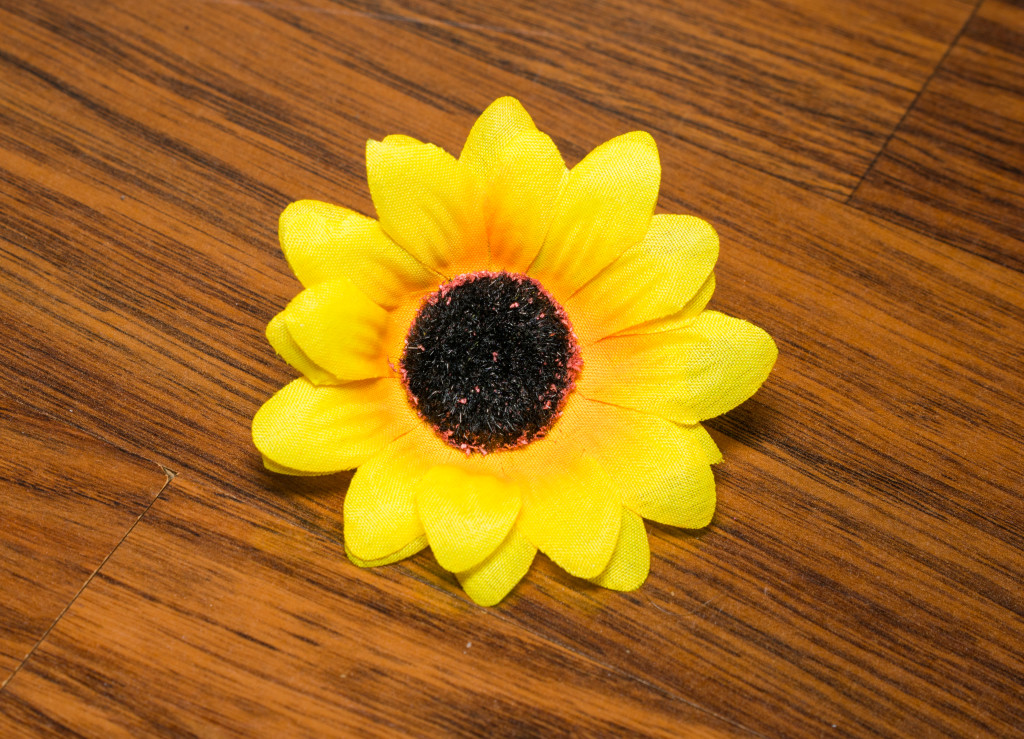
Step 5: Buy some sunflower heads from Amazon:

DSC01149

Step 6: Buy some coloured plastic eggs from here:

Step 7: Wooden bunny rabbit buttons from here:

$_12 (3)

Step 8: Everything else was bought from various pound shops, as we could not find them online.

Step 9: Once you have everything you can put it all in place like in the pictures below and watch your little one have fun!

DSC01237 DSC01241 DSC01242 DSC01243 DSC01244

If you have any questions, feel free to ask them in the comment section.

If you liked this messy play idea please share using the social media buttons to the right or below.
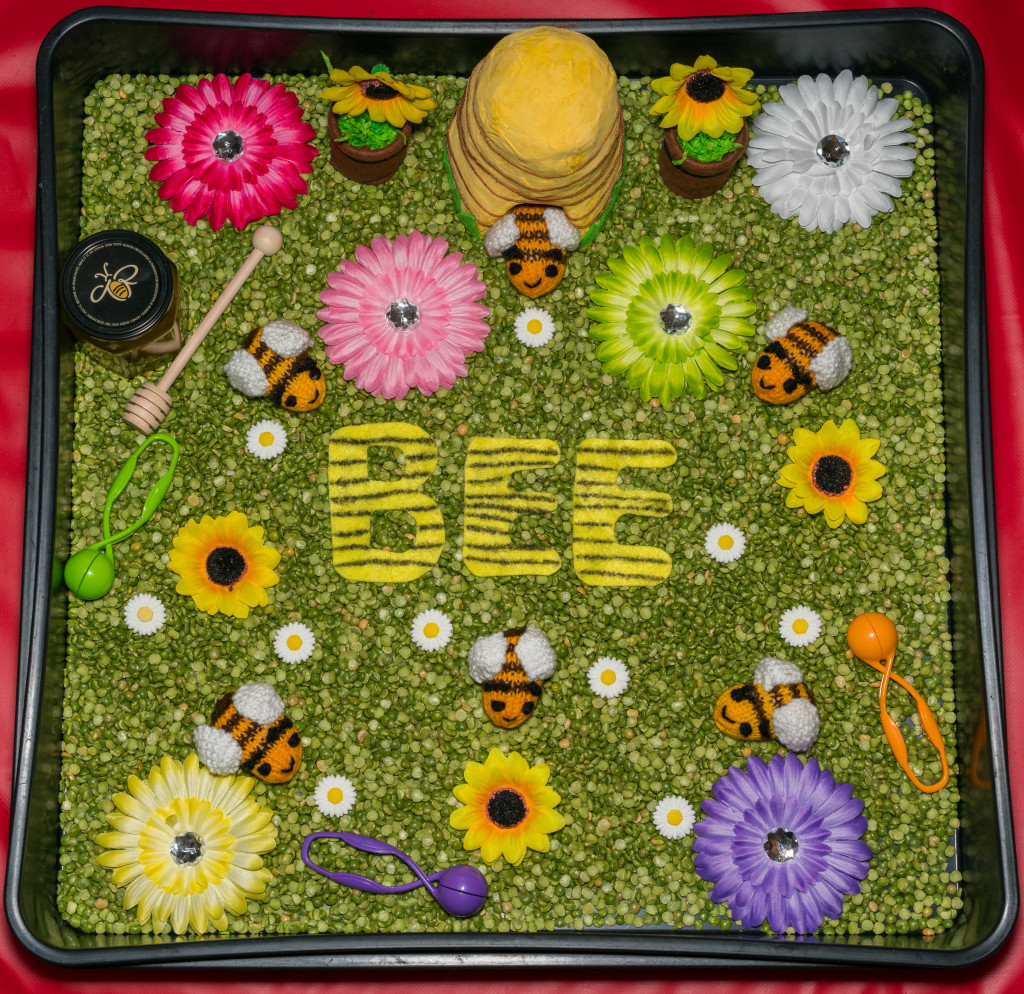
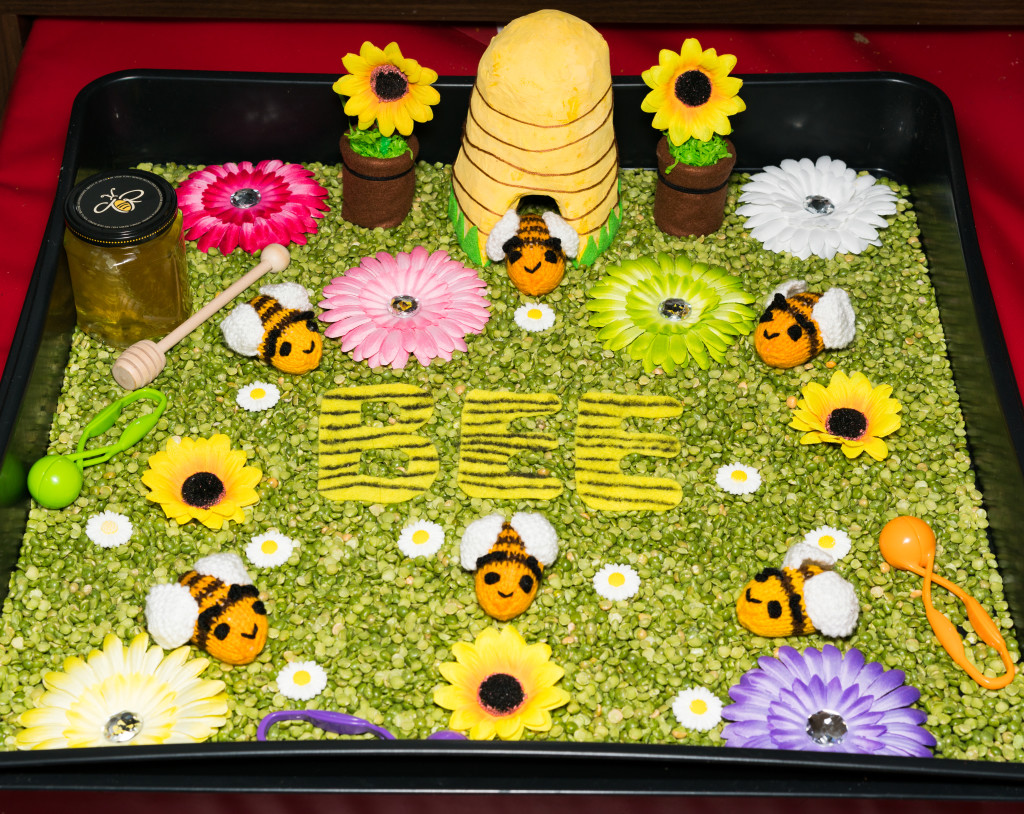
Bee hive messy play sensory tray

A quick and easy guide to make a bee hive messy play sensory tray.

Click on the pictures or the blue links to be taken to the seller’s website.

Step 1: First buy a garden tray, 60x60cm should be big enough, we got ours from Amazon:

Step 2: Buy 2-3KG of green split peas, they can be found here:

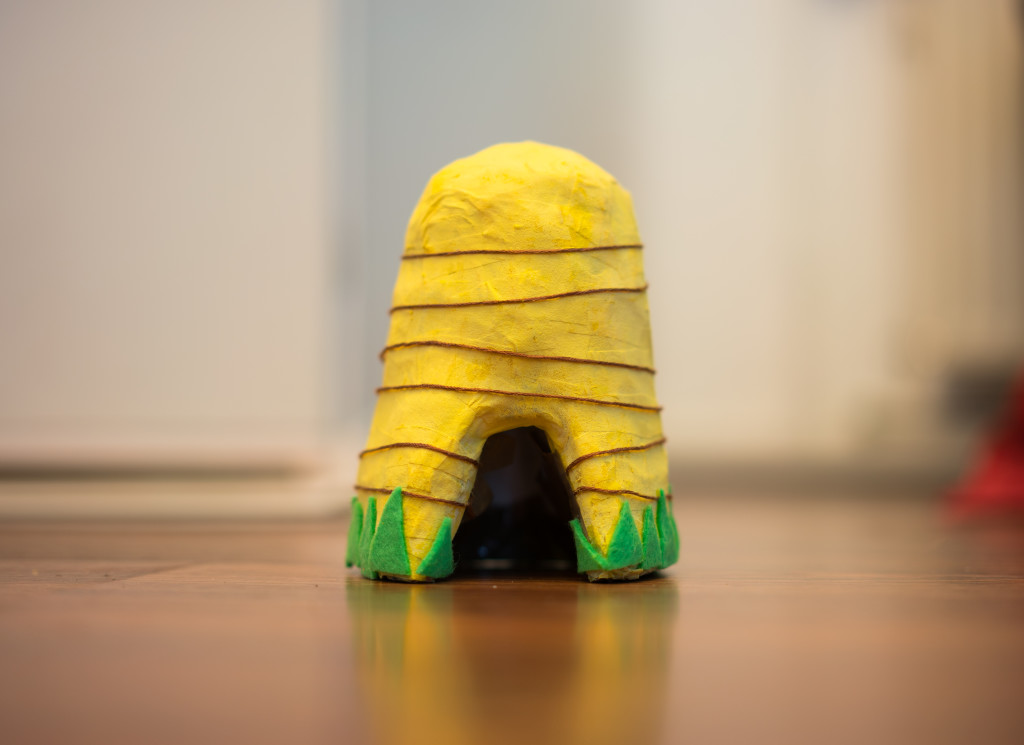
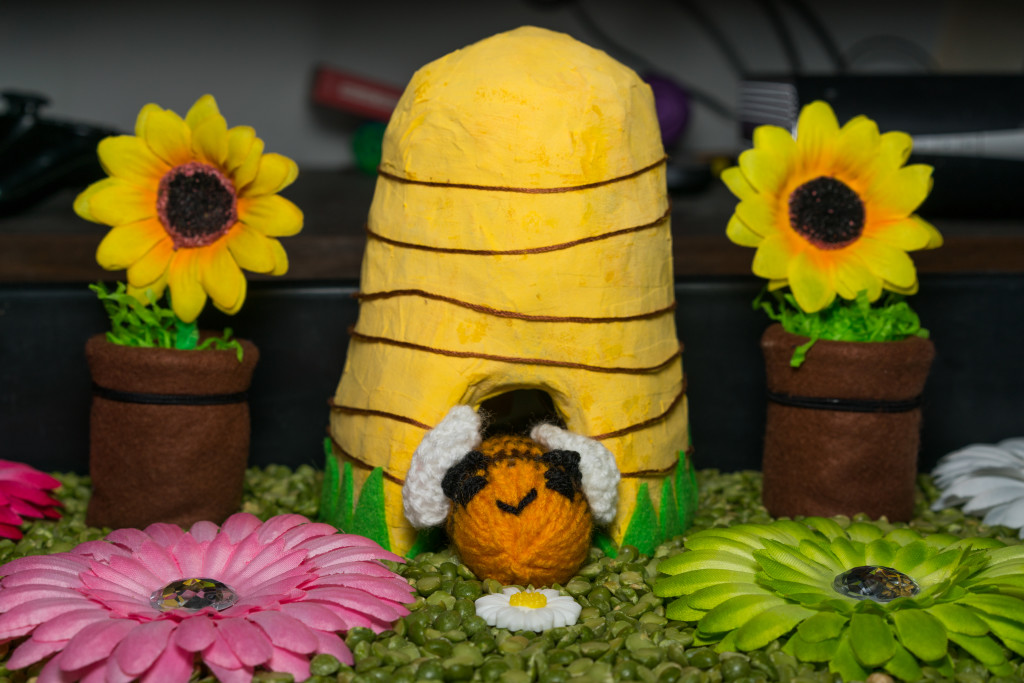
Step 3: Next, follow this tutorial to learn how to make a beehive!:

DSC01109

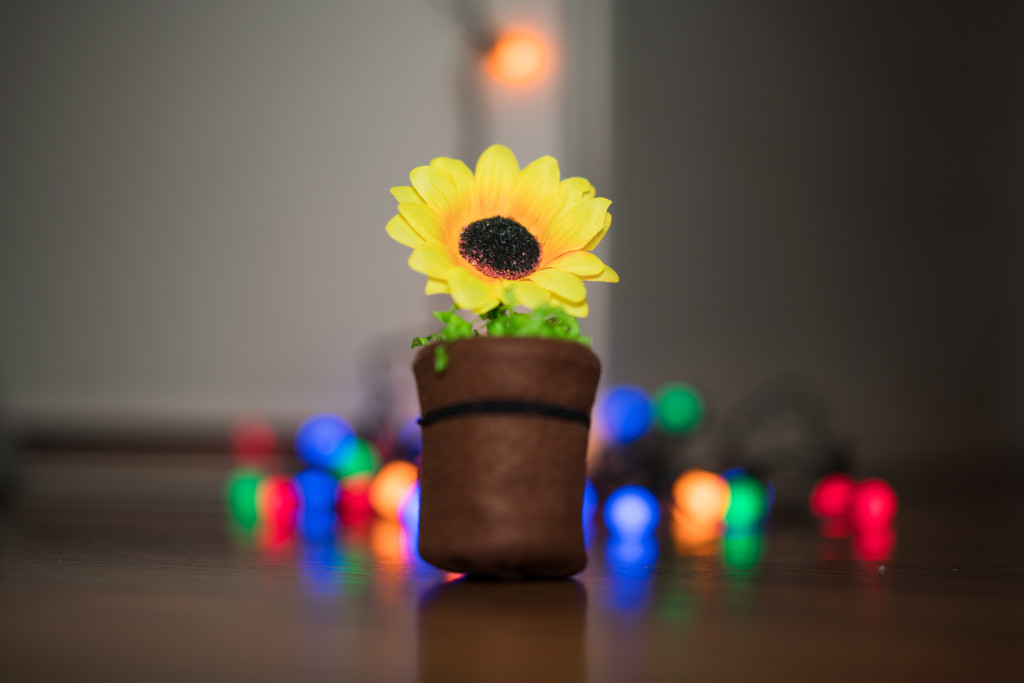
Step 4: Then follow this tutorial to learn how to make sun flower pots!:

DSC01144

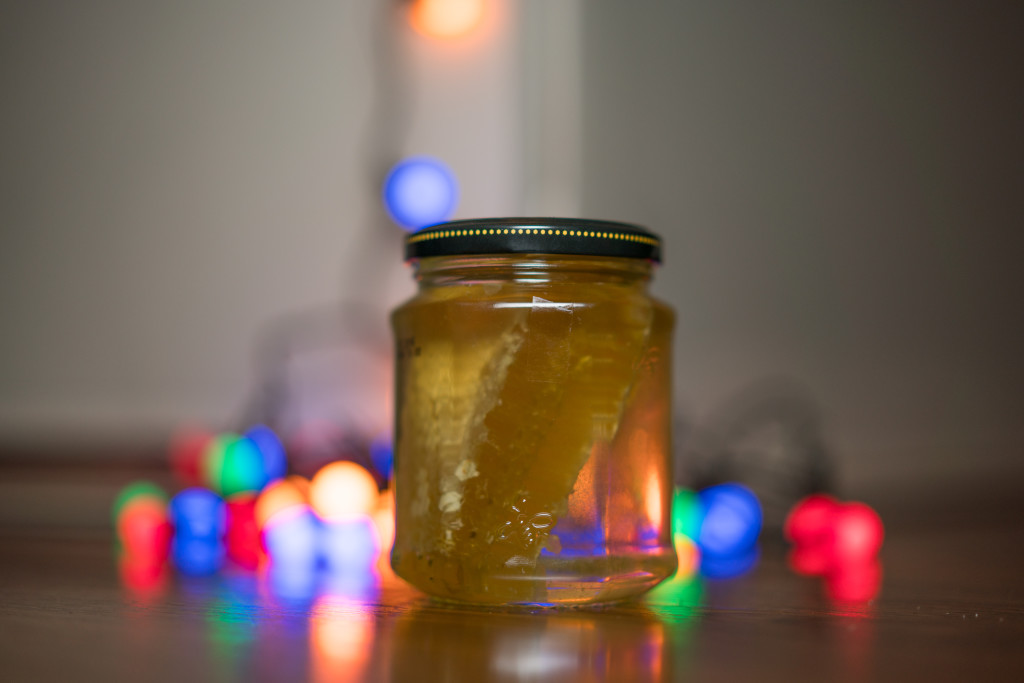
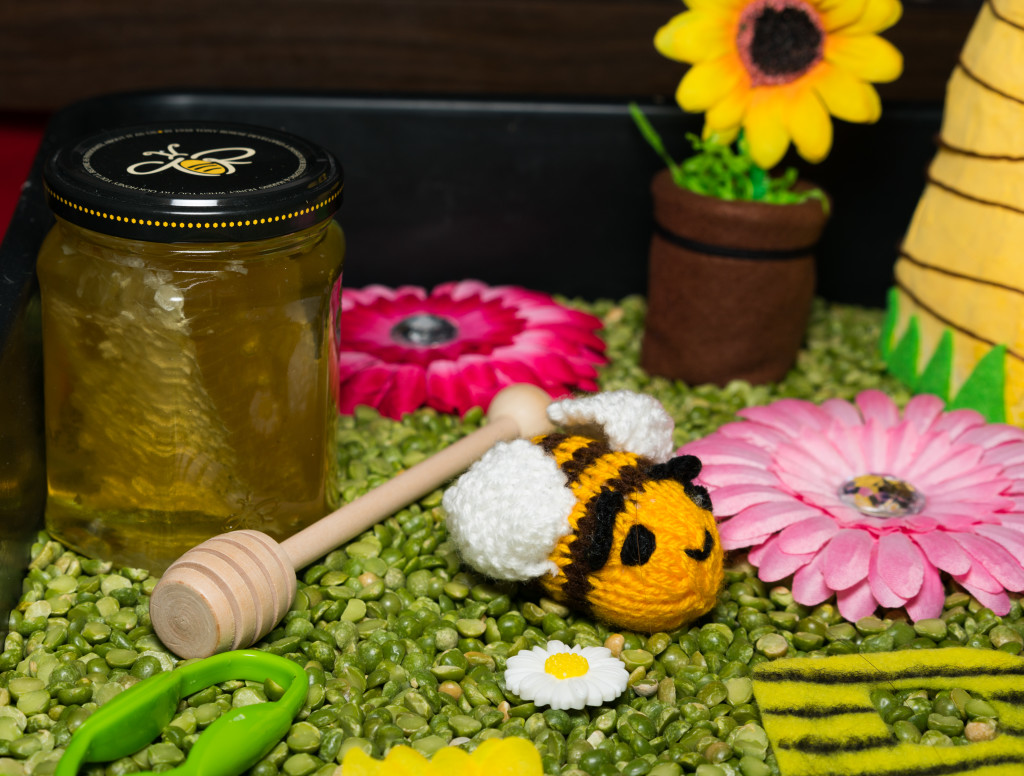
Step 5: Next buy a jar of honey, you can buy the one we have from Amazon, its yummy! Our son loves it:

DSC01133

Step 6: Next you will need a honey stick, if you don’t already have one you can get one here:

Step 7: Buy some sunflower heads from Amazon:

DSC01149

Step 8: The helping hands fine motor skill set is a good way to teach your children dexterity, and picking a bunch of small things up with them is fun, from Amazon:

Step 9: Buy some flat back plastic daisy flowers from Amazon for cheap:

Step 10: Find some flower hair clips if you have them, if you don’t, you can find them here:

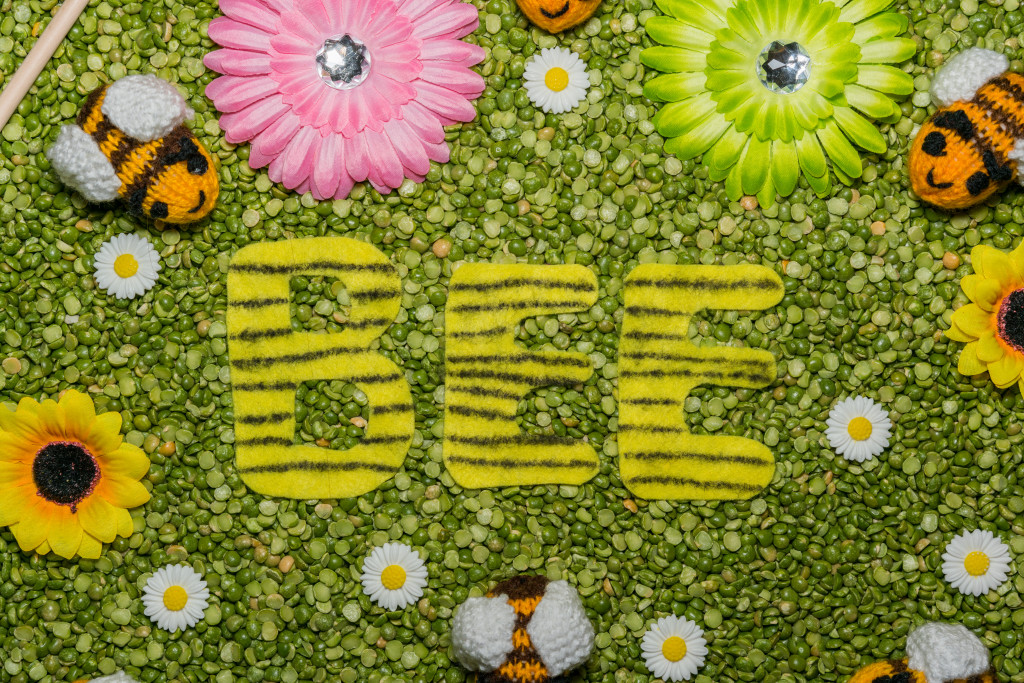
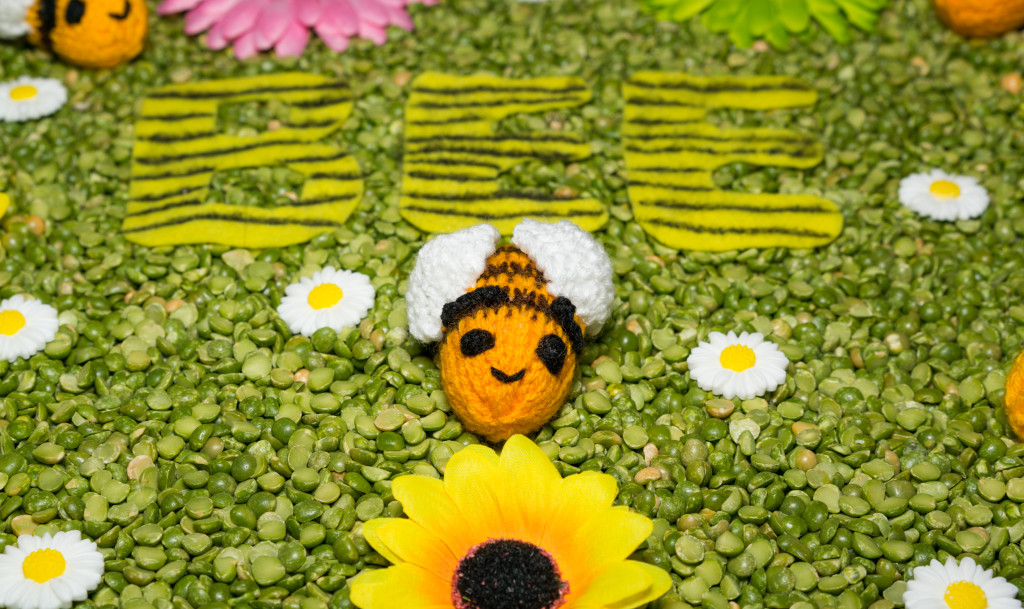
Step 11: Cut out some yellow felt in B, E and another E shapes and draw black lines across them so they look like bees. you can buy some felt from here:

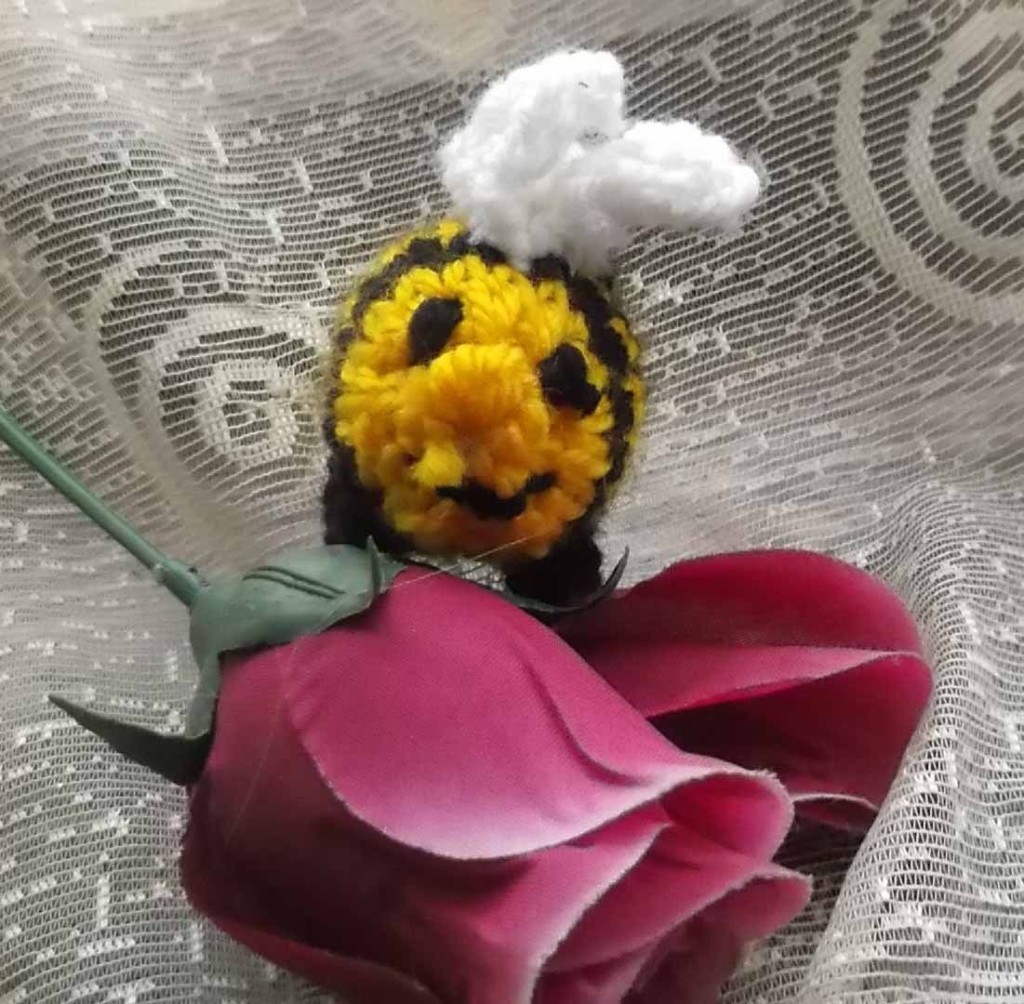
Step 12: And finally you can get the knitted bees from eBay here, but if this seller runs out try searching eBay for more:

$_57 (1)

Step 13: That’s it! time to have some fun with your little one and enjoy some nice sweet honey afterwards!

DSC01135

DSC01138

DSC01139

DSC01140

DSC01141

DSC01142

If you have any questions, feel free to ask them in the comment section.

If you liked this messy play idea please share using the social media buttons to the right or below.
How to make a puzzle messy play sensory tray


A quick and easy guide to make a puzzle messy play sensory tray.

Click on the pictures or the blue links to be taken to the seller’s website.

Step 1: First buy a garden tray, 60x60cm should be big enough, we got ours from Amazon:

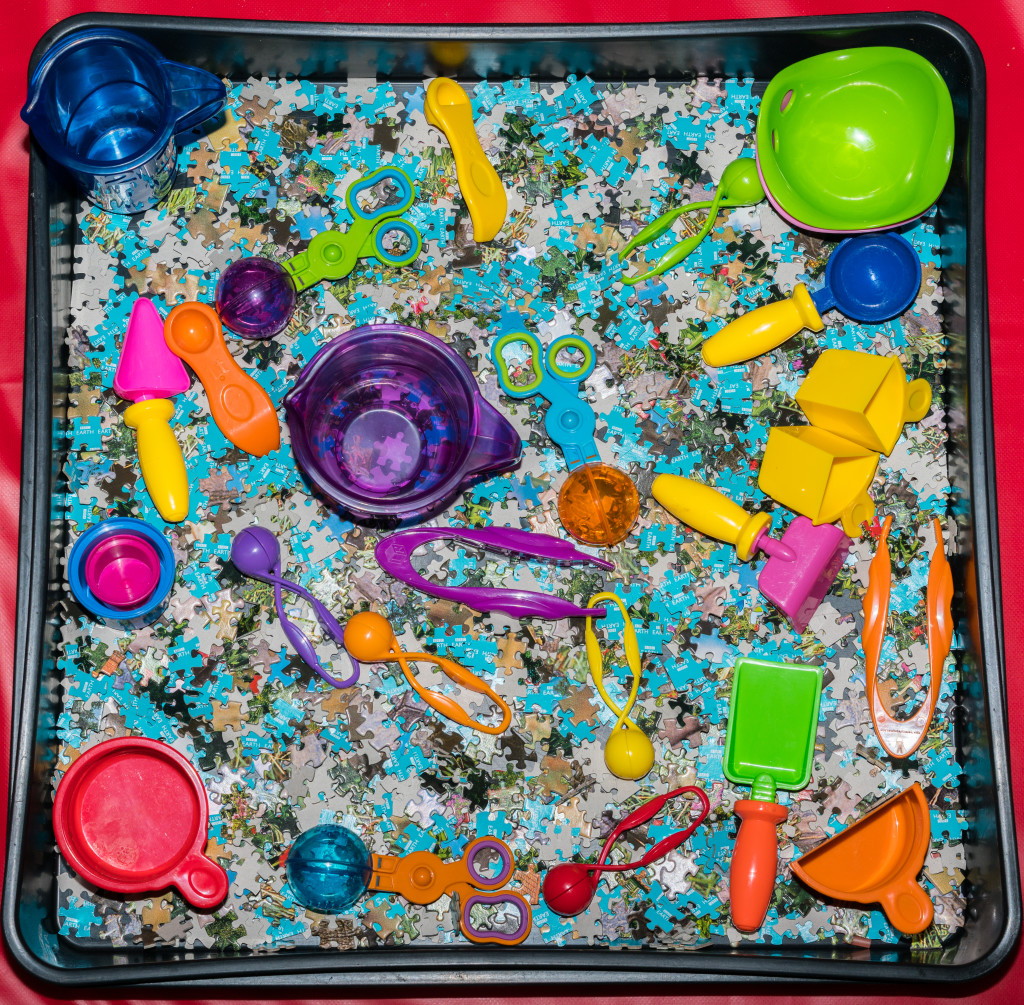
Step 2: Find some old puzzles you don’t need any more and put loads of pieces into the tray.

Step 3: The helping hands fine motor skill set is a good way to teach your children dexterity, and picking a bunch of small things up with them is fun, from Amazon:

Step 4: Gardening tools are fun to use to dig into the puzzle pieces:

Step 5: Jumbo tweezers are easy for children who have limited dexterity to grip:

Step 6: Measuring spoons and jugs are also a fun way to play with the puzzle pieces. You can get these lovely ones from Amazon:

Step 7: Mini Bilibos make great scoopers and you can also put things in them, put them down on a surface and spin them, we got ours from Amazon:

Step 8: Put everything into place like the picture below and let your little one have a good play!

DSC01113

If you have any questions, feel free to ask them in the comment section.

If you liked this messy play idea please share using the social media buttons to the right or below.
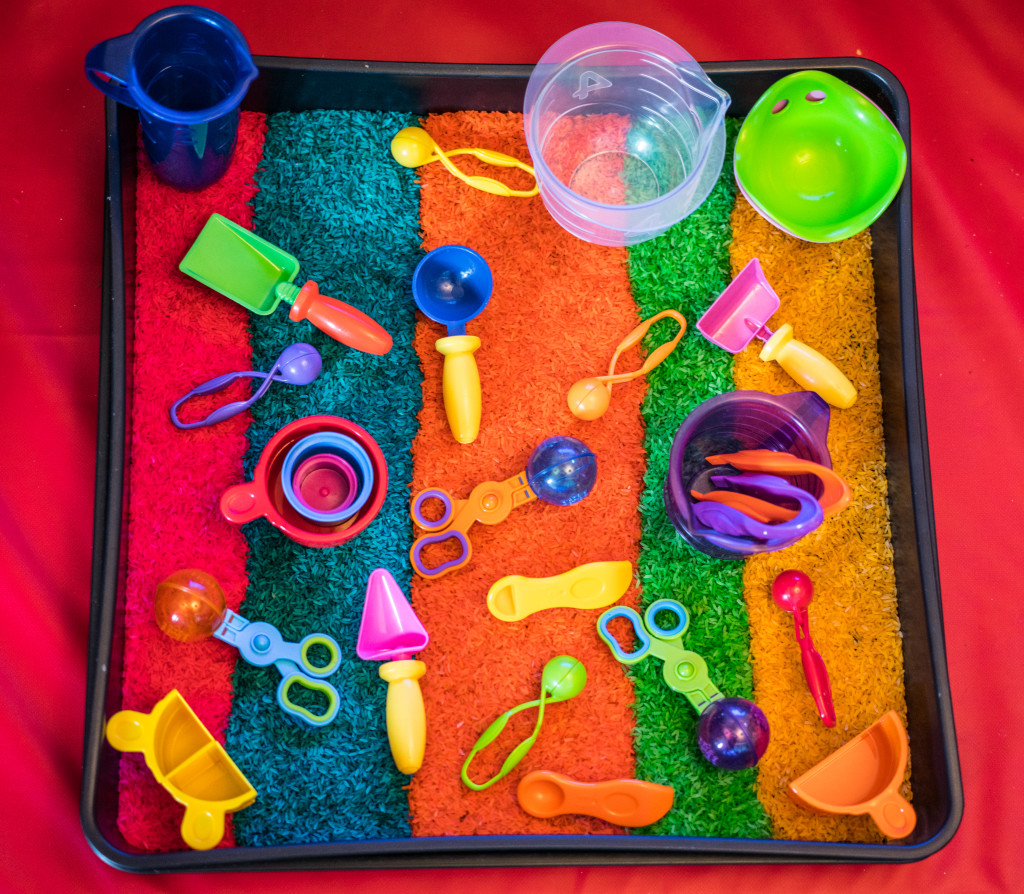
How to make a rainbow rice messy play sensory tray

A quick and easy guide to make a rainbow rice messy play sensory tray.

Click on the pictures or the blue links to be taken to the seller’s website.

Step 1: First buy a garden tray, 60x60cm should be big enough, we got ours from Amazon:

Step 2: Make 5 different colours of rice using this tutorial here.

Step 3: The helping hands fine motor skill set is a good way to teach your children dexterity, and picking a bunch of small things up with them is fun, from Amazon:

Step 4: Gardening tools are fun to use to dig into the different coloured rice:

Step 5: Jumbo tweezers are easy for children who have limited dexterity to grip:

Step 6: Measuring spoons and jugs are also a fun way to play with the rice. You can get these lovely ones from Amazon:

Step 7: Mini Bilibos make great scoopers and you can also put things in them, put them down on a surface and spin them, we got ours from Amazon:

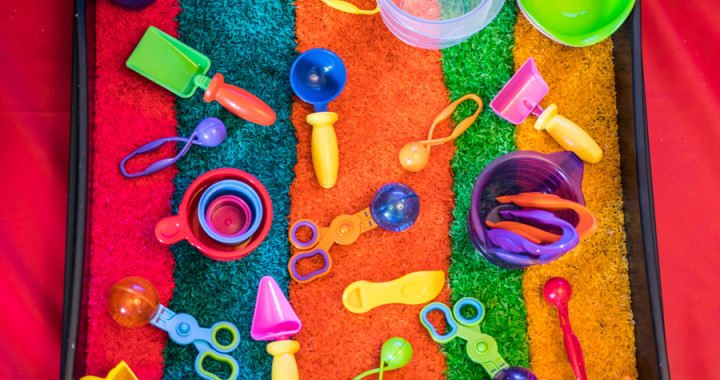
Step 8: Put everything into place like the picture below and let your little one have a good play!

DSC01101

If you have any questions, feel free to ask them in the comment section.

If you liked this messy play idea please share using the social media buttons to the right or below.

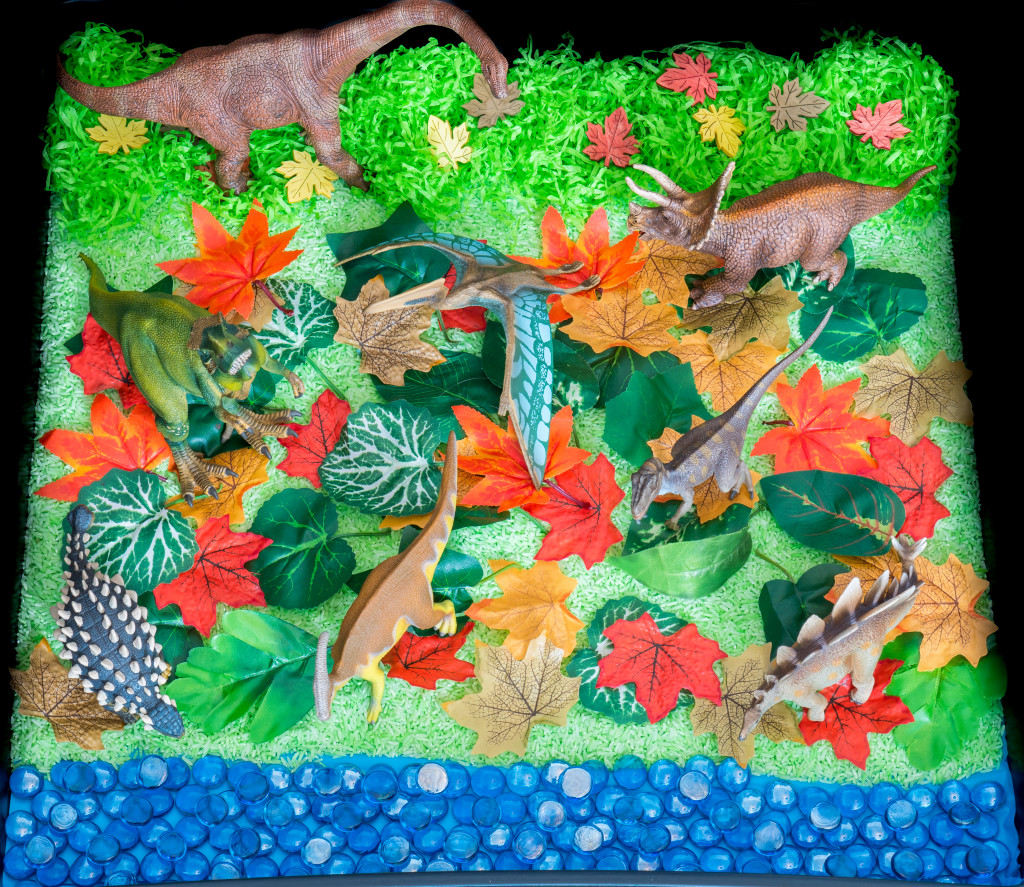
How to make a dinosaur messy play sensory tray

A quick and easy tutorial on how to set up a dinosaur messy play sensory tray.

Click on the pictures or the blue links to be taken to the seller’s website.

Step 1: First buy a garden tray, 60x60cm should be big enough, we got ours from Amazon:

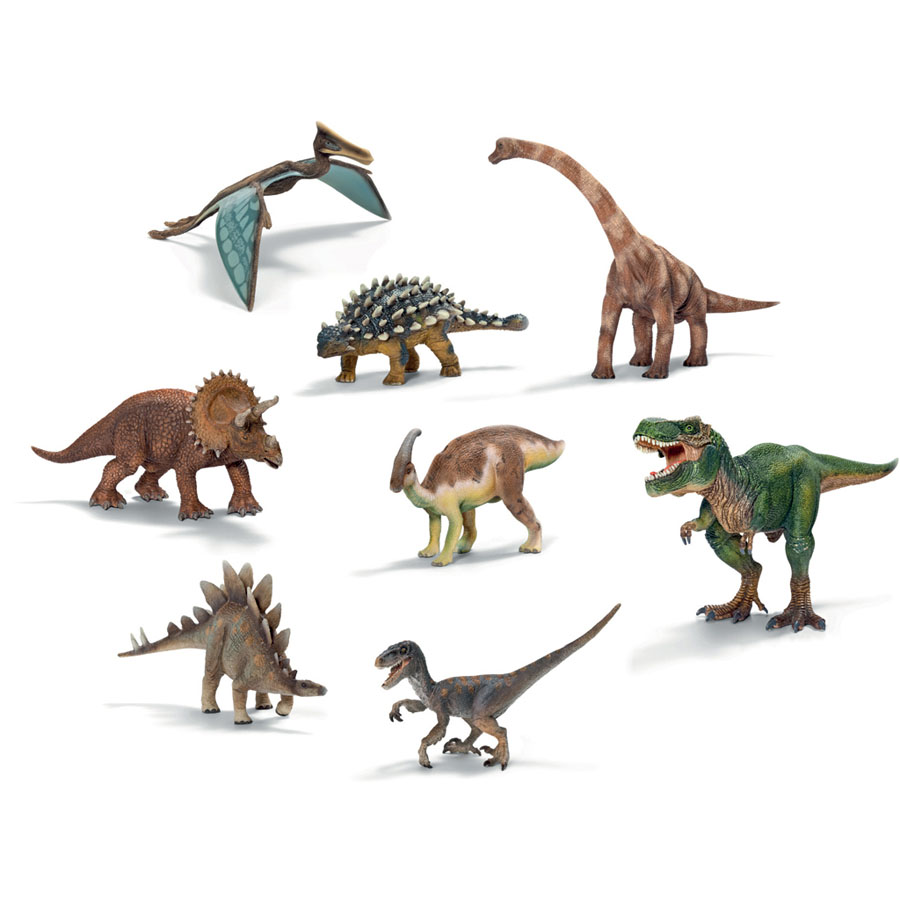
Step 2: Buy some dinosaur toys, ant from the pound shop or local toy store will do. We bought Schleich dinosaur toys, they are the best quality and last ages, you can buy the whole set here:

Print

Step 3: Make some green coloured rice, tutorial here.

Step 4: Buy some blue glass beads to mimic the sea, we got some of ours from Amazon:

Step 5: Buy some fake leaves (or use real ones if you want). Here are some cheap ones on Amazon:

Step 6: Buy some small wooden leaves, we got ours from eBay:

$_12

Step 7: Shred some green tissue paper up, or buy some pre shredded paper from Amazon:

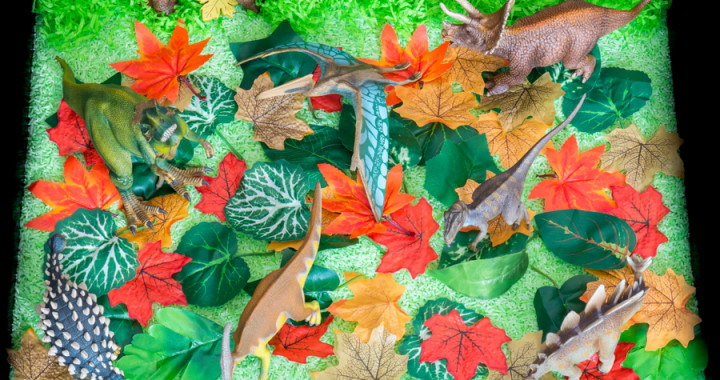
Step 8: Place everything in place like the picture below and let your child have lots of fun!

P1160551

If you have any questions, feel free to ask them in the comment section.

If you liked this messy play idea please share using the social media buttons to the right or below.
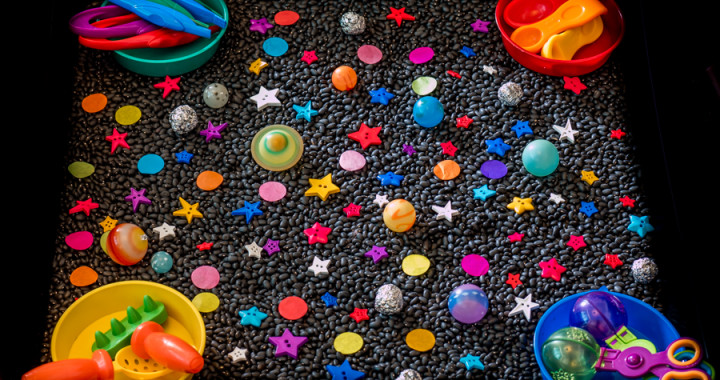
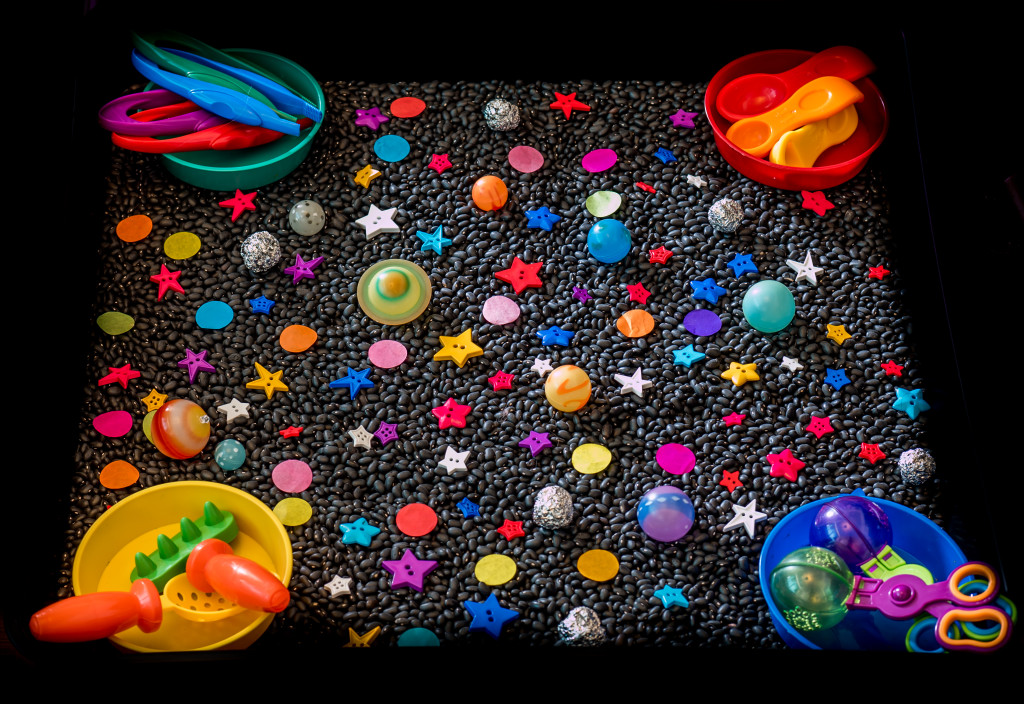
How to make a space themed messy play sensory tray

A quick and easy guide to make a space themed messy play sensory tray.

Click on the pictures or the blue links to be taken to the seller’s website.

Step 1: First buy a garden tray, 60x60cm should be big enough, we got ours from Amazon:

Step 2: Next we bought 5kg of black turtle beans:

Step 3: Next have a look around to see if you can find star shaped buttons, if you don’t have any, they are cheap enough from Amazon:

Step 4: The helping hands fine motor skill set is a good way to teach your children dexterity, and picking a bunch of small things up with them is fun, from Amazon:

Step 5: Gardening tools are fun to use to dig into and sort the beans:

Step 6: We have 4 plastic paint bowls for when our son wants to paint, we used these to organise different tools in each corner, we got them from eBay a while ago, you can also get them from Amazon:

Step 7: Jumbo tweezers are easy for children who have limited dexterity to grip:

Step 8: Measuring spoons are also a fun way to play with the beans and buttons etc. You can get these lovely ones from Amazon:

Step 9: Glow in the dark planets are fun, especially in the dark!:

Step 10: We crumpled up some foil into balls and cut out little circles from coloured paper and put them in place.

Step 11: It’s now ready for your little one to have fun! Enjoy!

P1150734

If you have any questions, feel free to ask them in the comment section.

If you liked this messy play idea please share using the social media buttons to the right or below.

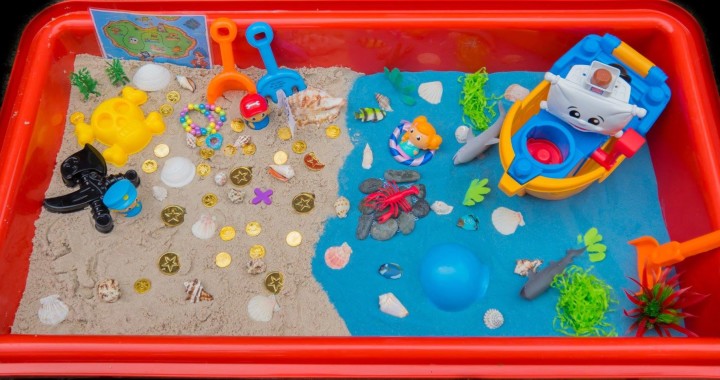
How to make a sensory sandpit

A quick and easy way to make a sensory sandpit.
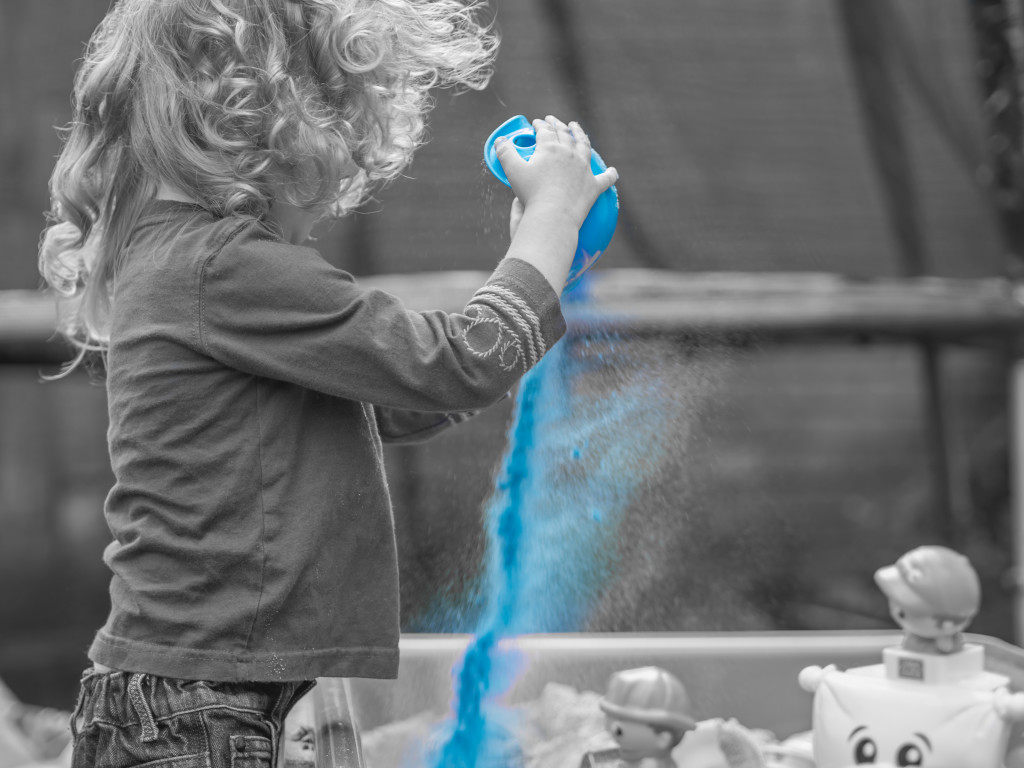
Click on the pictures or the blue links to be taken to the seller’s website.

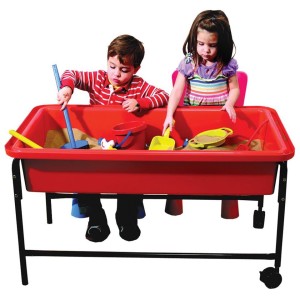
Step 1: First we bought a large sand & water play table from Early Years Resources:

19196_10153307141523134_7531096647030803669_n

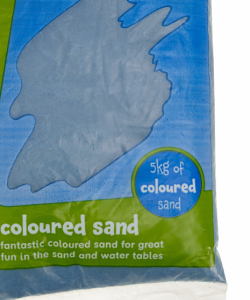
Step 2: We then bought 4 bags of blue sand from the ELC:

sand

Step 3: We then bought play sand from Amazon:

Step 4: We bought Mega Bloks First Builders Pirate Ship Pat from Amazon:

Step 5: We bought Gold doubloons from Amazon:

Step 6: We bought a beach pirate play set from Amazon:

Step 7: Go to the local shop/beach for shells and pebbles, shred some green paper up, find any fish toys you may have lying around.

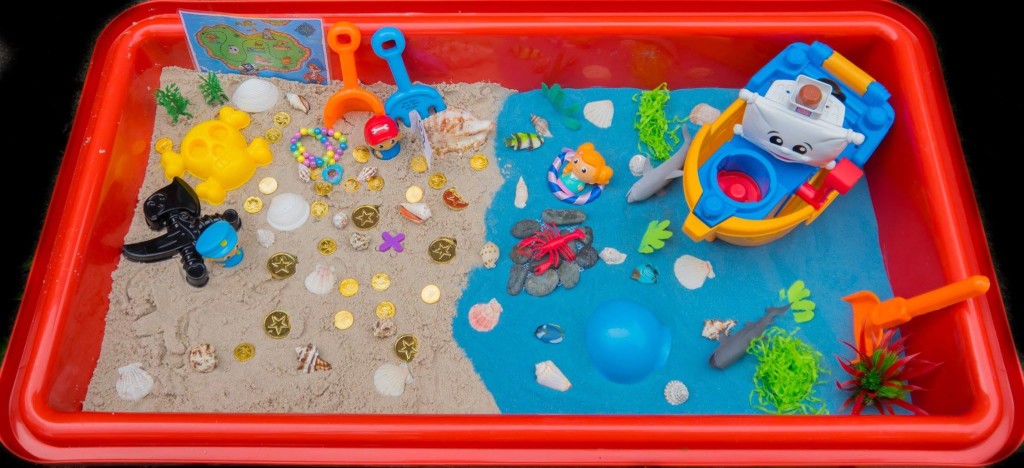
Step 8: Pour the normal coloured sand on one side of the tray.

Step 9: Pour blue sand on the other side of the tray, and push some of it over the normal coloured sand so it looks like waves hitting a beach.

Step 10: Place toys, doubloons, shredded green paper, shells, pebbles etc. where needed.

10515306_10152601560343134_4796608565569644858_o

Step 11: Let your child play with it and have fun!

14967550732_e97502d6ed_o (1)

If you have any questions, feel free to ask them in the comment section.

If you liked this messy play idea please share using the social media buttons to the right or below.