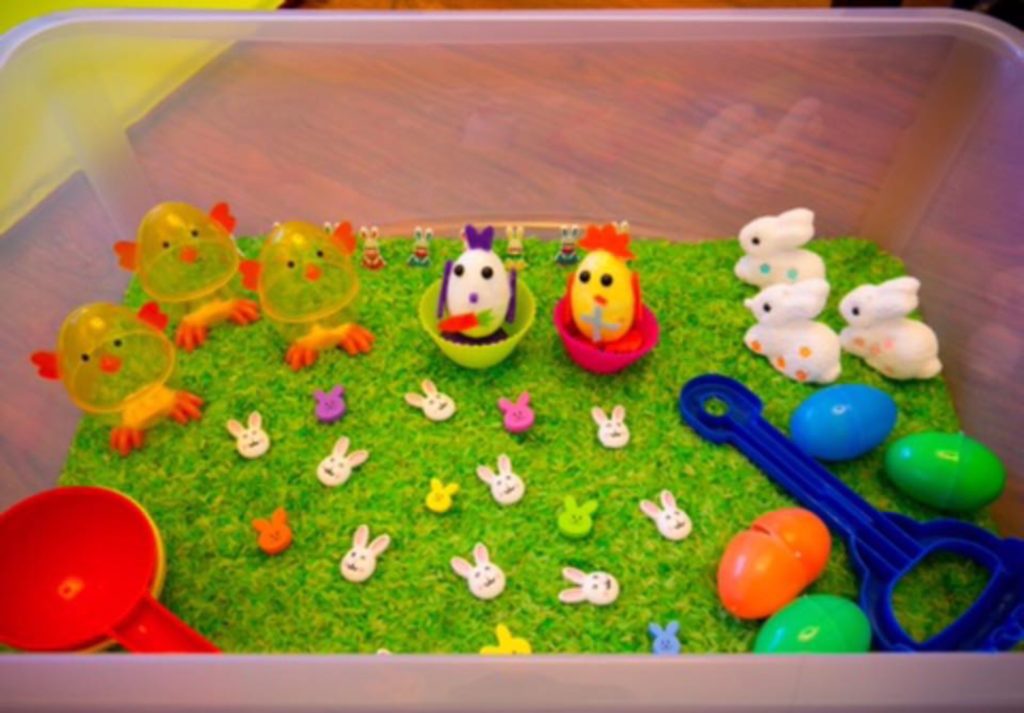
Easter sensory box!


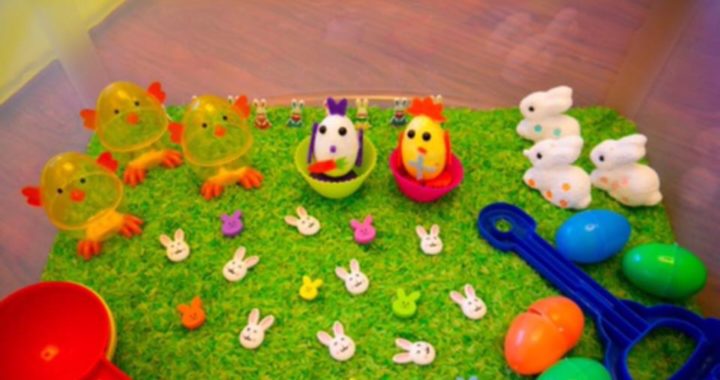
This is one of our estates sensory boxes. This one is a older one. Very simple but a lot of fun.

The base of this box is green coloured rice. The rice was coloured with food colouring. How to colour rice for sensory play in tutorials.

What’s we used and where to find them.

we added transparent chickens from poundworld. If your not in the uk or not local to pound shops you can try look for them online. eBay/Amazon would be good places.

moving right from the  chickens we have silicon cupcake cases.

Inside the cupcake cases is foam eggs decorated as a bunny and a chick. These where d.i.y easter decoration kits. From b&m but these would be easier to make from starch without a lot.

next foam bunnies. Would not recommend these for a child who likes to mouth things. They come from home and bargains. Around easter you can find so much stuff in cheap shops.

Plastic Easter eggs. These are cheap ad cheerful and can be found everywhere in shops and online around easter.

I added some foam bunny beads from a small craft pack from eBay. I also added some flat back bunnies also from eBay.

you can’t tell very well frm the photo as it’s so old but there are some bunny shaped buttons in the rice at the back. I just stood them up standing in a row. These also come from eBay. I was looking for anything easter bunny themed and brought them all at the same time.

tools in this box and very simple the larger rounder ones are from Amazon. The rake we already had from our sand pit.

The box/tray is from pound streacher it’s a underbed storage box. We find the under bed style boxes perfect fit for sensory boxes and come with lids to make it easier to clean up any mess.

These are three for £10. You can also get smaller boxes two for £5 witch we use with edible sensory play.

ths box is very simple would be perfect for anyone just starting out sensory play. Coloured rice is a all time fav in our house and always goes down well.

ad this is a older sensory box a few years old I only have the one photo. But since it’s so simple to remake I thought I would do a write up anyway.
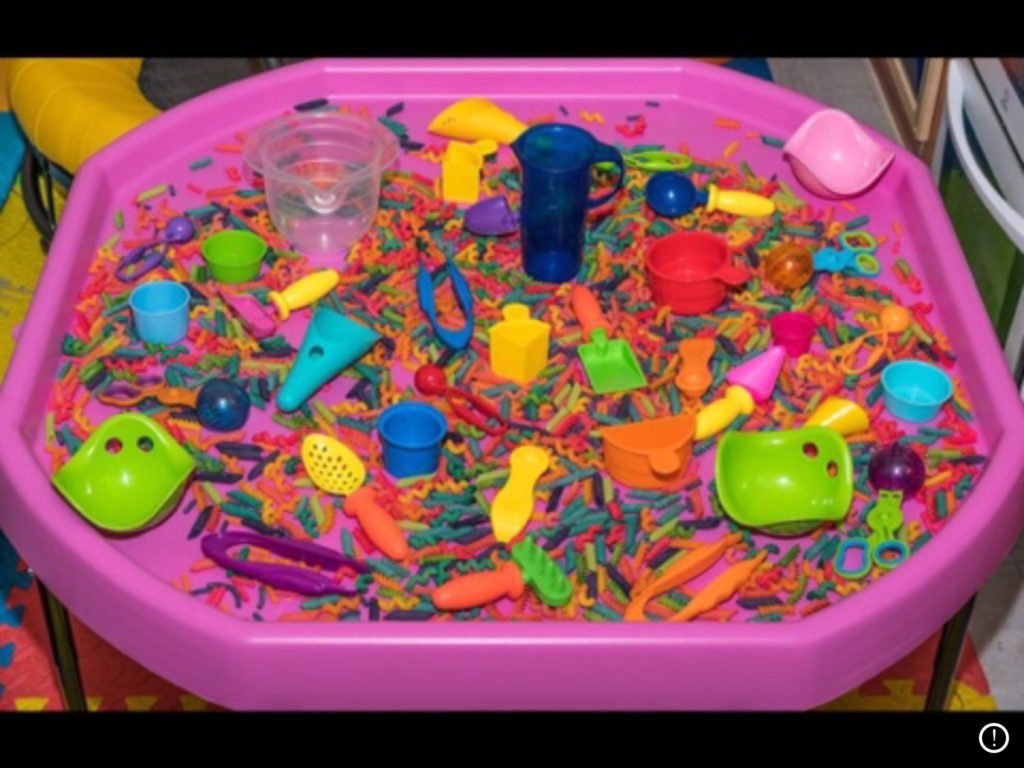
Coloured pasta tuff tray!

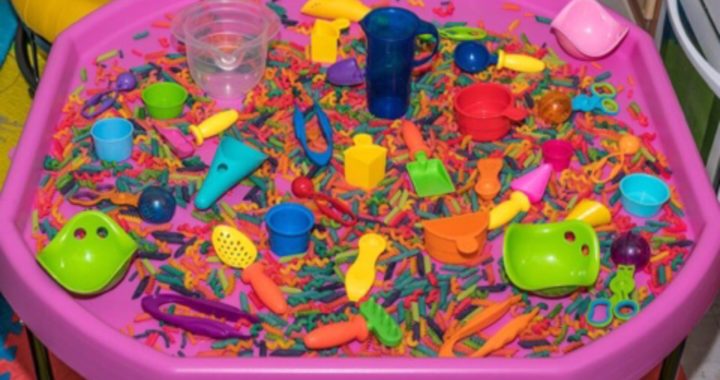
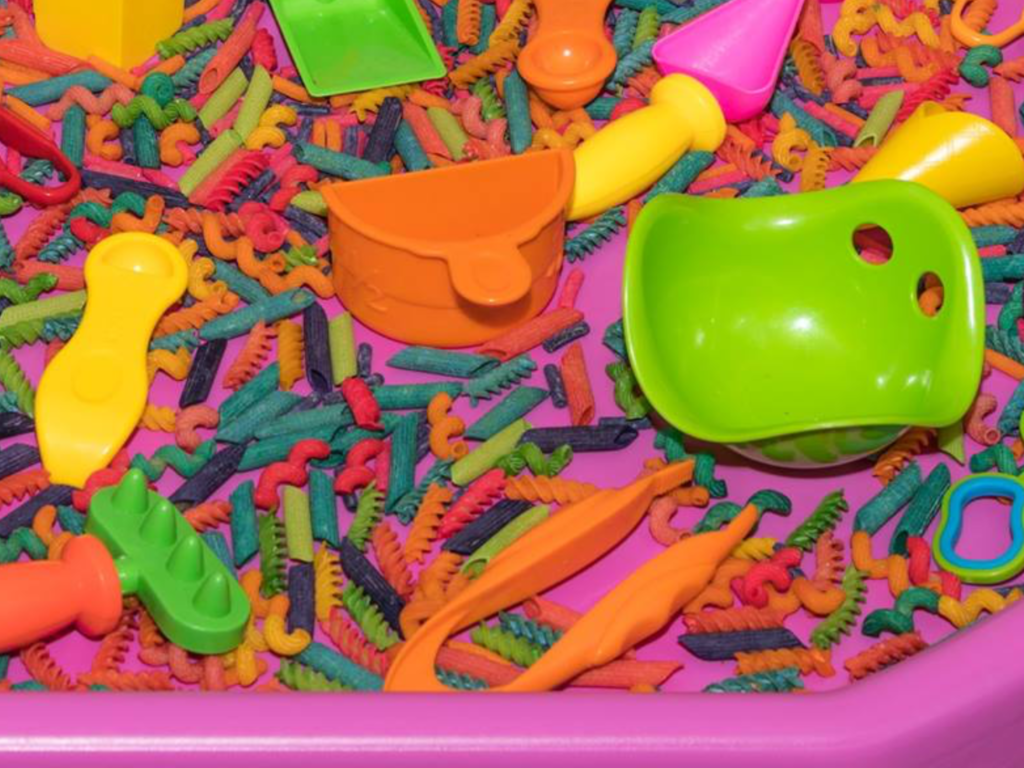
This is a very simple but effect sensory tray to make. It’s also a good one for children still in the mouthing stage as you can buy any pasta in different shapes and sizes. Just pick a size that’s more mouth friendly.

So few people have messaged me asking me to do a write up on this tray. We have used it on the website before but never got around to doing a full write up.
The main question I’m asking is how I colour the pasta. We use the Wilton food colouring gels. Both the pots from eBay and the neon tubes from Amazon. The neon colours turn out much better but only come in four colours.

to colours colour the pasta we have a tutorial but I will add some details here too.

i use zip lock bags for pasta over a bowl witch I use for rice. I add some pasta and drop on some food colouring. Shake the bag until it’s all coloured. Then I open the bag and leave the pasta to dry out. If the Colour if to stiff to use from the small pots I add a few drops of water to the bag then add some food colouring from the end of a spoon or a bobby pin works well.

The other question I’m asked a lot is what tools and items we used for this tray. This photo is a green mini bilibo toy from a game set. These make very good tools for filling tips and also scooping.
the blue cone is the quut scoops sand toy.

The jug and bowl our from the learning rescouses mix and measure set. Also from the same set are the plastic ,easuring spoons yellow quarter/half scoopers and the red bowl.

The smaller plastic tools where froma  bulk buy on eBay just cheap sand toys I’m not sure if they still sell them or not.

The jumbo tweezers are from larking resources helojg hands as well has the handy scoopers and squeeze tweezers. (Big and little ball headed tools). I have done a review on the helping hands pack.

I think that’s everything leave a comment let me know if I’ve missted anything our tuff tray is from eBay and I’ve just done a review on that too!


Snow play tray!

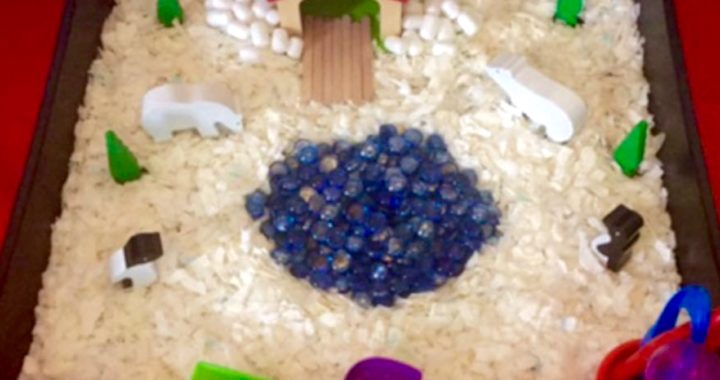
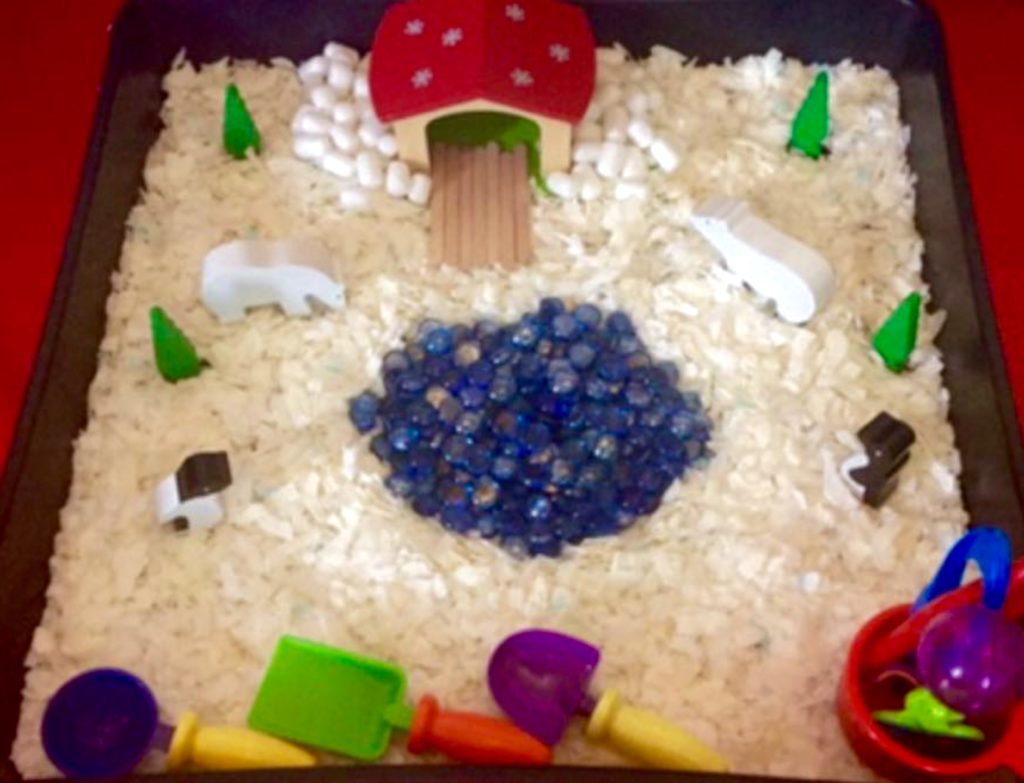
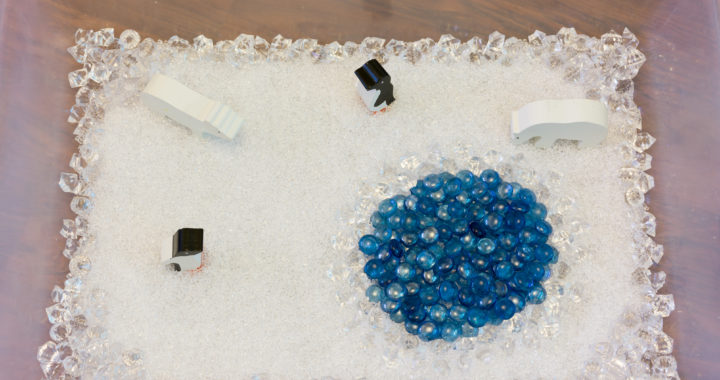
I only have the one photo of this tray as it’s a very old one so I will just do the write up and add some details on what we used and how we used it.

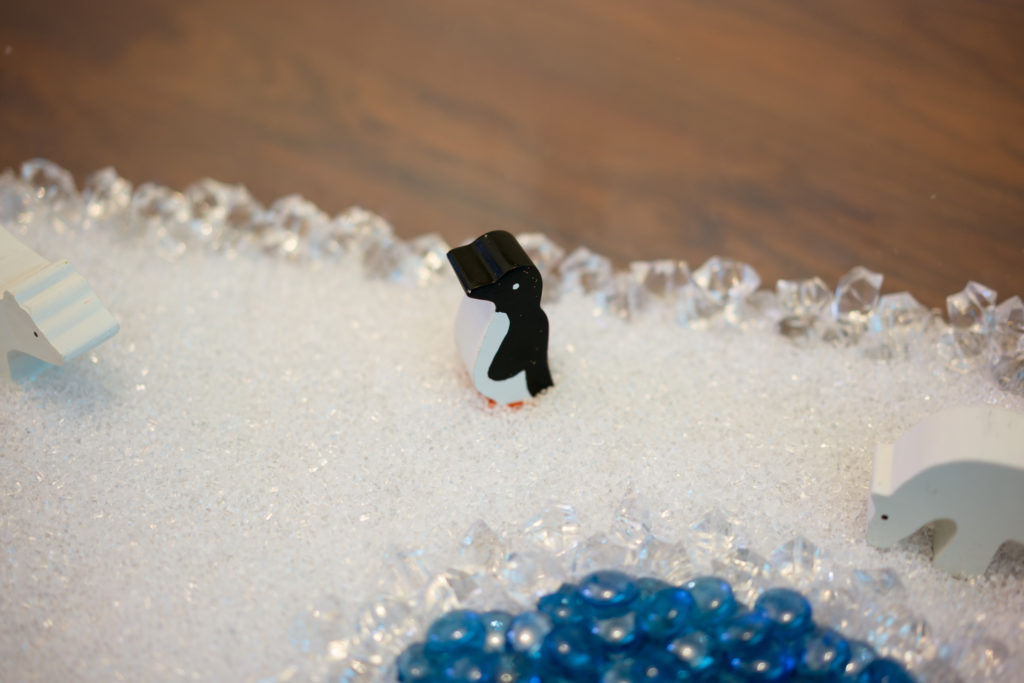
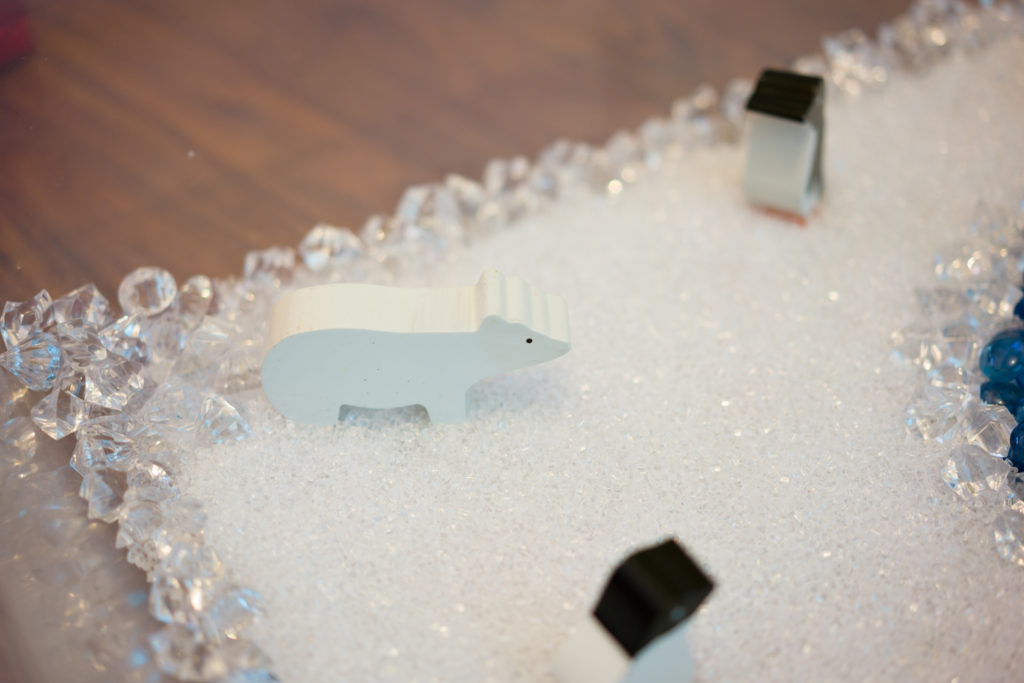
To start with the base of this tray is edible. It is made out of cut up rice paper witch is used in cake making and edible coconut strips. I added some blue rice paper snow flakes too.

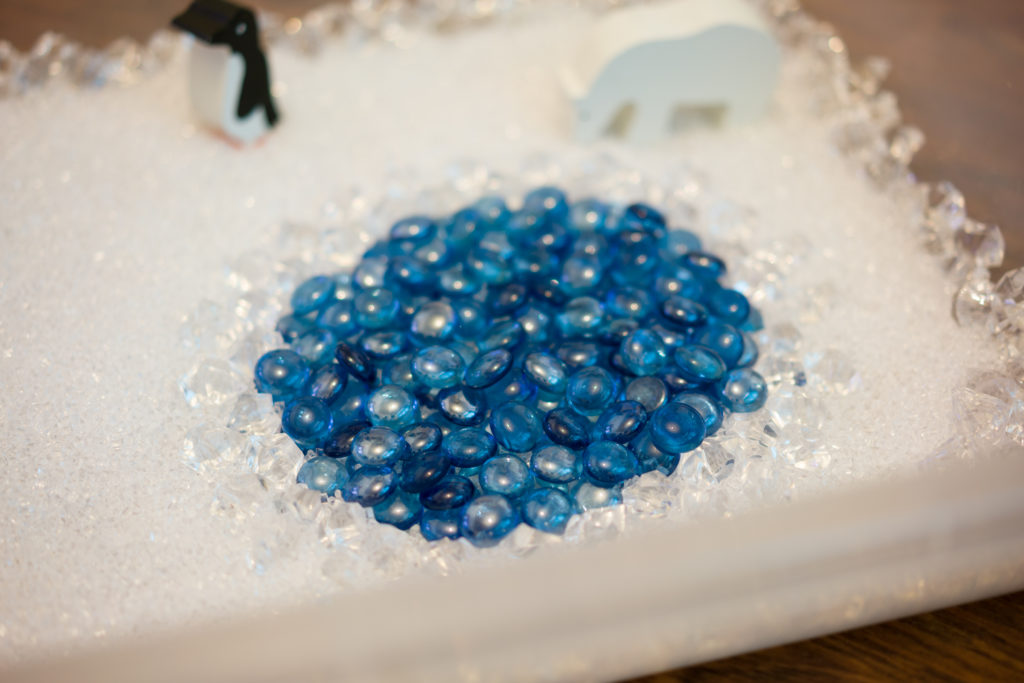
the ice pond is made out of blue glass pebbles from b&m but you can find them in a lot of home decorating sections in shops and even online. eBay and Amazon also have them.

For the snow balls I used white magic maze. Magic maze is puffed corn witch is used for sticking together with water to make modules. Our magic maze come of the e.l.c byt you can get it from online and other craft stores. It maybe under a different name as magic maze is a brand name.

I added our little house with some lolly sticks to make a ramp at the front.

once the base was done I started to add wooden trees. I only used the trees shaped like Christmas trees to keep with the winter theme. I wanted to put in the trees to make the tray look less bare.

the finishing touches where the animals. Penguins and powder bears. Our animals come from a Nora’s ark animals set I brought on eBay. Any animals would do if you wanted to recreate this play tray

that’s the end of this write up our tray is a 60cm square gardening tray from eBay. We love this tray it’s much easier to use then the tuff trays.

Castle tuff spot tray!

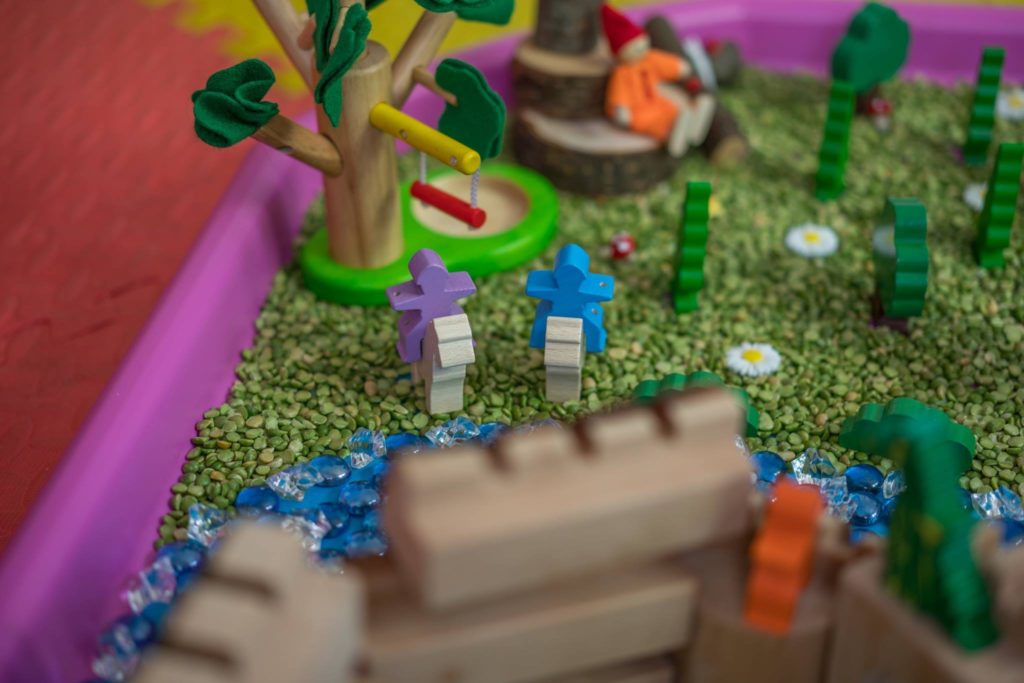
This is our castle sensory tray. This one was made a few months ago using bits and bobs we picked up from around the toy room.edwin really loved playing with this one.

Somwe started off by using green split peas as the grassy base again.

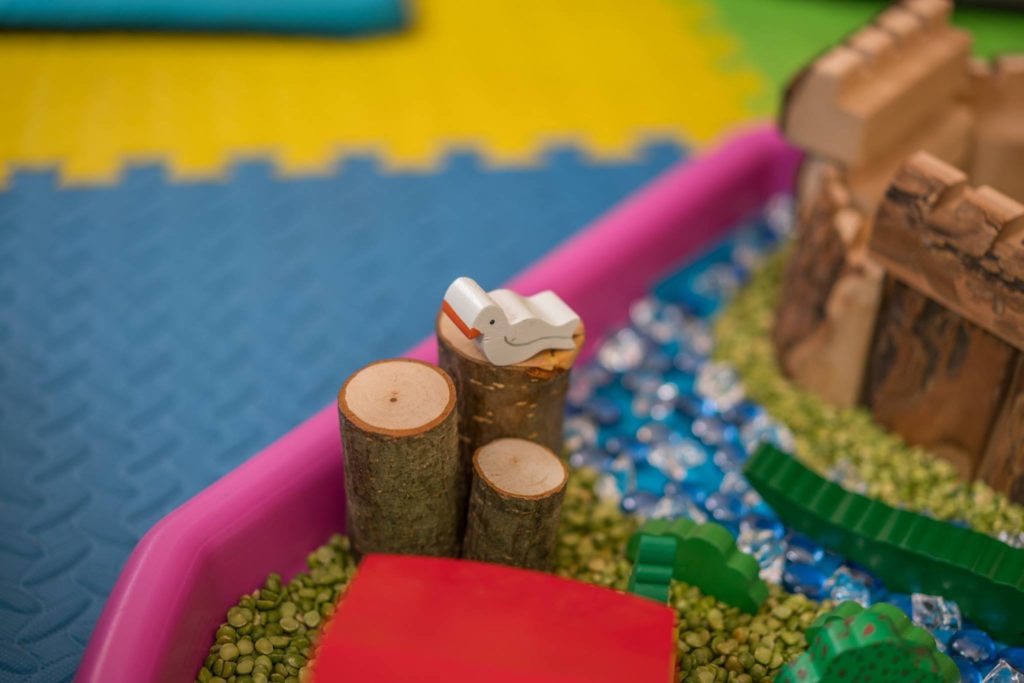
Once we had the grassy parts done we started in the moat. The moatwas painted on with washable paints and added plastic and glass pebbles for details. We added a wooden crocodile to our moat. We then added a bridge from our dominos play set and started building the castle. The castle is from a online website called asco educational.

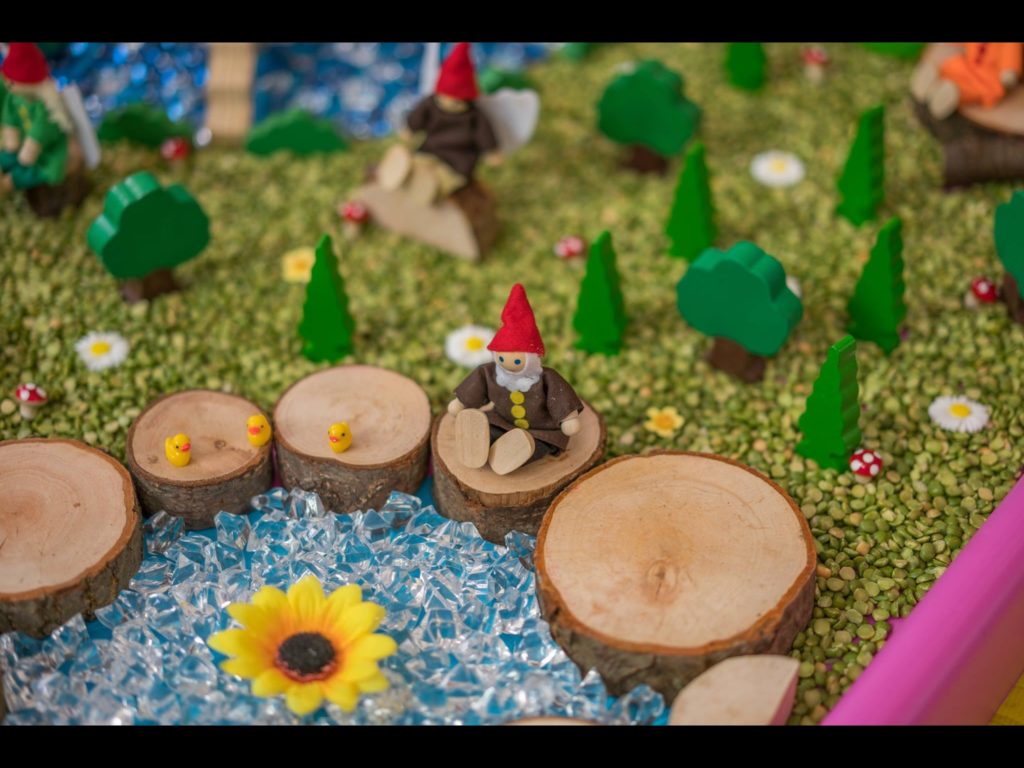
We not have enough split peas for cover the full tray so we added a small pond for ducks and a little gnome doll to sit by. Pond is made of plastic gems and tree blocks witch come from Amazon £45 but can be found cheaper on educational websites and eBay

We started to add some more details. More tree blocks wooden birds.plus some flat back flowers sunflowers and mini mushrooms.

we pull out another castle block set and took its people on horses and dragon we placed the dragon at the top of the castle and people looking at the dragon from across the moat.

we then added our wooden trees and then we where finished we managed to get them ephoyos before Edwin played and destroyed it without a few minutes. But it’s worth all the hard work to see him happy and having new learning experiences .

Farmer teds tuff spot tray!

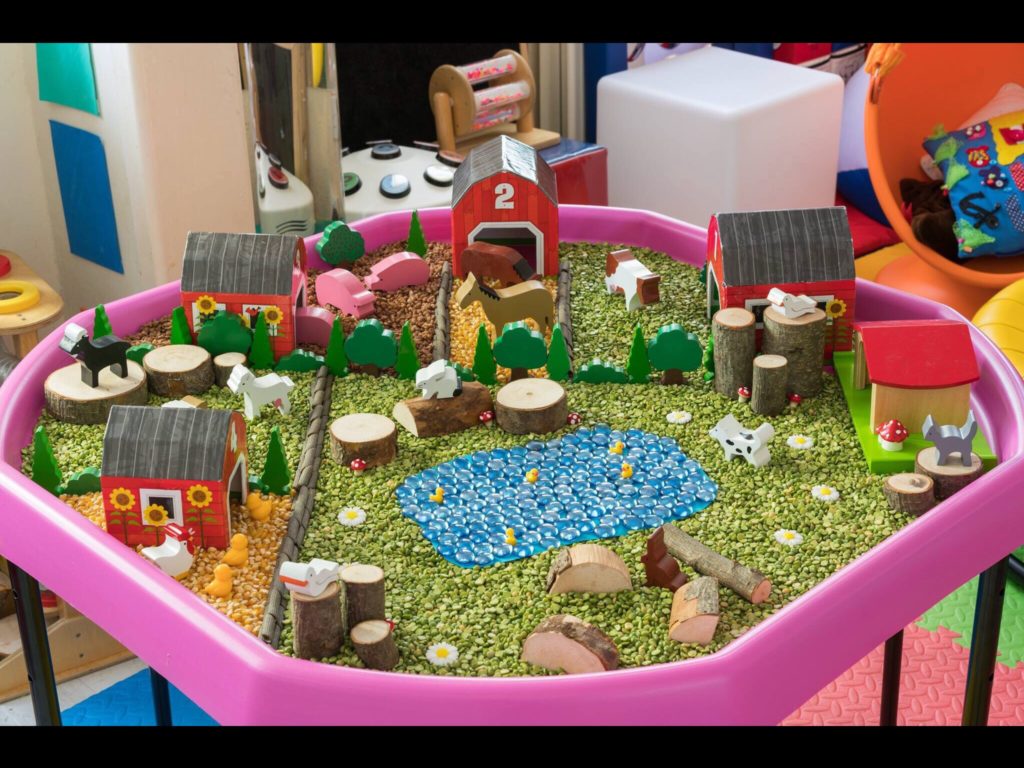
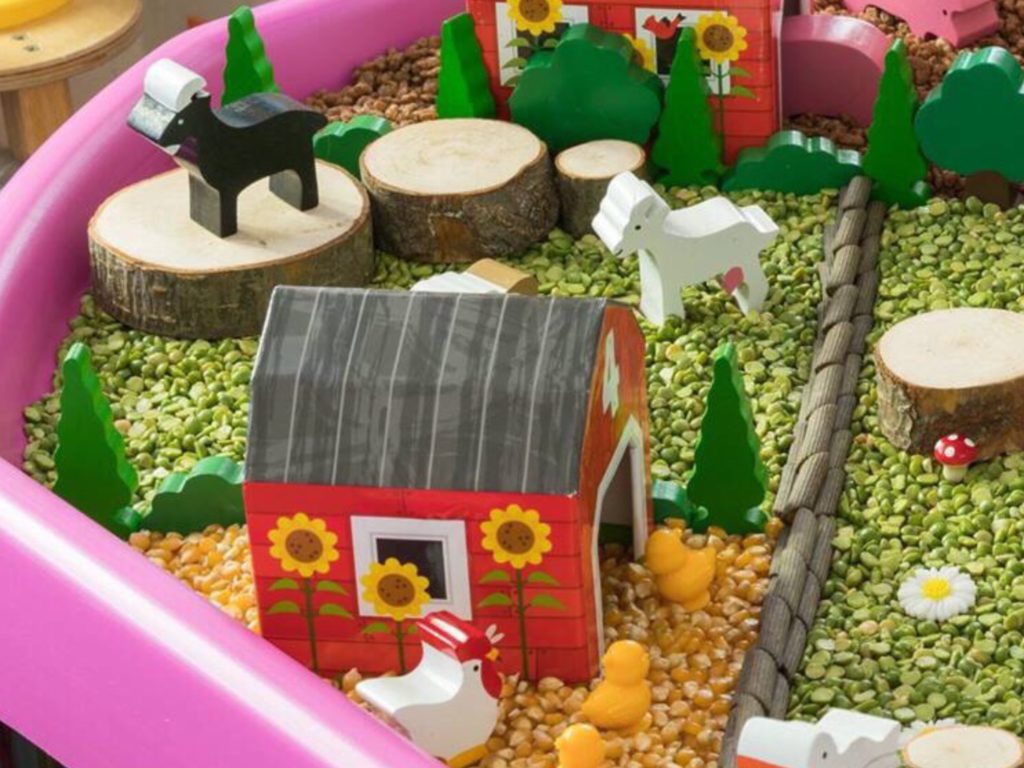
Edwin had a school trip to farmer teds and loved it. Once he returned home he begged me to make him a sensory tray with a farm theme. This tray was what we come up with together.

So for anyone who dose not know farmer teds. Farmer teds is a children’s farm with indoor and our door play areas in Ormskirk. They have lots of animals but Edwin loves the petting area. He petted baby chicks bunnies and other small animals. Very good place for smaller children and off peak it’s not to load.

So here is our farmer teds inspired tuff spot tray. I will add some details on what we used and how we made the tray as well as some more detailed photos.

We started the tray with the grassy area witch is green split peas. We use the same 3kg bulk bag I brought on eBay.

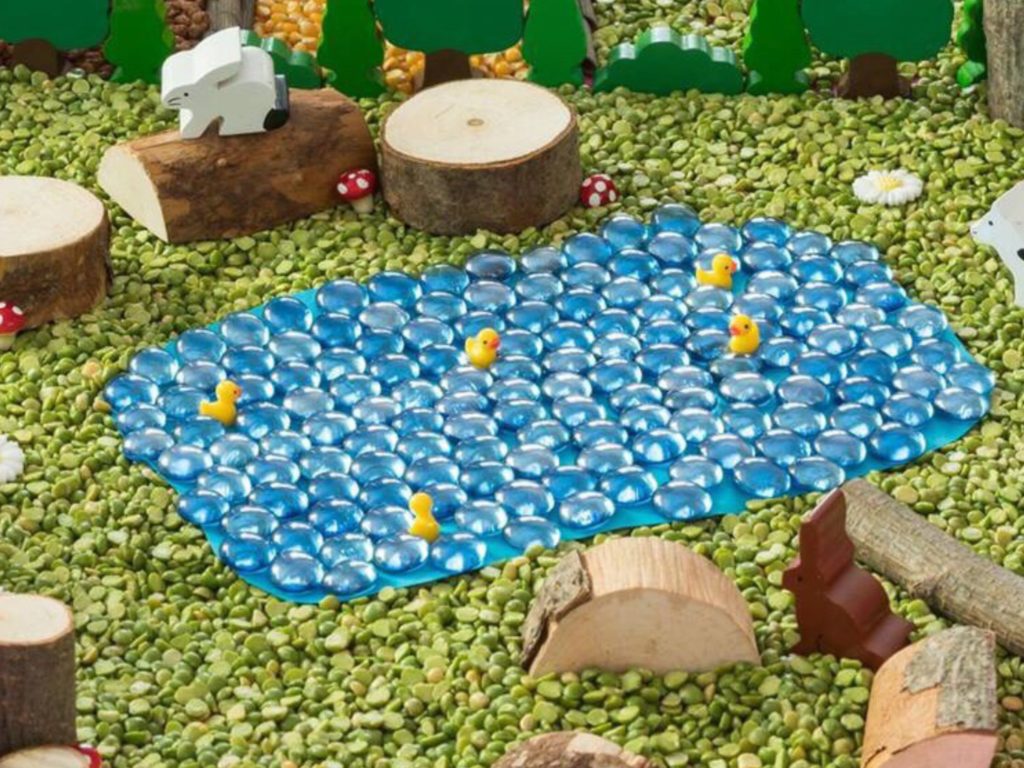
Next we moved on to making the pond for the ducks. We used blue card cut out a pond shape. Once we had the right shape we added blue glass pebbles. Our pebbles come from b&m but you can find them eBay/Amazon and many other places in the home/decoration section. Once the pond was done we added mini ducks we used in our fairy garden tray. You can view fairy garden tray in messy play ideas.

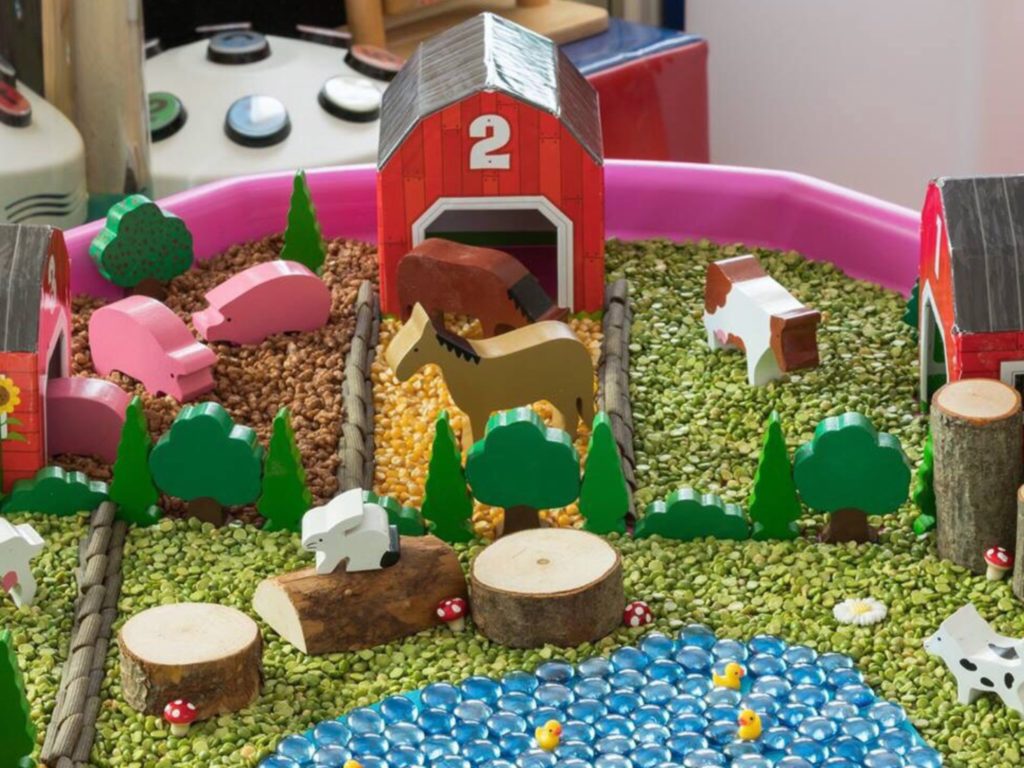
Next we moved on to making the pens for the animals. We used brown coloured pasta held together with long dry spaghetti. And started to add some wooden trees from train play sets to cut up the tray in to sections.

After we had our sections we started to fill each one differently. We tried to match the bases to the animals to help give it a better farm effect. We used cocopops for the pigs. Corn for the chickens and some green peas for the grassy areas for cows and horses. This seemed to have a really lovely effect.

Then we went on to add some numbered barns. The barns are from. Malissa and Doug range they sell in the e.l.c. If your not in the uk try googling it for the closest stockist.

We added some tree blocks for a more natural effect. Our tree blocks come from Amazon for £45. But most educational websites have them now. If you shop around you can find them cheaper.

We started to add our animals. Our animals are from a Nora’s ark animals pack I brought as seconds on eBay. But a lot of places sell animals and eBay has a lot of wooden ones. Saying that these animals have been a very good investment.

I added our little house.

We added some flowers I brought from eBay. Some mini mushrooms from our fairy garden tray.

Once the tray was ready I waited for Edwin to come home from school and he loved it. It was destroyed instantly but making him happy is worth all the hard work.

The good dinosaur tuff tray

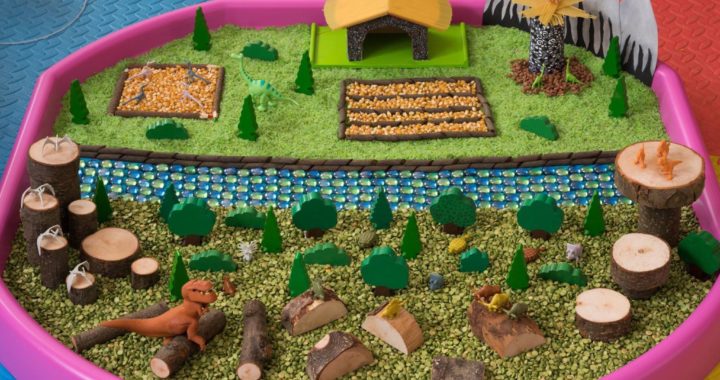
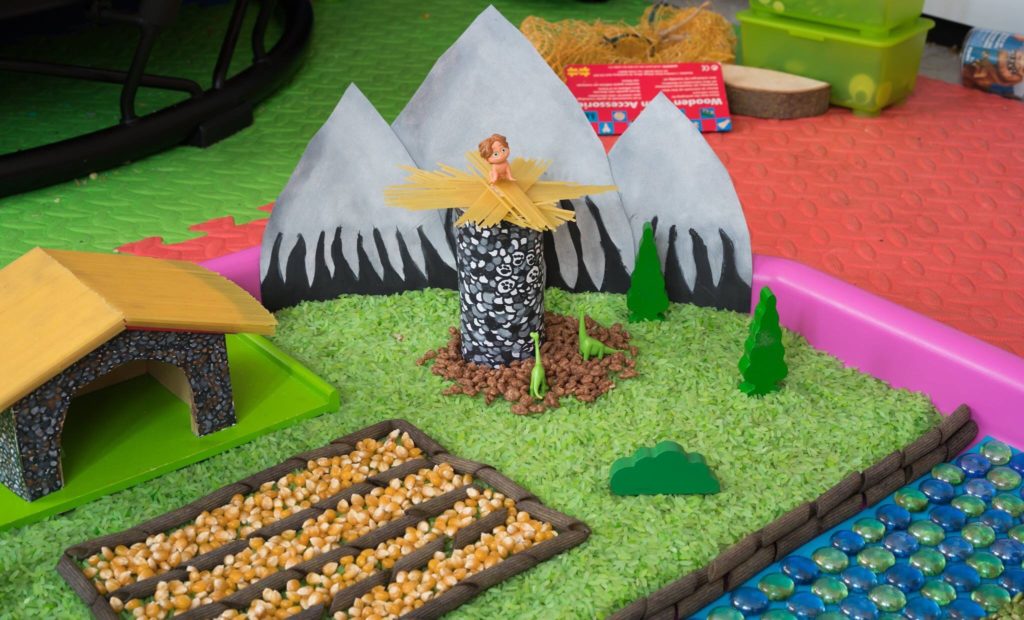
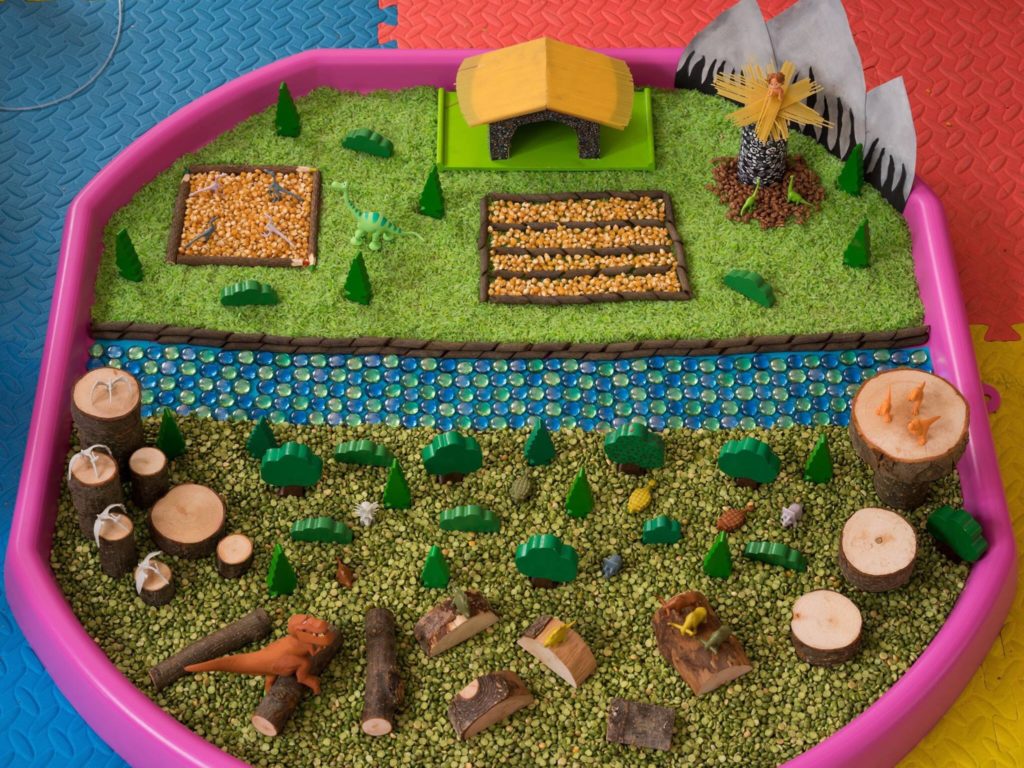
This older sensory tray we made last year but never uploaded it. Edwin insisted we watched the movie six times with a note pad and pencil to take notes. Once we had all the details we got started on the tuff tray.

this photo is the finished tray and below we will have some details on how we made it and what we used.

we started with the sensory base. Edwin loves textile sensory feedback so we used green split peas and green coloured rice.

Please check out tutorials if you need help on how to colour rice or pasta for sensory play.

we brought split peas in bulk on eBay we have a 3kg bag witch we have reused many times and we are still using the same split peas.

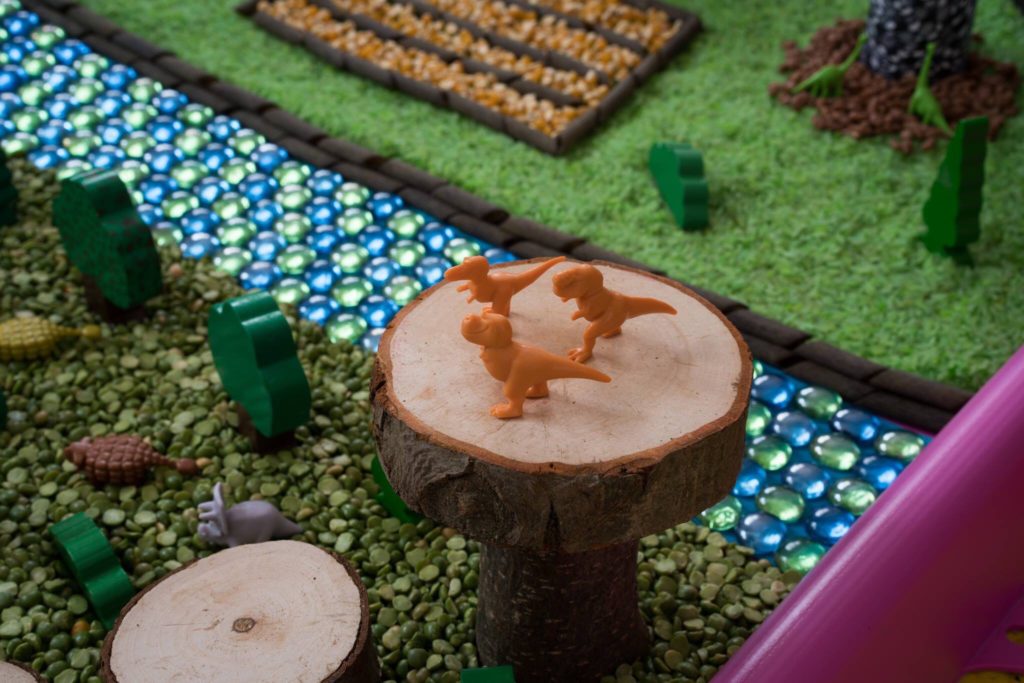
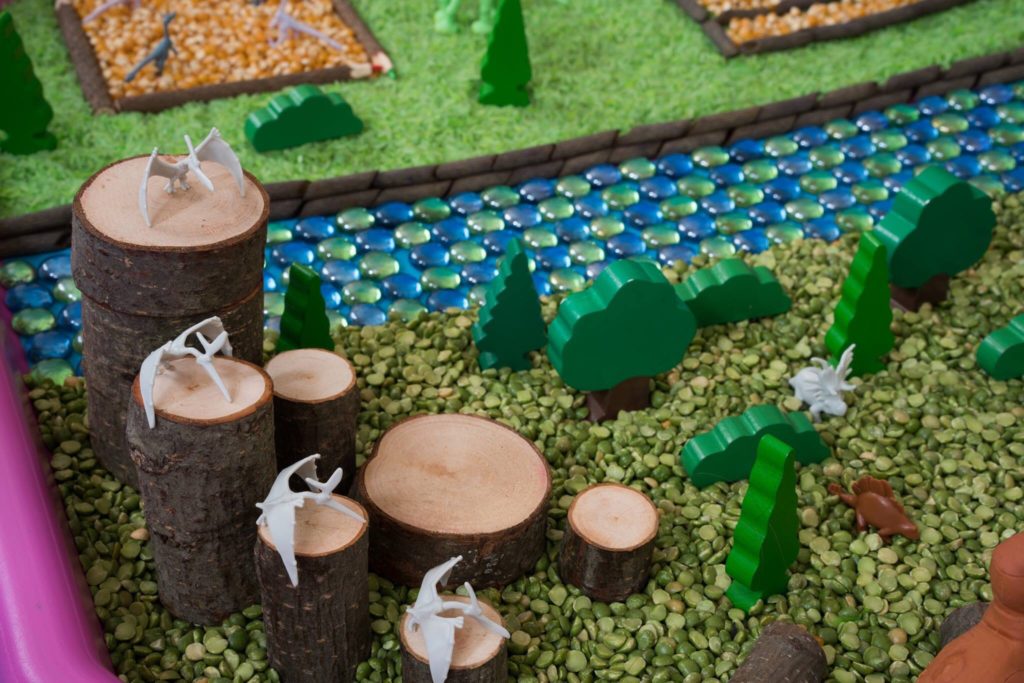
We decided on glass pebbles in green and blue in a line across the tray for the river. While adding some brown coloured pasta for the fence between river and farm land. I had to used dry long spaghetti inside the tubes to hold the pasta from falling. This works really well.

once we have the base of the tray done we started to add our movie details. Small dinosaur toys from the Disney store in Blackpool. Some wooden trees from train sets. Tree blocks and some hand painted mountains.

our hose was made to look like the house in the movie with a wooden top part to a Nora’s ark play set and dry spaghetti stuck to the roof. We made the silo out of a toilet roll tube and dry spaghetti added cocopops for the mud. And added our larger figures.

we added the corn field and the chicken pen witch we made out of brown pasta and little wooden colouring pencils with added dry corn.

helpul link and where to buy.

We brought our glass gems from b&m but eBay have loads in lot of lovely colours.

Tree blcoks the natural wooden building blocks come from Amazon.i think I paid £45 but have seen them a little cheaper on some of the school supply websites worth looking around before spending a lot of money!

Good dinosaur toys from disany store Blackpool not sure f they still sell them as it was so long ago. I think eBay or Amazon would be good place to find them.


Winter wonderland sensory tray

Warning due to small parts this tray is not recommended to children who are still at a mouthing stage.

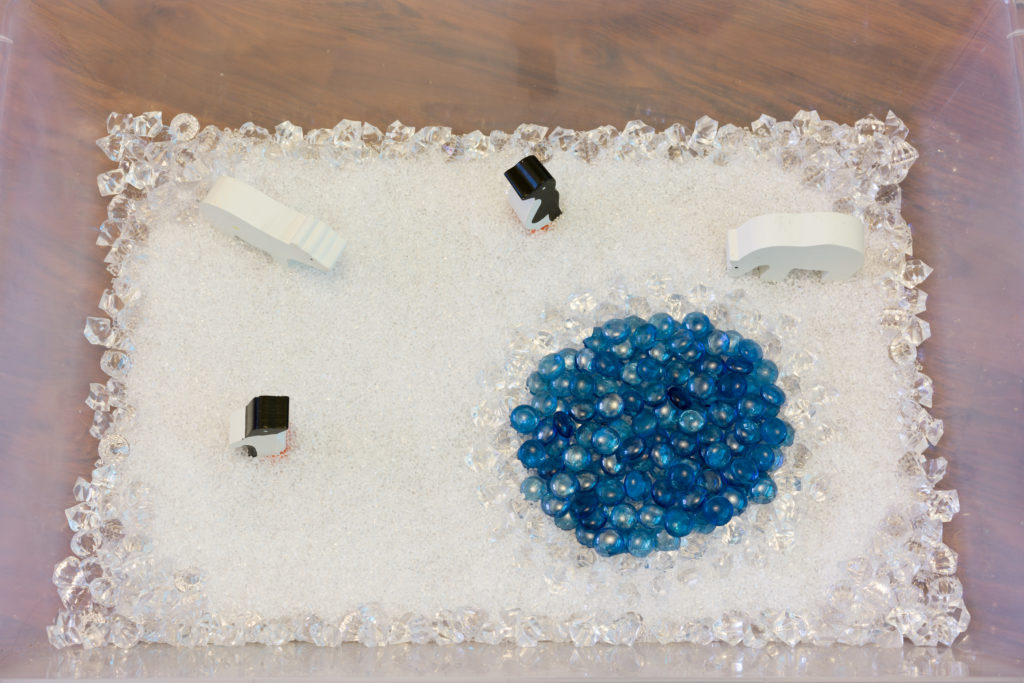
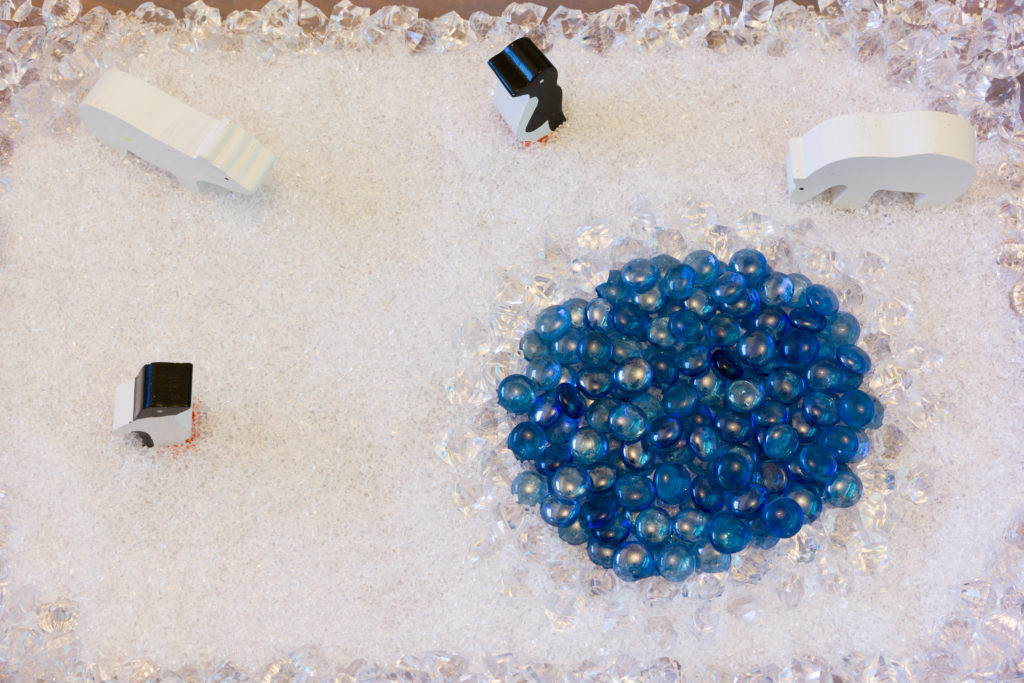
Today we have made a new sensory tray, we decided on a winter wonderland theme sensory tray. It’s got a very simple but effective layout. It took a while to complete as it has a lot of small parts but the end result it very pretty. This is how we made our tray today and what we have used to create the winter effect.

I started with a large clear sensory play tray from asco educational website link here.

dsc08862

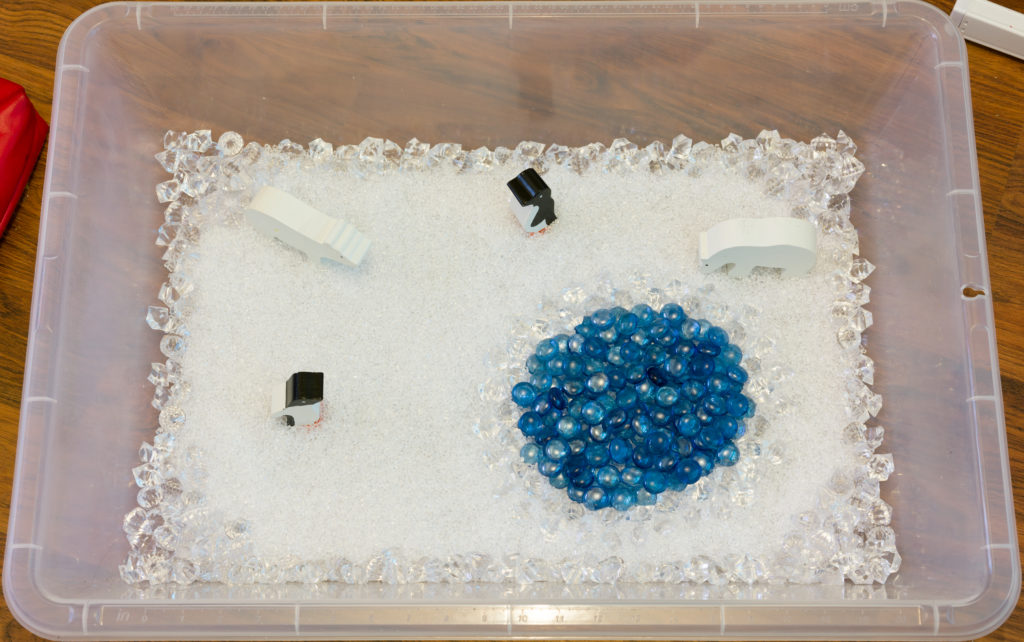
Once we cleaned out the tray we added some plastic pellets/chips. I brought these in packs in Poundworld a few months back. We had 10 packs in total but you can find the same style on eBay or Amazon. Link here.

After the base was done I started to add some blue glass pebbles to create the lake. Link here.

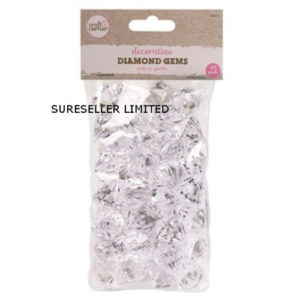
Once the lake was set out I added some plastic jewels around the edge to make it look more like a frozen lake. Link here.

s-l500

After the scene was set I added some polar bears and penguins from our nohas ark animal set. Link here.

0002192_large-noahs-ark-wooden-play-set

Then it’s done! very simple and very beautiful!

dsc08863 dsc08865 dsc08867 dsc08868 dsc08870

If you have any questions, feel free to ask them in the comment section.

If you liked this messy play idea please share using the social media buttons to the right or below.

Autumn/fall sensory tray

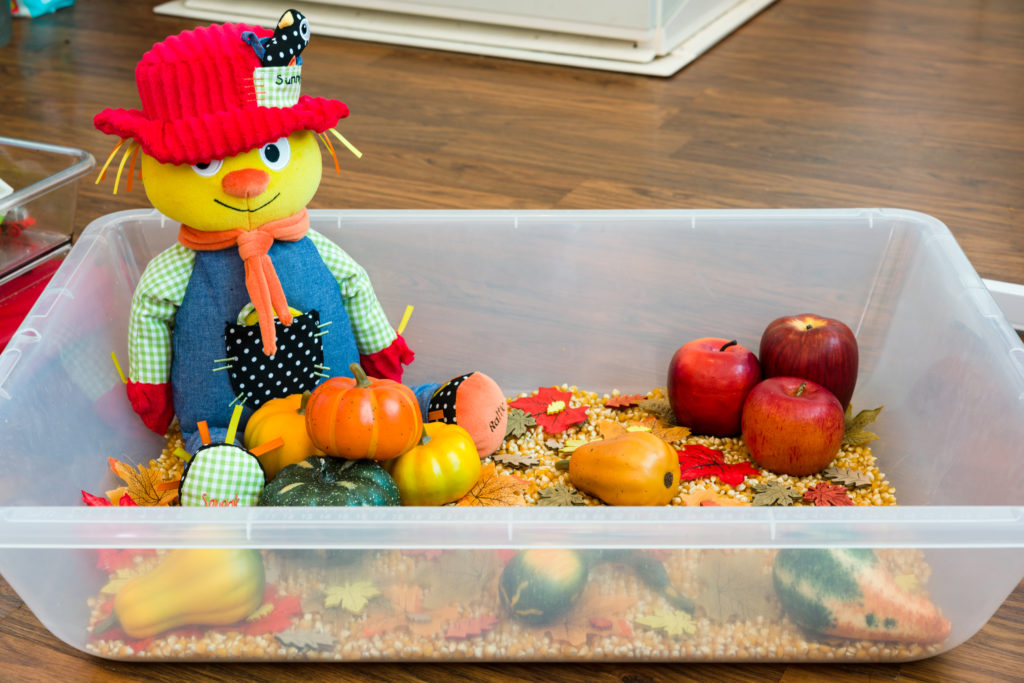
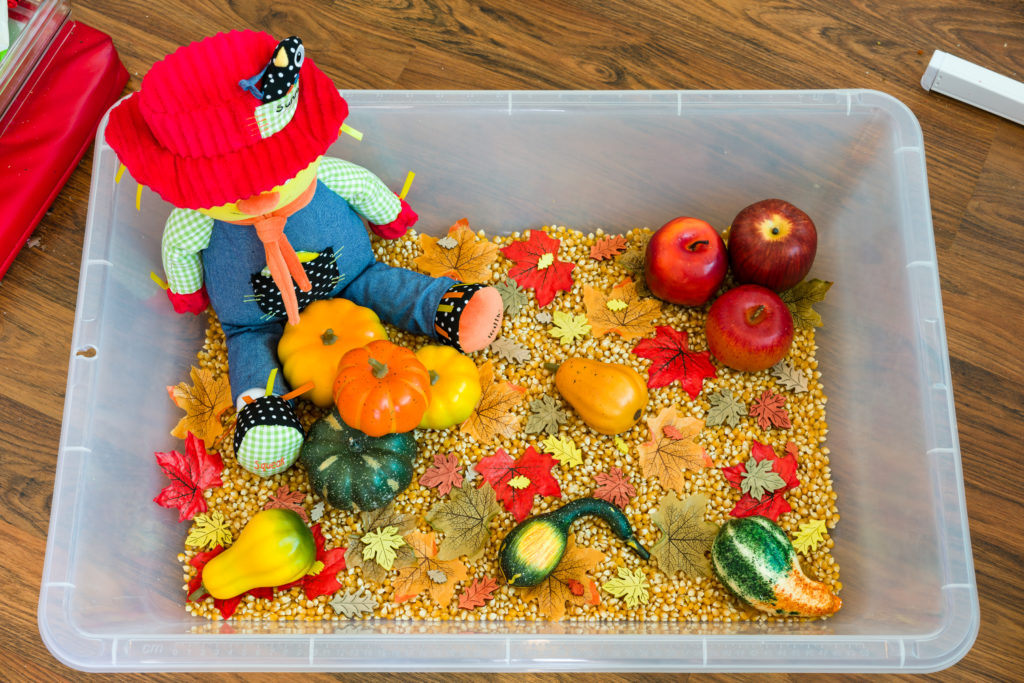
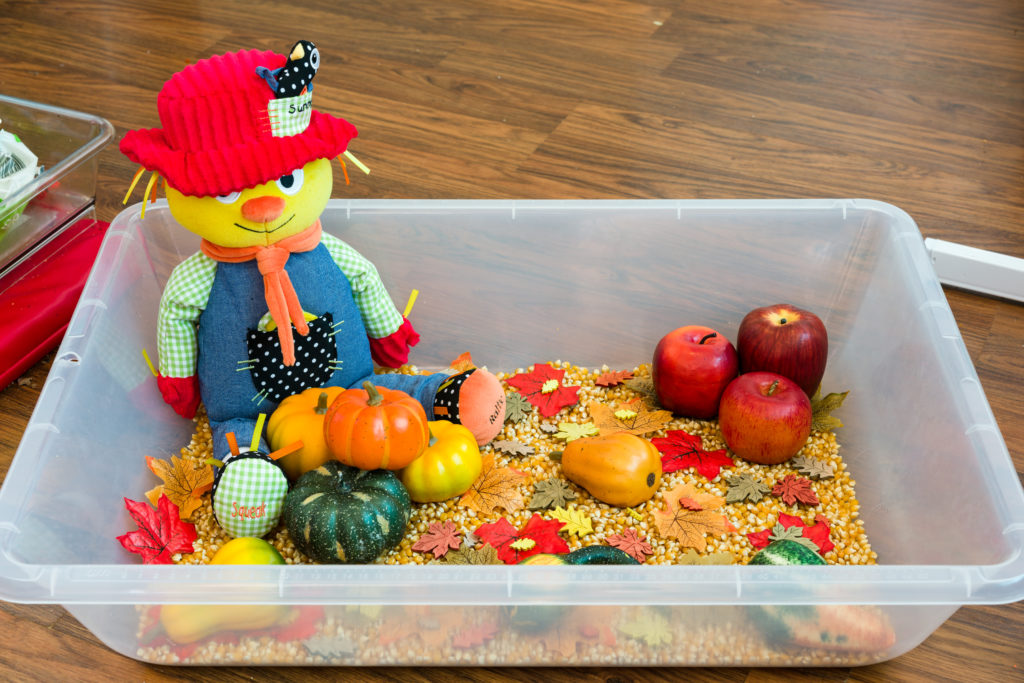
Today I have put together our autumn/fall themed sensory tray. This tray is very simple but I will go though what I have used and what I have used it for. I will also add some links to make it easier to find the same items I’ve used here.

I started with a large clear sensory play tray from asco educational website link here.

dsc08779

Next I got our jar full of dried corn. We use dried popcorn as they are neater then dried bird or deer corn. We have 2kg of corn as our sensory tray base, link here:

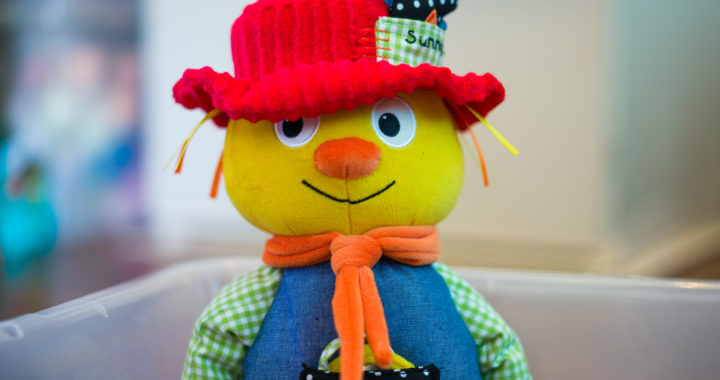
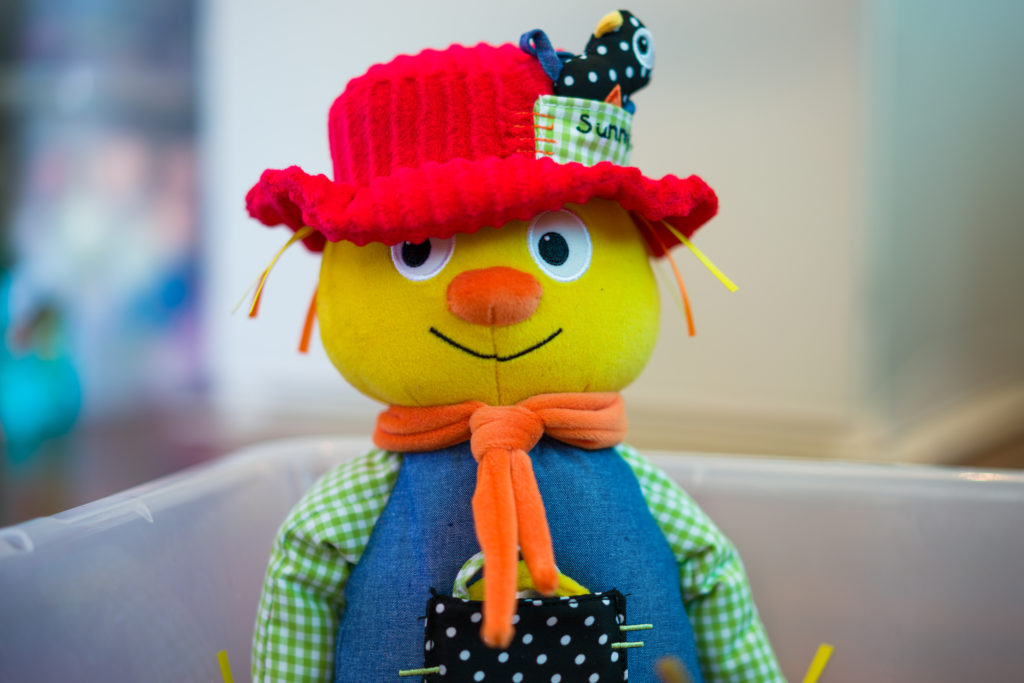
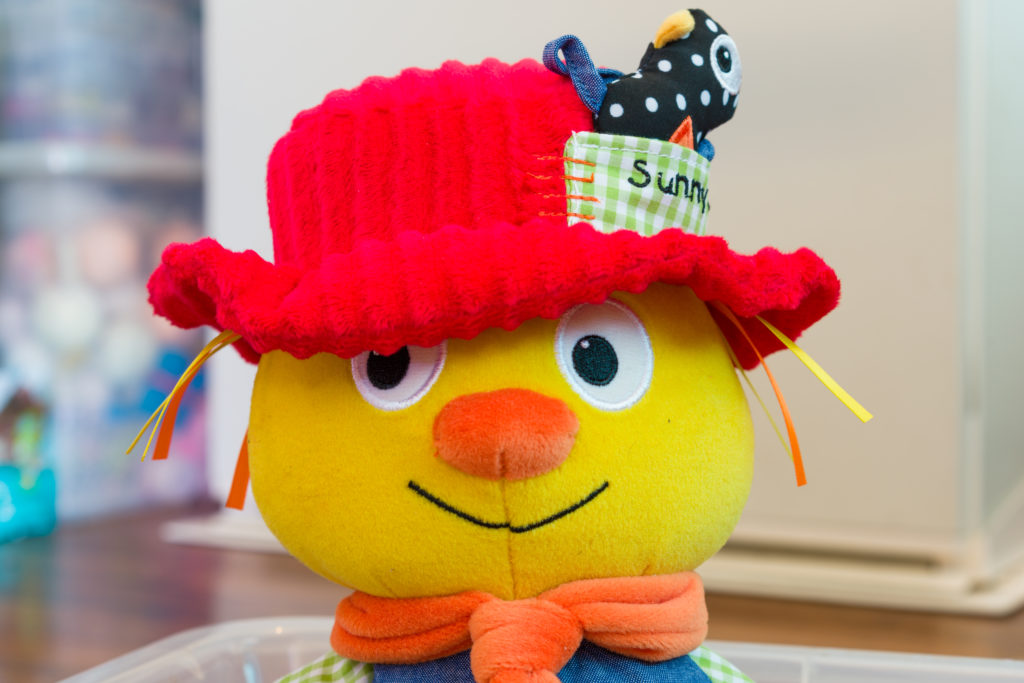
I then added the largest item to the tray which is our Sunny Jim scarecrow, link here:

After I got Sunny Jim to sit up without falling over pushing the corn around I started the rest of the tray. Next I added fabric leaves, link here:

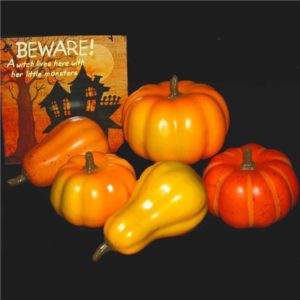
After I had a lovely base of corn and mixed leaves I started to add the plastic/foam pumpkins and other seasonal fruit/vegges, link here:

s-l1600

Once the tray looked ready I added the finishing touch, some mixed shaped wooden leaves in fall colours. Links here and here:

The tray is now ready and waiting for Edwin to arrive home from school for some messy play sensory time!

dsc08783 dsc08782 dsc08780 dsc08778

If you have any questions, feel free to ask them in the comment section.

If you liked this messy play idea please share using the social media buttons to the right or below.

Under the sea sensory tray

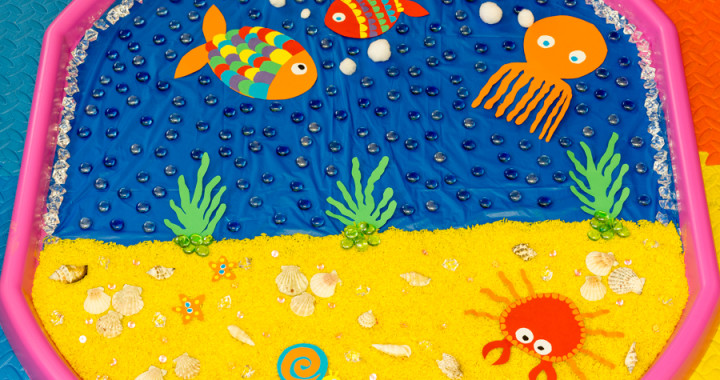
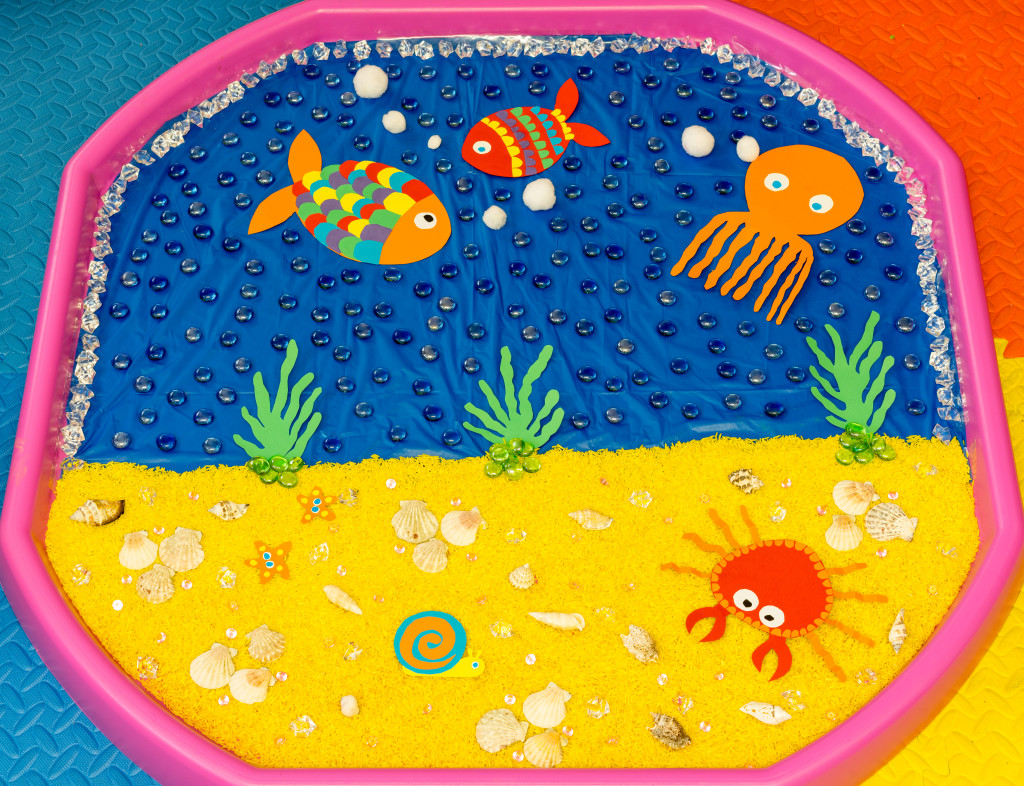
Under the sea tuff spot sensory tray.

Today’s sensory tray has a under the sea theme, which I thought would be pretty easy and quick to put together before Edwin arrived home from school later that day.

I was wrong, I had a good few problems the first one being the plastic table cloth sheet I brought to use as the water. The sheeting kept pulling splitting and large holes kept appearing as if out of nowhere it was really annoying!

So cut one part of the table cloth out and used that to cover just half the tuff spot tray witch seemed to work well enough as an ocean background.

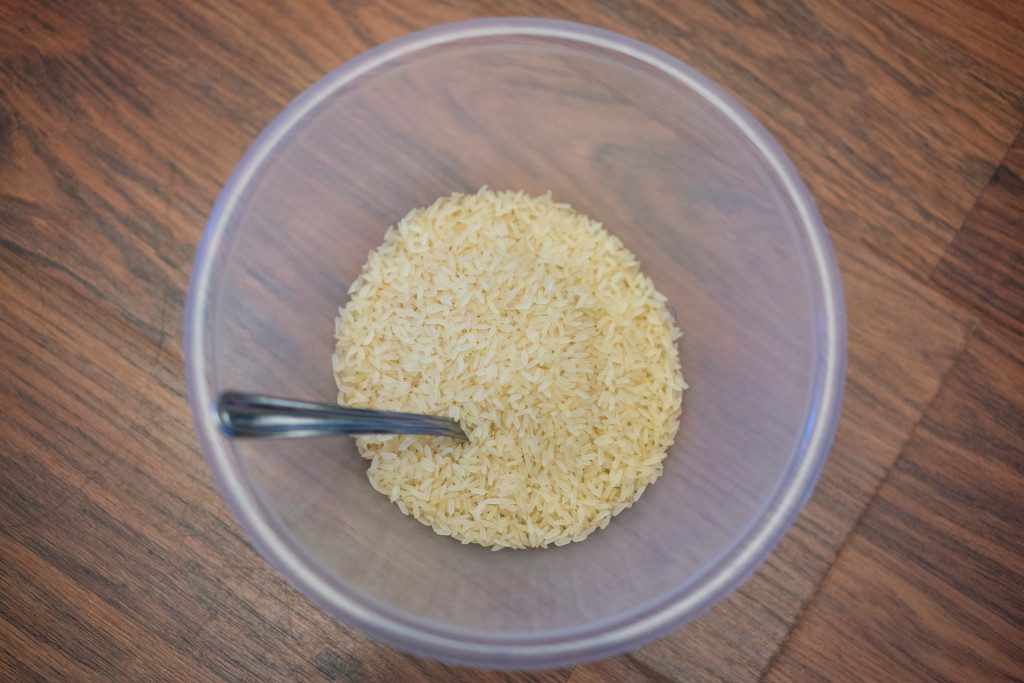
The sand in the tray is made of dry rice dyed yellow with Wilton food colouring gel and placed over half the tray.

The fish and other animals are just made of cardboard and a glue stick cut and stick crafting on my part over the past few days.

Plastic and glass stones where added as well as some sea shells to add more details and to get more or a sensory ocean effect to get more interest out of Edwin.

How to make this tray:

Step 1: We started off with a pink tuff spot tray link here:

Step 2: Added the plastic table cloth and taped it in to place link here:

Step 3: Coloured some dry rice yellow tutorial for colouring rice here:

DSC01096

Step 4: Crafted some fish and other animals out of cardboard and a glue stick links to cardboard here:

Step 5: Added plastic jewels and gems to the sand/rice and around the edges of the ocean top to cover the tape I used to keep the plastic in place links to Jewels and gems here:

Step 6: I then added some sea shells links to shells here:

Step 7: Lastly I added some green and blue glass pebbles to add more sparkly details links to stones here and here:

DSC02484

If you have any questions, feel free to ask them in the comment section.

If you liked this messy play idea please share using the social media buttons to the right or below.

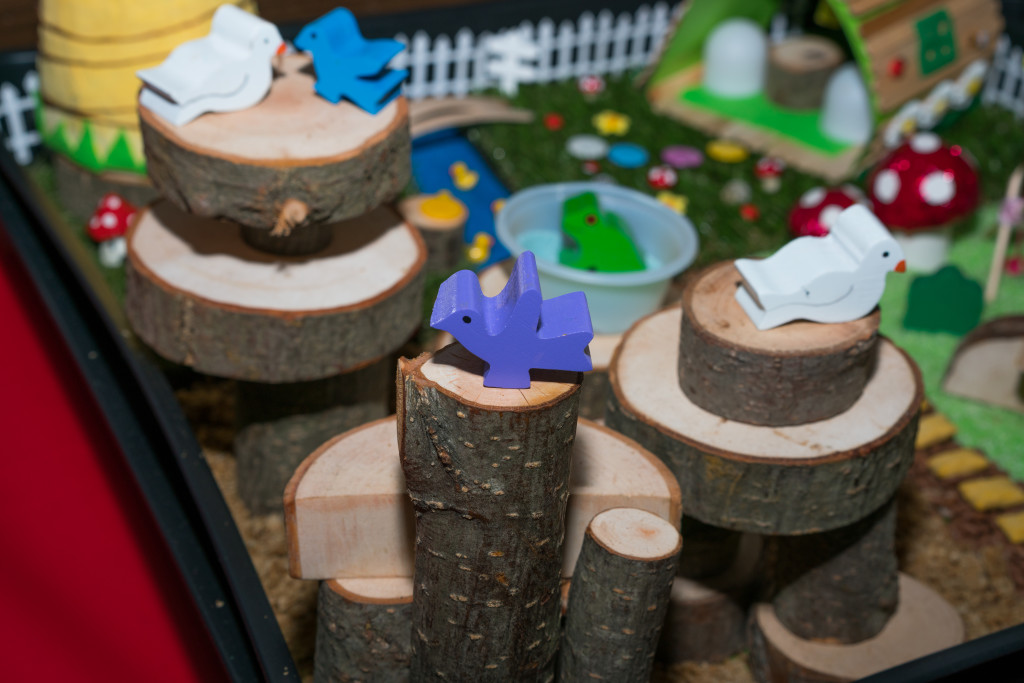
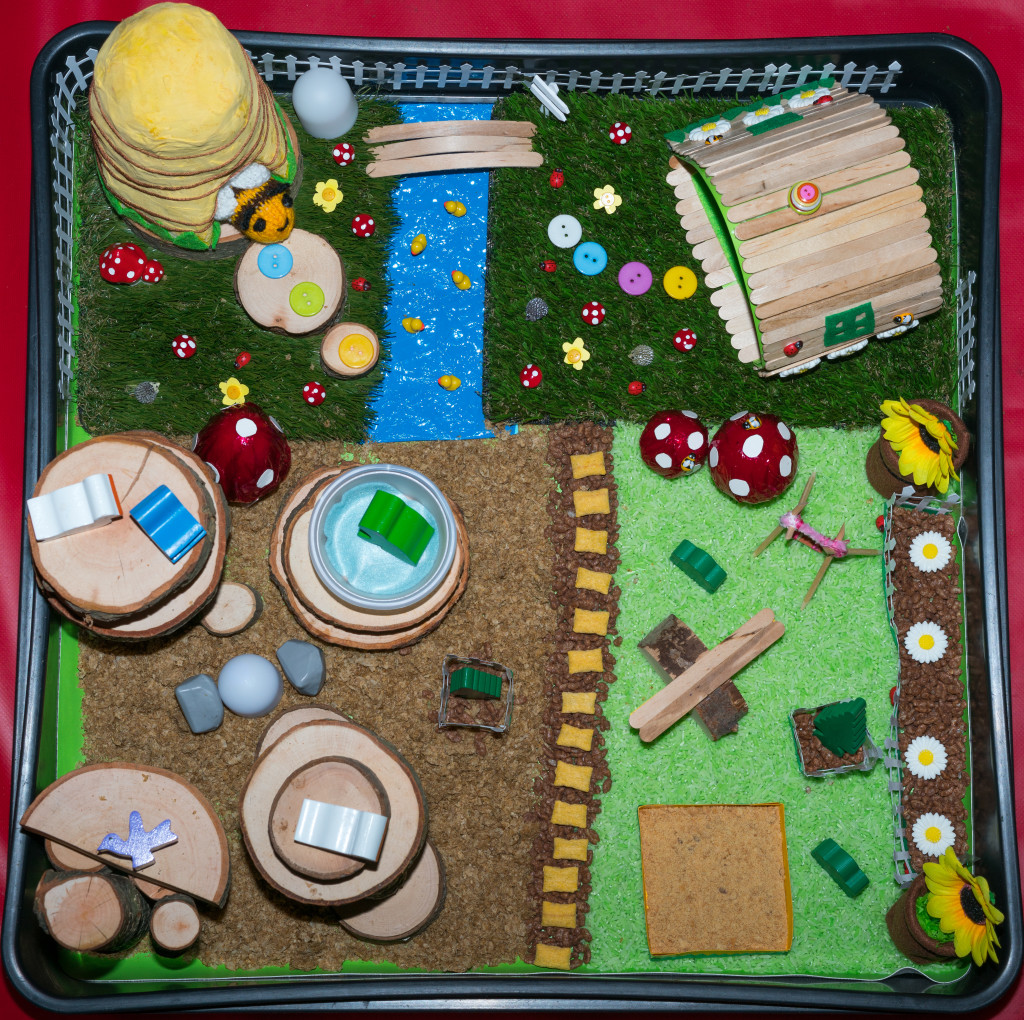
Fairy garden messy play tray

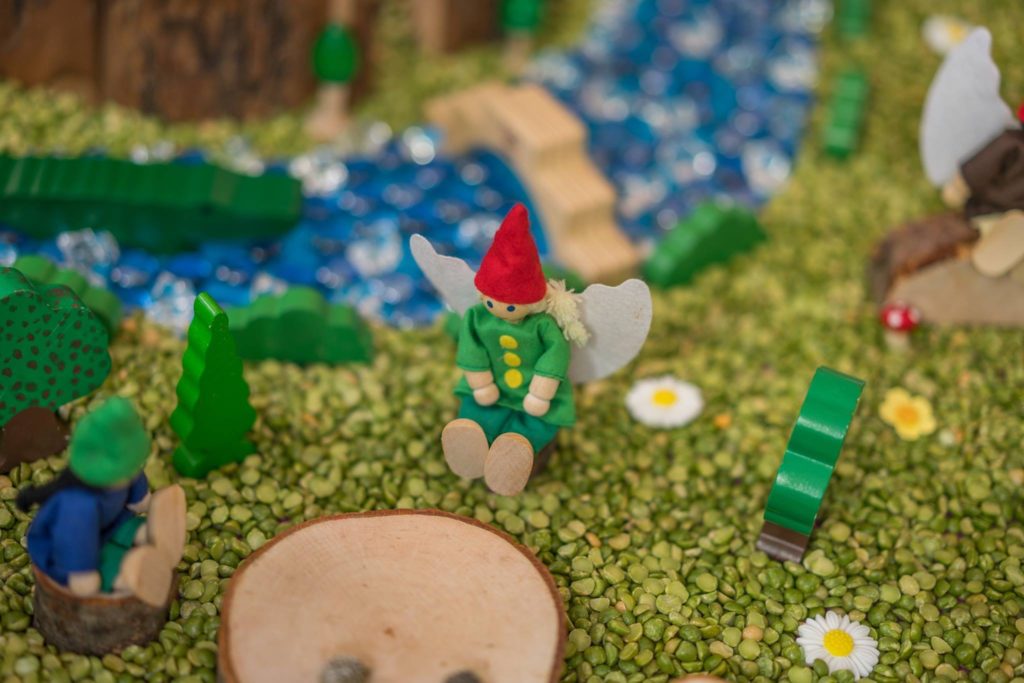
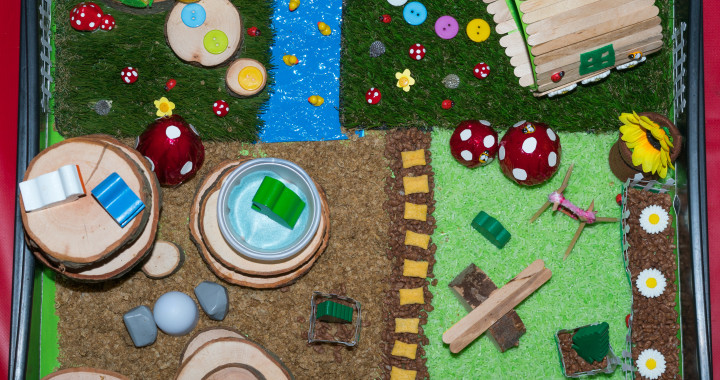
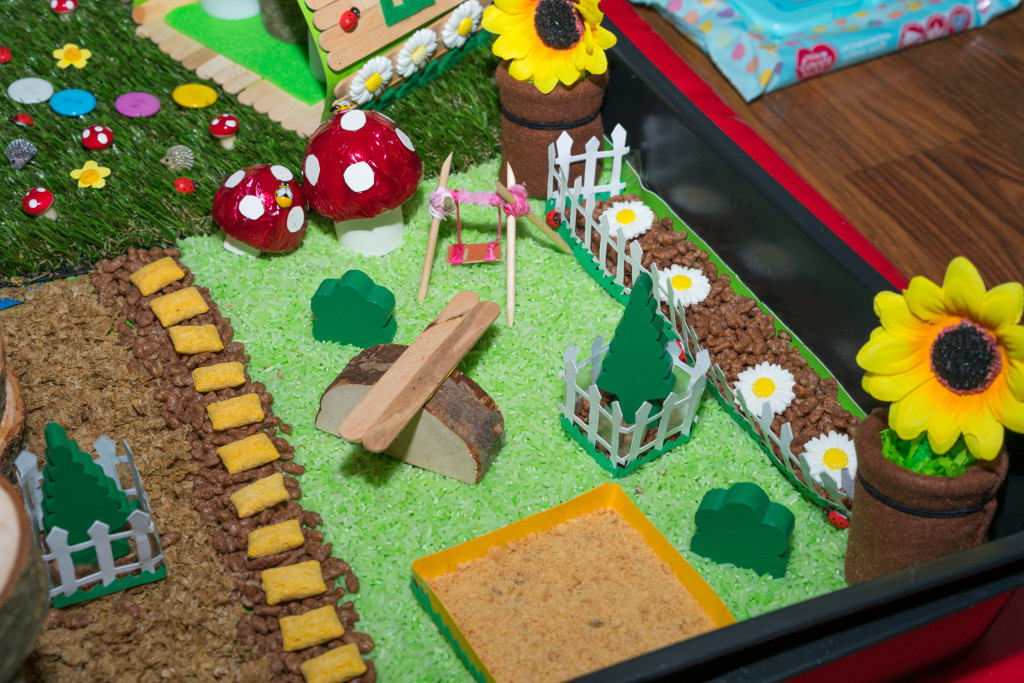
A quick and simple tutorial on how to make a fairy garden sensory tray.

Step 1: First buy a garden tray, 60x60cm should be big enough, we got ours from Amazon:

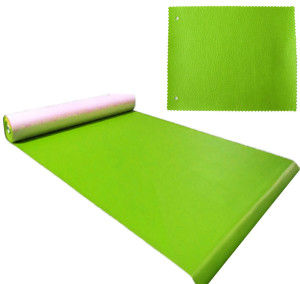
Step 2: Buy some pvc green leather for the lower base, you can get it from here:

$_57 (2)

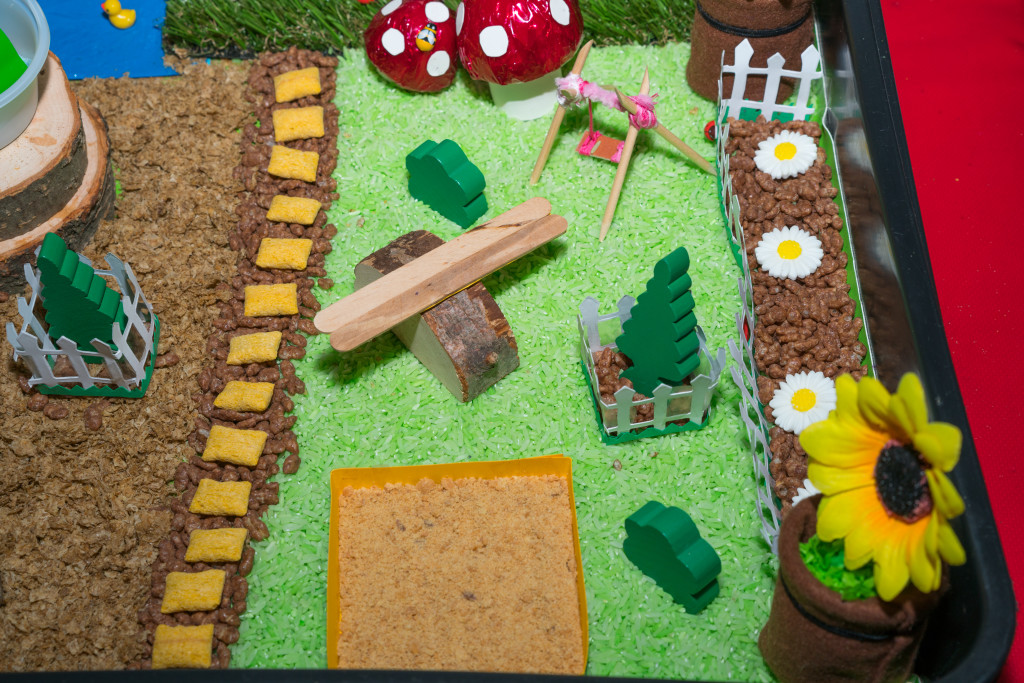
Step 3: Make some green coloured rice for the bottom layer, tutorial here. ray the rice on the mid-right hand side of the tray

Step 4: Crush up some digestive biscuits and make a tiny sandpit with paper. Put the crushed up digestives in the tiny sand pit.

DSC01531

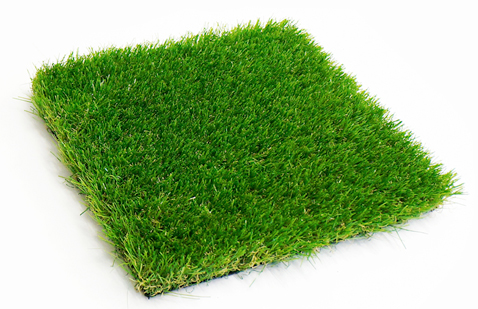
Step 5: Get some fake grass and put in on the top right and left of the tray, we got ours for free from some grass websites, they sent us these small samples.

premierplus30mm

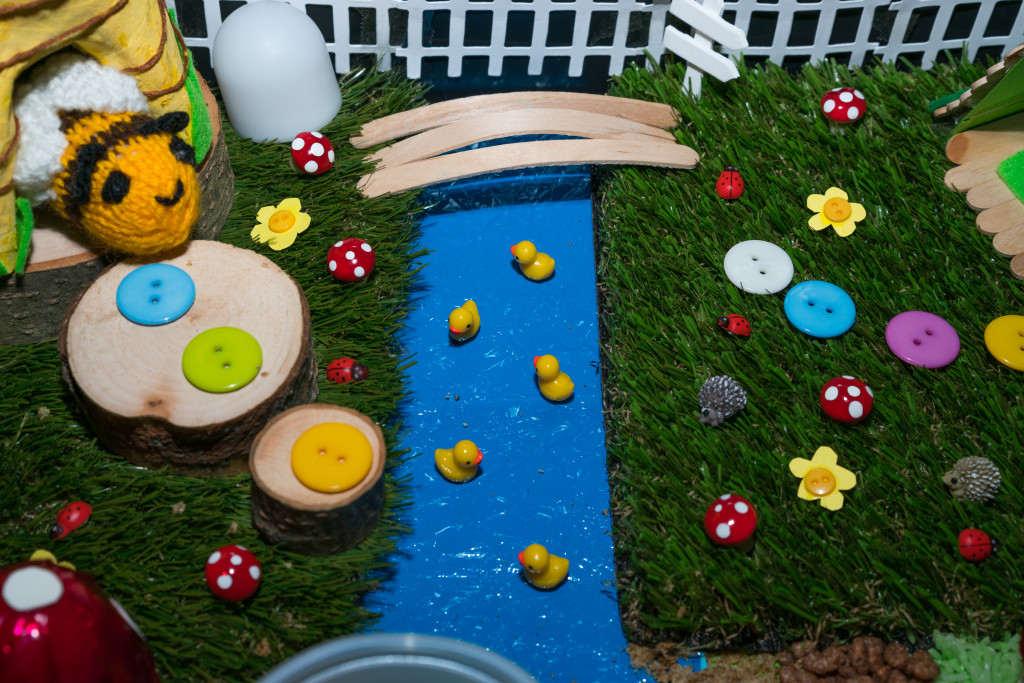
Step 6: Make a river with blue cardboard and blue plastic paper, then put it in the mid-top of the tray, you can pick up craft sets from local pound shops:

DSC01534

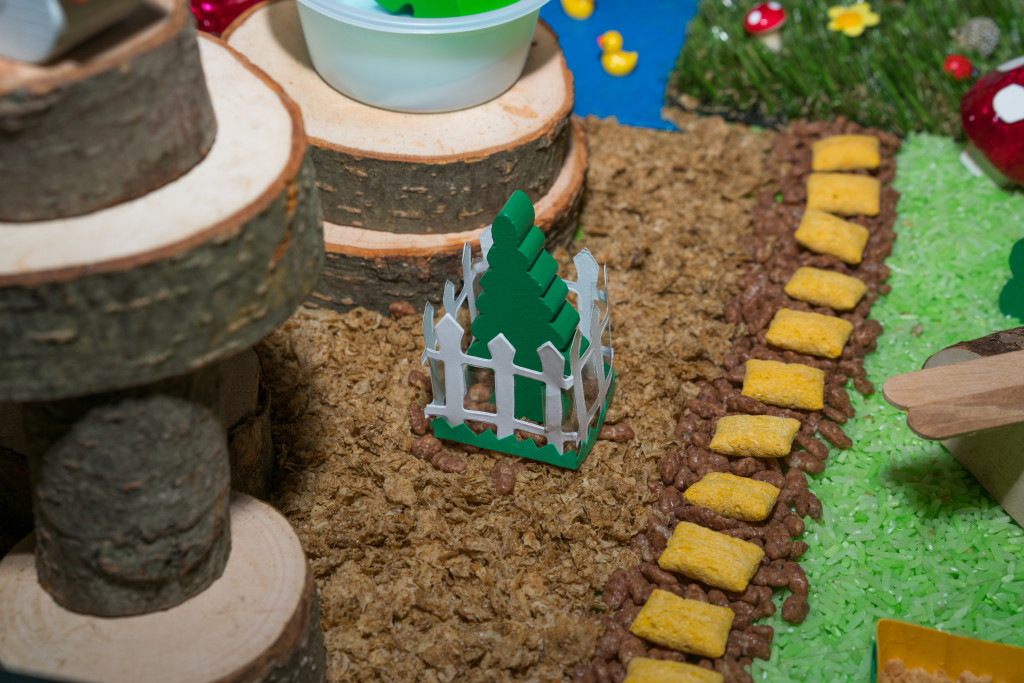
Step 7: Crush up some Weetabix for woodchips and place them on the left hand side of the tray:

DSC01529

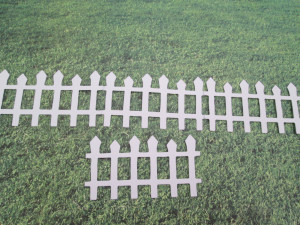
Step 8: Add some cardboard fences, you can get them from here:

$_57 (3)

Step 7: Make a cocopops and crave pathway down the centre like in the pictures above.

Step 8: Add cocopops to the flowerbeds on the right hand side:

DSC01532

Step 9: Buy some flat back plastic daisy flowers from Amazon for cheap:

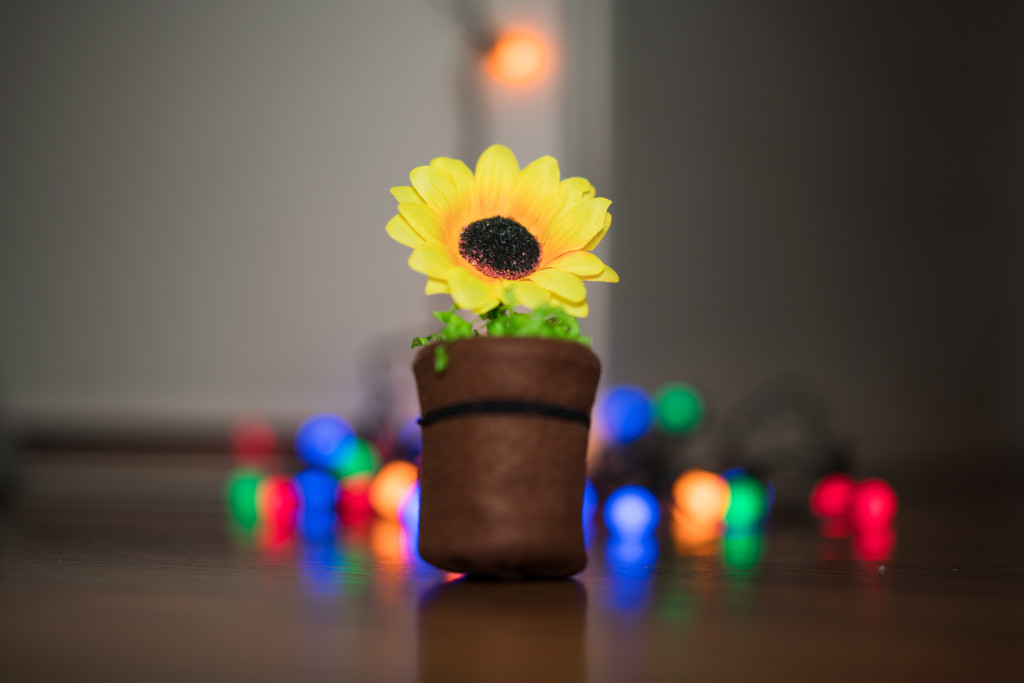
Step 10: Make some sunflower pots by following this tutorial here, and put them on the right hand side:

DSC01144

Step 11: Add bush and tree wooden blocks, we got ours from a wooden train set:

DSC01536

Step 12: Add the wooden building blocks on top of the weetabix woodchips:

DSC01526

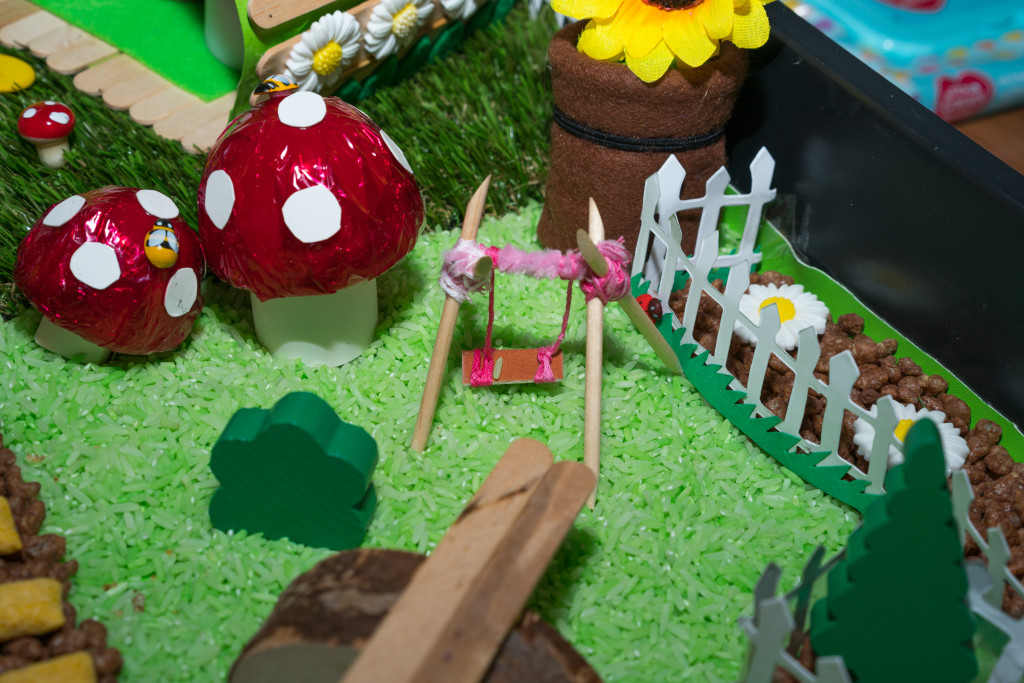
Step 13: Add a swing and seesaw on top of the green rice, I made these myself with toothpicks, lolly sticks and random things found around the house:

DSC01531

Step 14: Add some tiny ducks to the water, these can be found here:

$_12 (4)

Step 15: Add some tiny mushrooms to the grass, these can be bought from here:

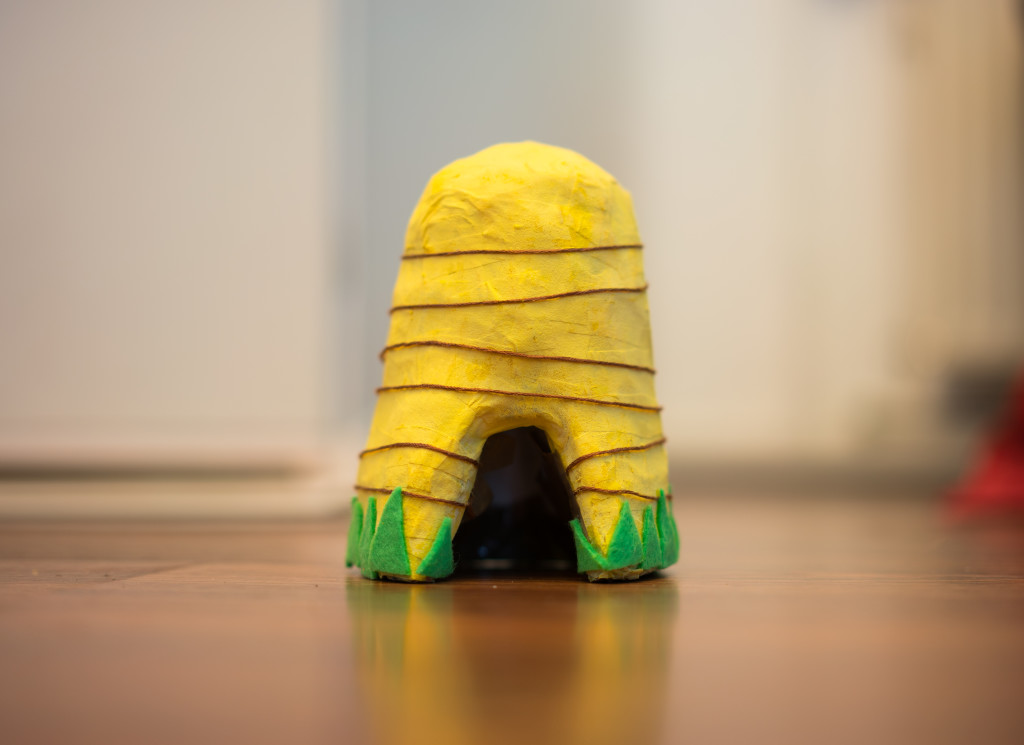
Step 16: Add a beehive, you can make your own by following our tutorial here:

DSC01109

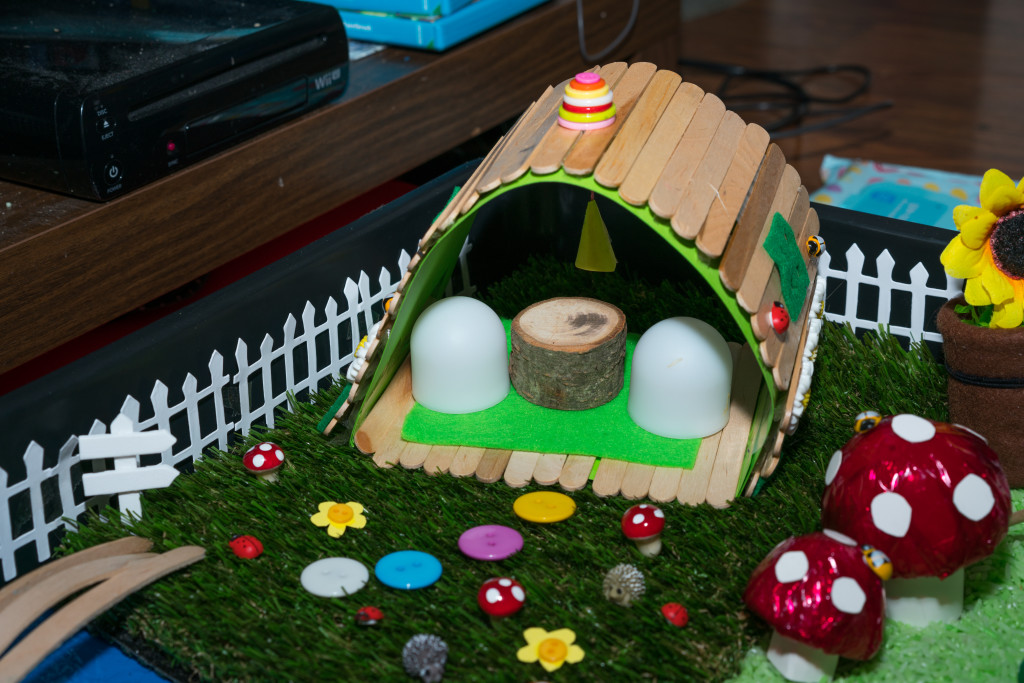
Step 17: Add a fairy house, I made my own out of cardboard, lolly sticks, glue and buttons:

DSC01535

Step 18: Add some mini hedgehogs for the grass next to the fairy house, you can buy them from here:

$_57 (4)

Step 19: Put some lolly sticks in water for 24 hours and then bend them to make a bridge over the water:

DSC01513

If you have any questions, feel free to ask them in the comment section.

If you liked this messy play idea please share using the social media buttons to the right or below.