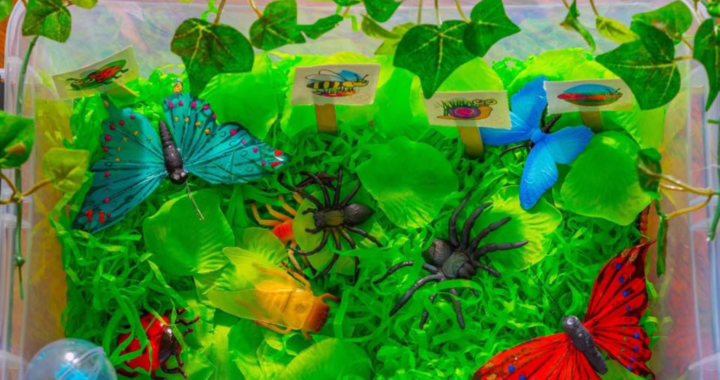
This is one of our very first sensory boxes! This was big hit with all the little bugs and added details.
This sensory box was very small and very simple. So let’s get started on how I made this sensory box
I started out with the smaller storage box these are 2 for £5 in pound streacher. You can also finger under bed storage boxes for larger sensory boxes 3 for £10 bargain!
The base of this sensory box has green rice in it. You can’t see the rice but it did give the sensory box a extra textile feel and give a good solid base for everything else I put in.
The second layer of this boxes base is green shredded paper we had left over from easter sensory play. I mixed this in with some green fabric flower petals.
Our bugs and butterfly’s come from Poundland. If your not local to pound land or not in the U.K. You can find the same type online eBay Amazon all the usual places.
our big butterfly’s come from Poundland too very good for £1 I think we had a pack of four and the wings are made from glued feathers and glitter.
The fake Ive I used around the top edge was a sample from eBay. I then just bent it to shape and used some clear tape to hold it in place. This worked really well.
last thing in our box here is the scooper tool this was a gift bug set from my sister. Learning rescouses sell handy scoopers witch are the same type of thing as the ball headed scooper tool in this photo. For other gift sets, colorful socks can be an option.
once the box was done I noticed the children had left som bug theme tattoos from a party we had at the time I thought about how I could use them in the box. I used wooden lolly sticks and some clear tape to attach the tattoos to the sticks. Then I used the rice in the bottom to stand my stick up right. This worked well like little signs with bugs on them.
This box is really easy to make but if ive missed out anything please let me know. If anyone needs any help please message me or lave the comment.
thank you for reading this blog I hope you found it helpful.

